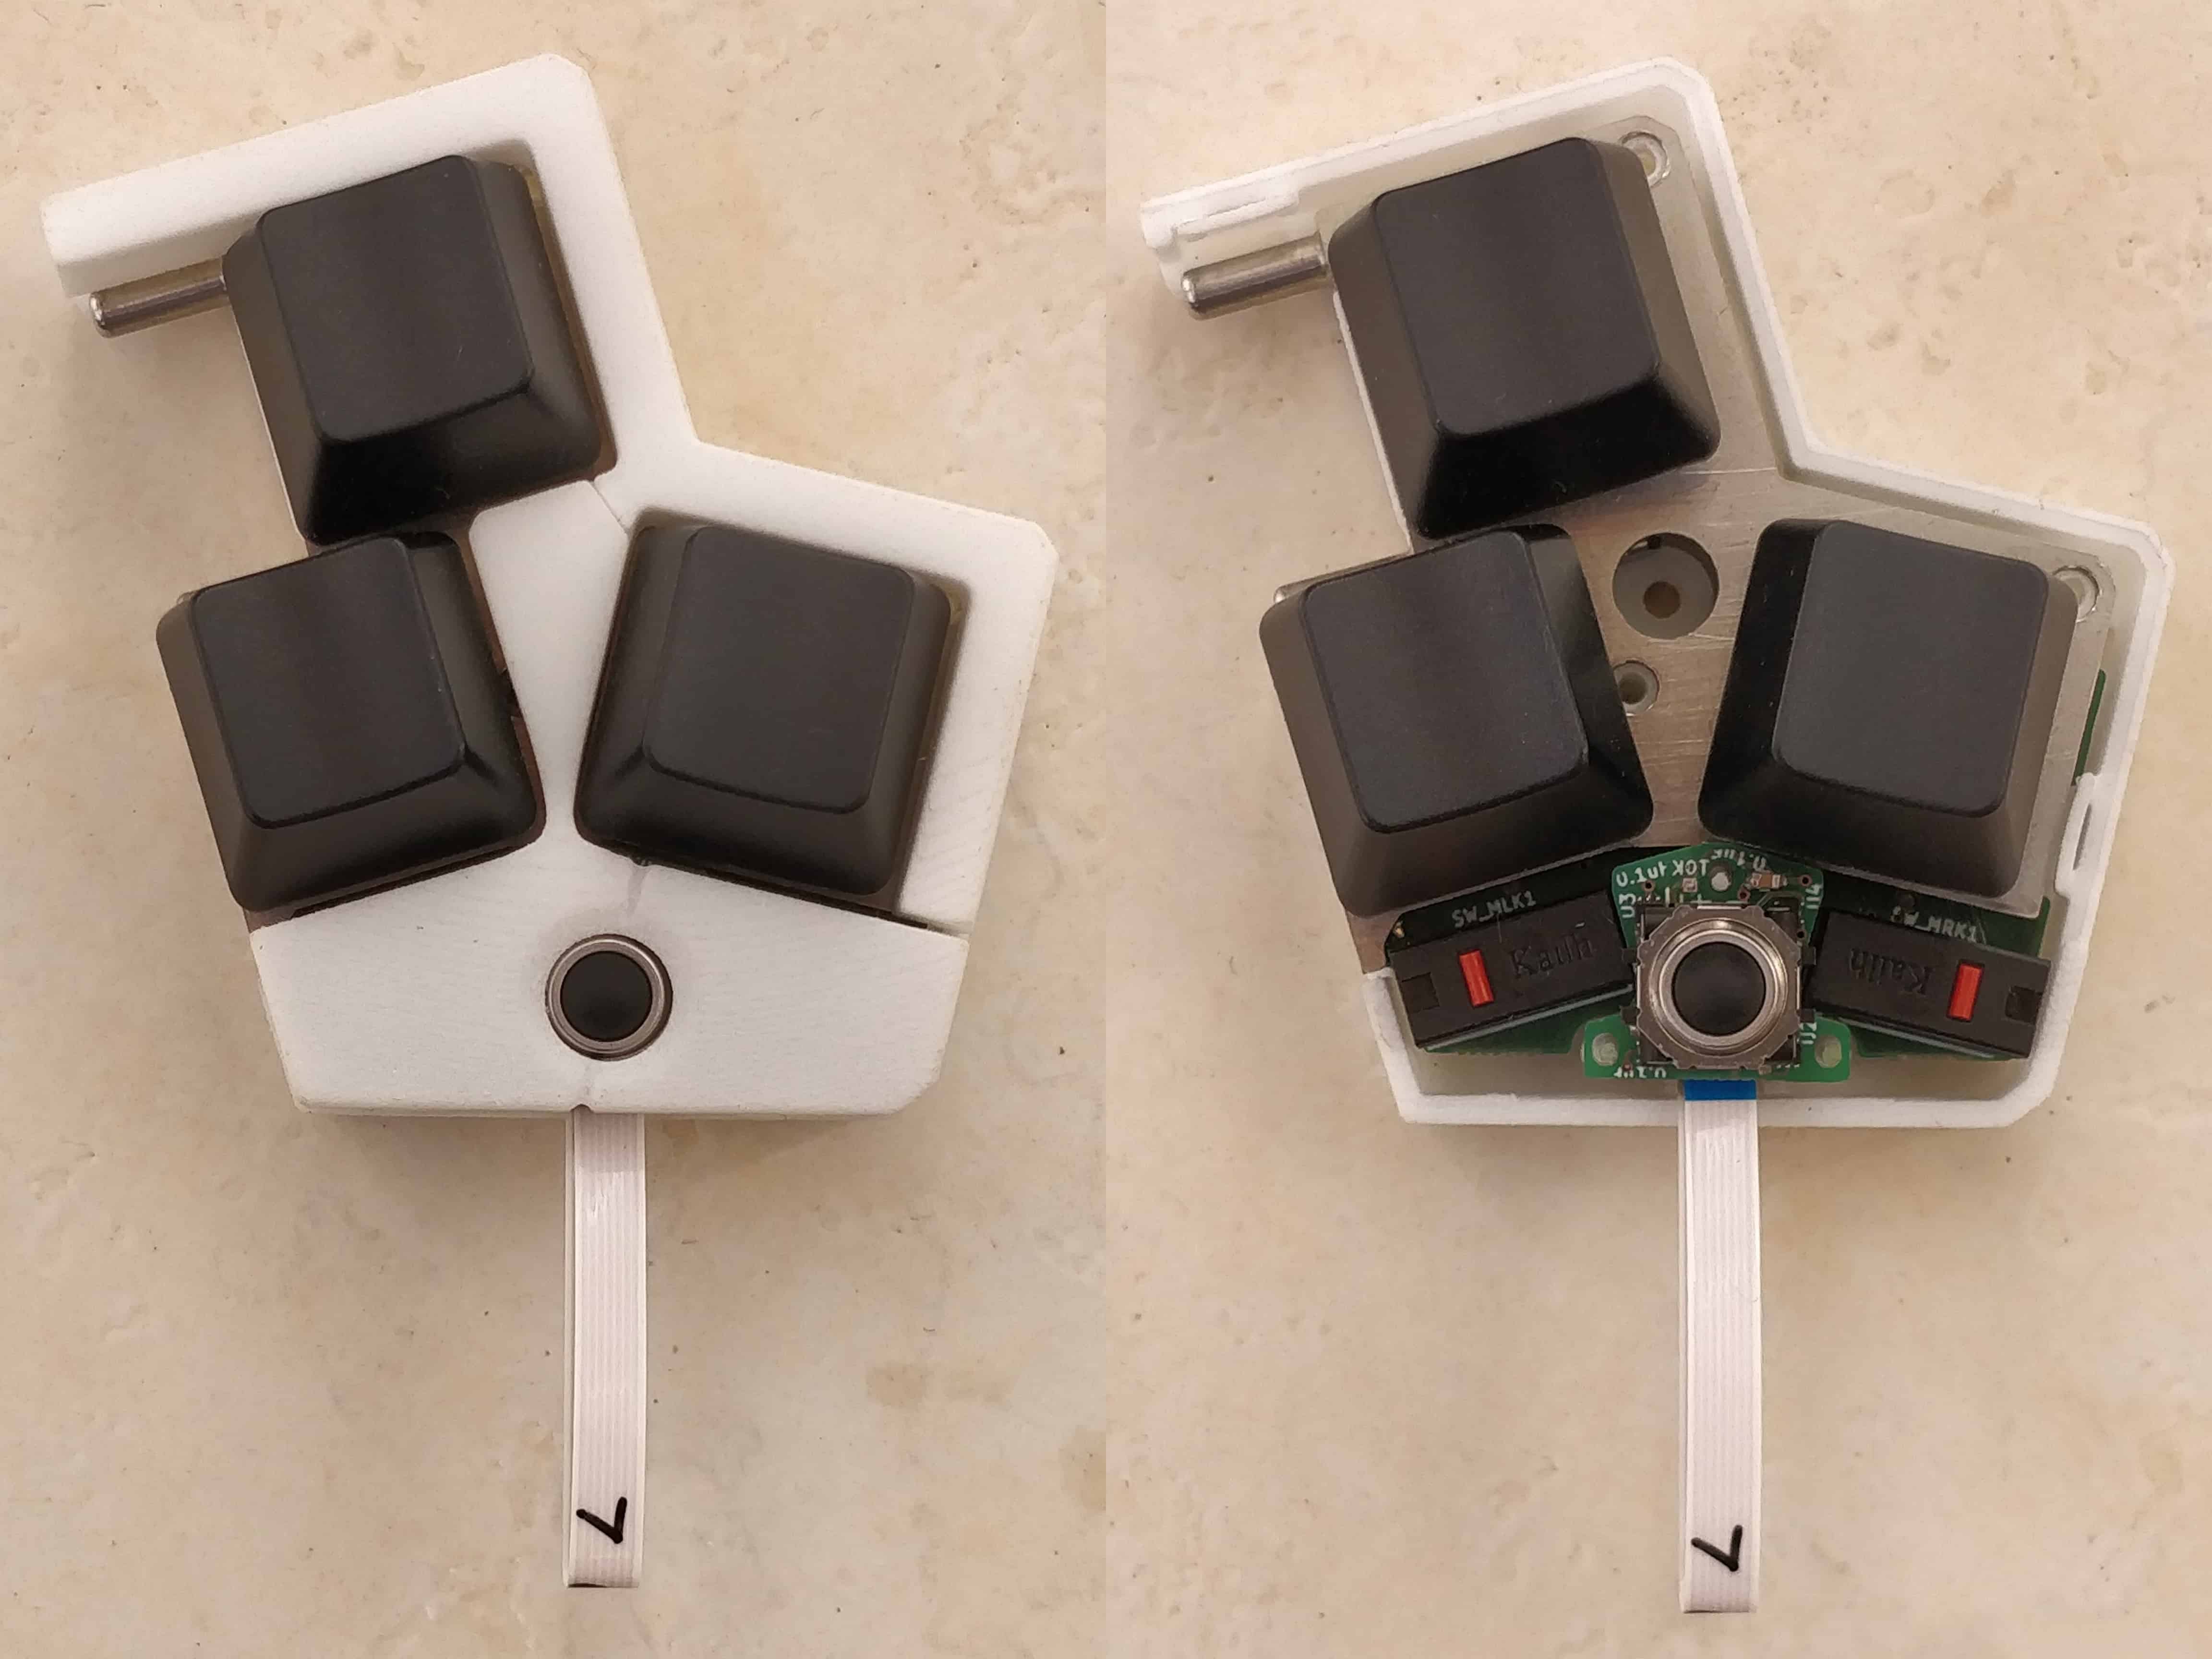
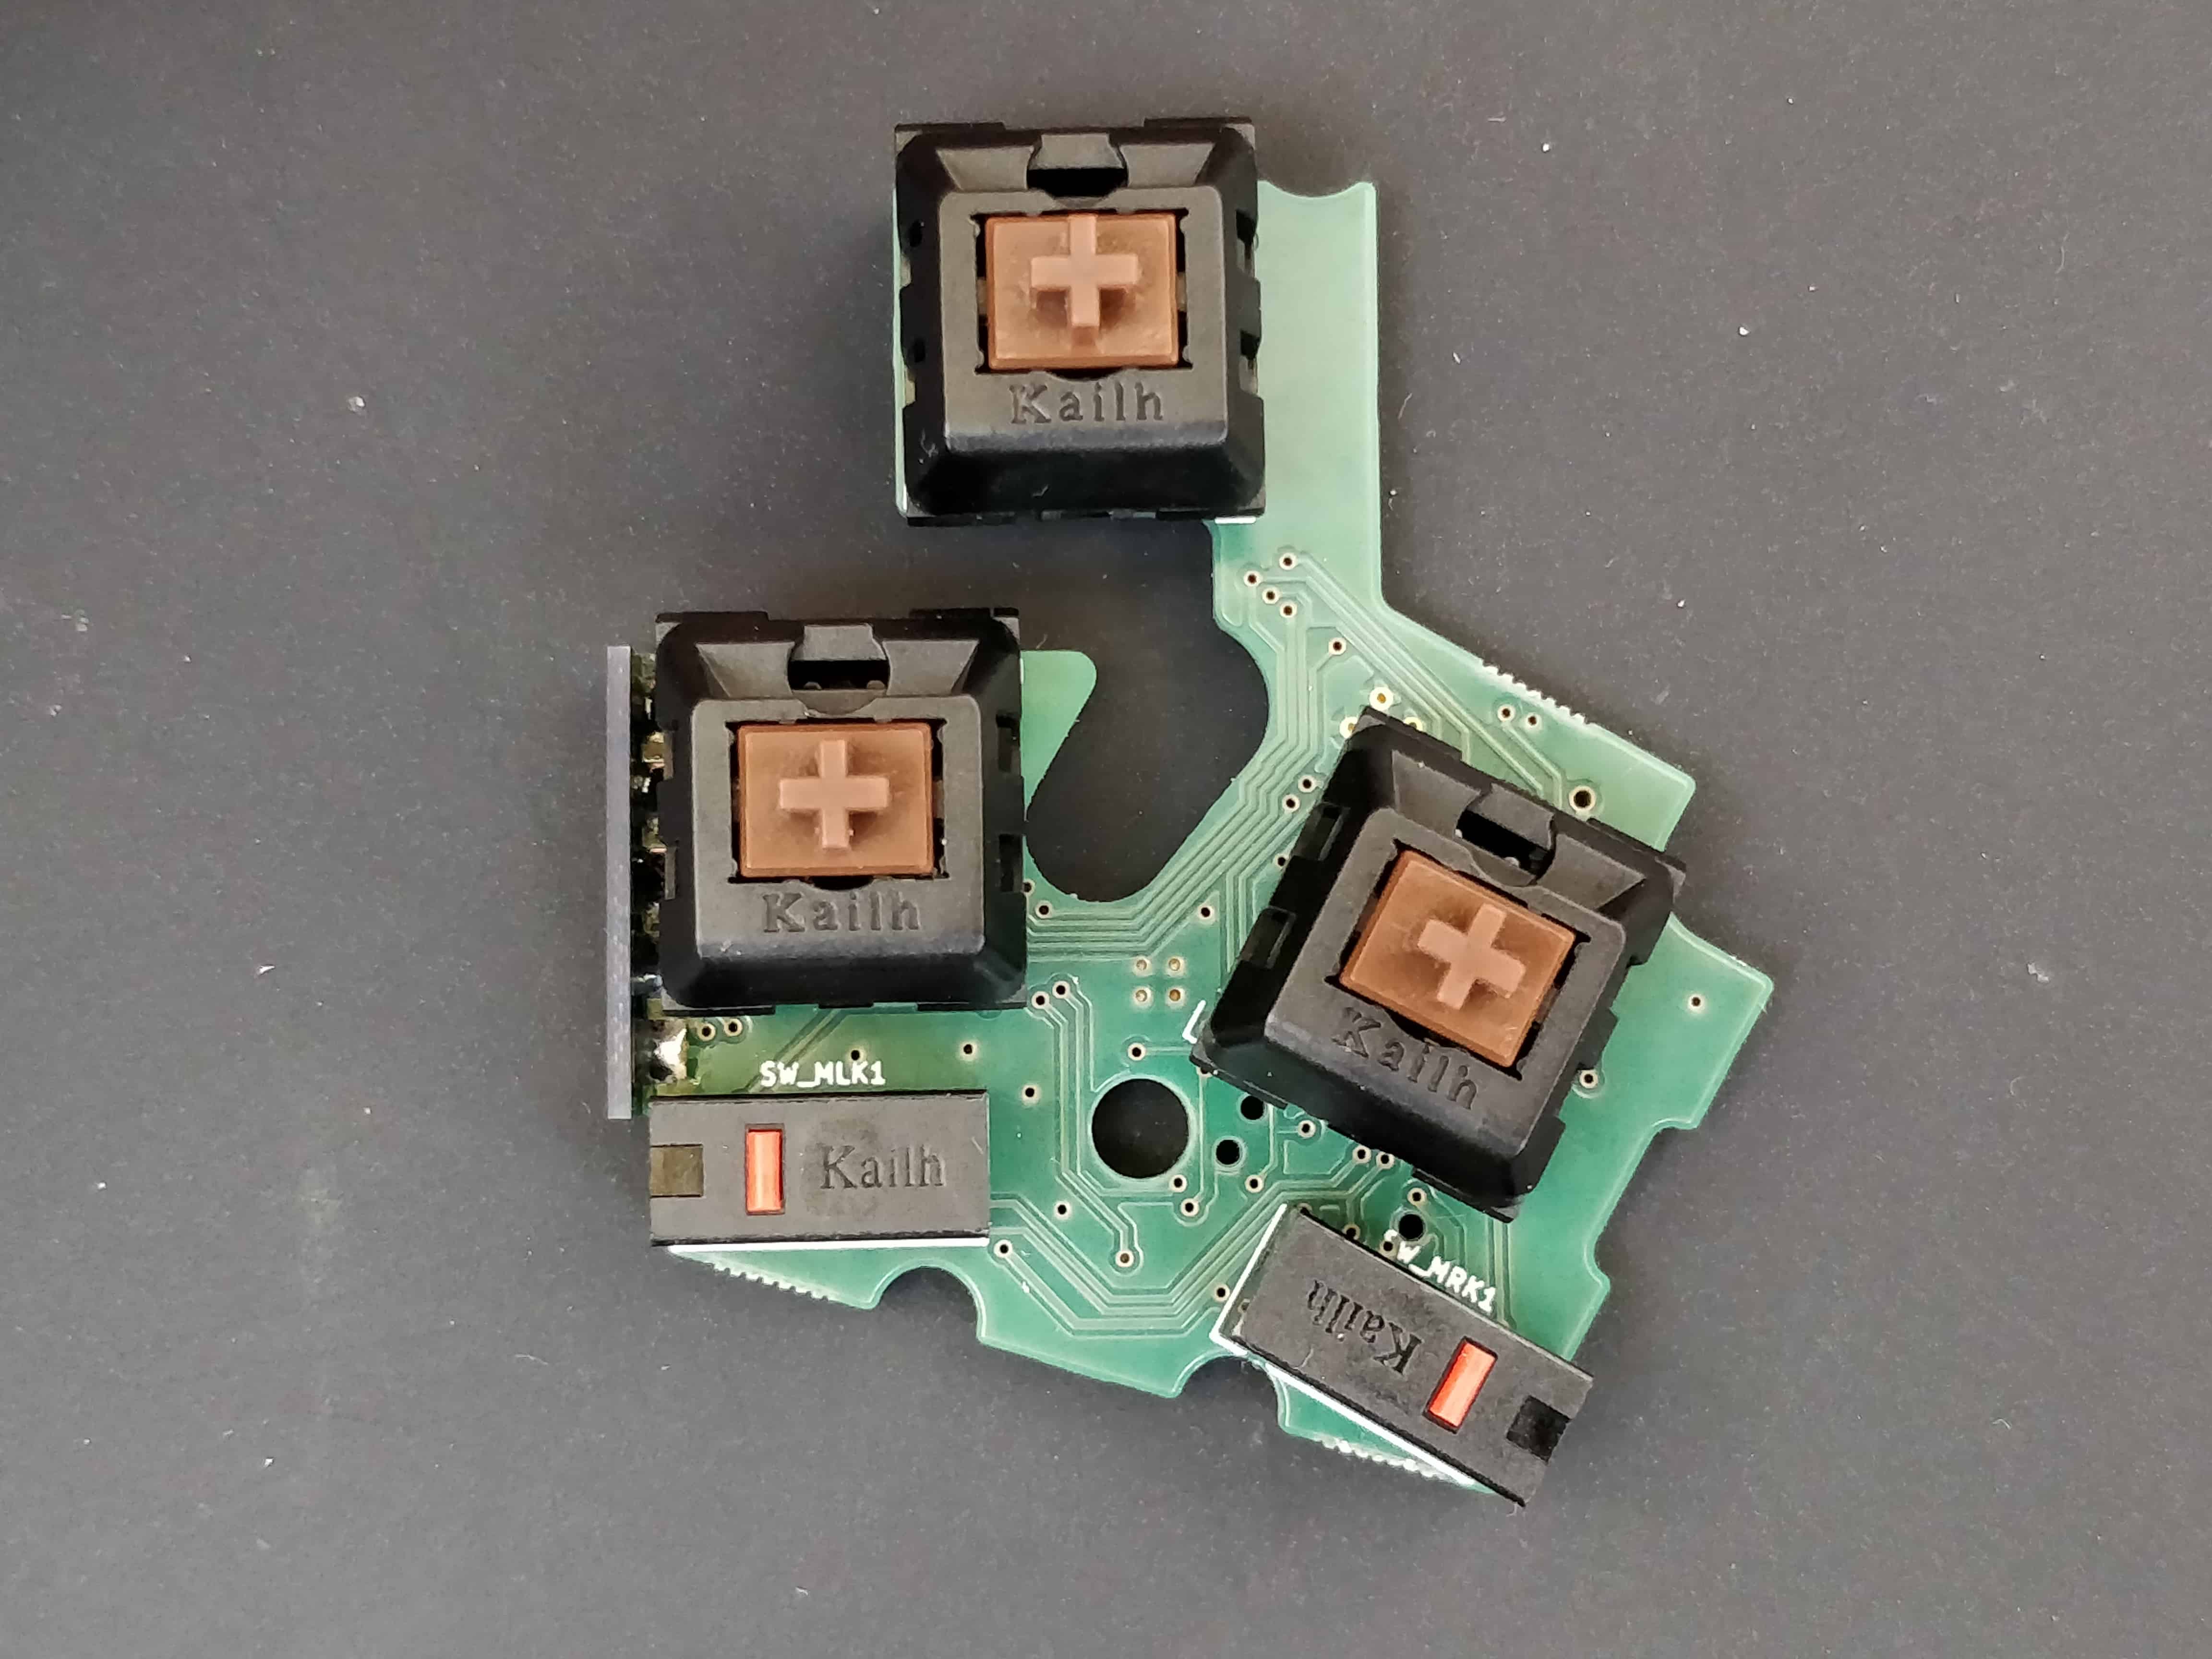
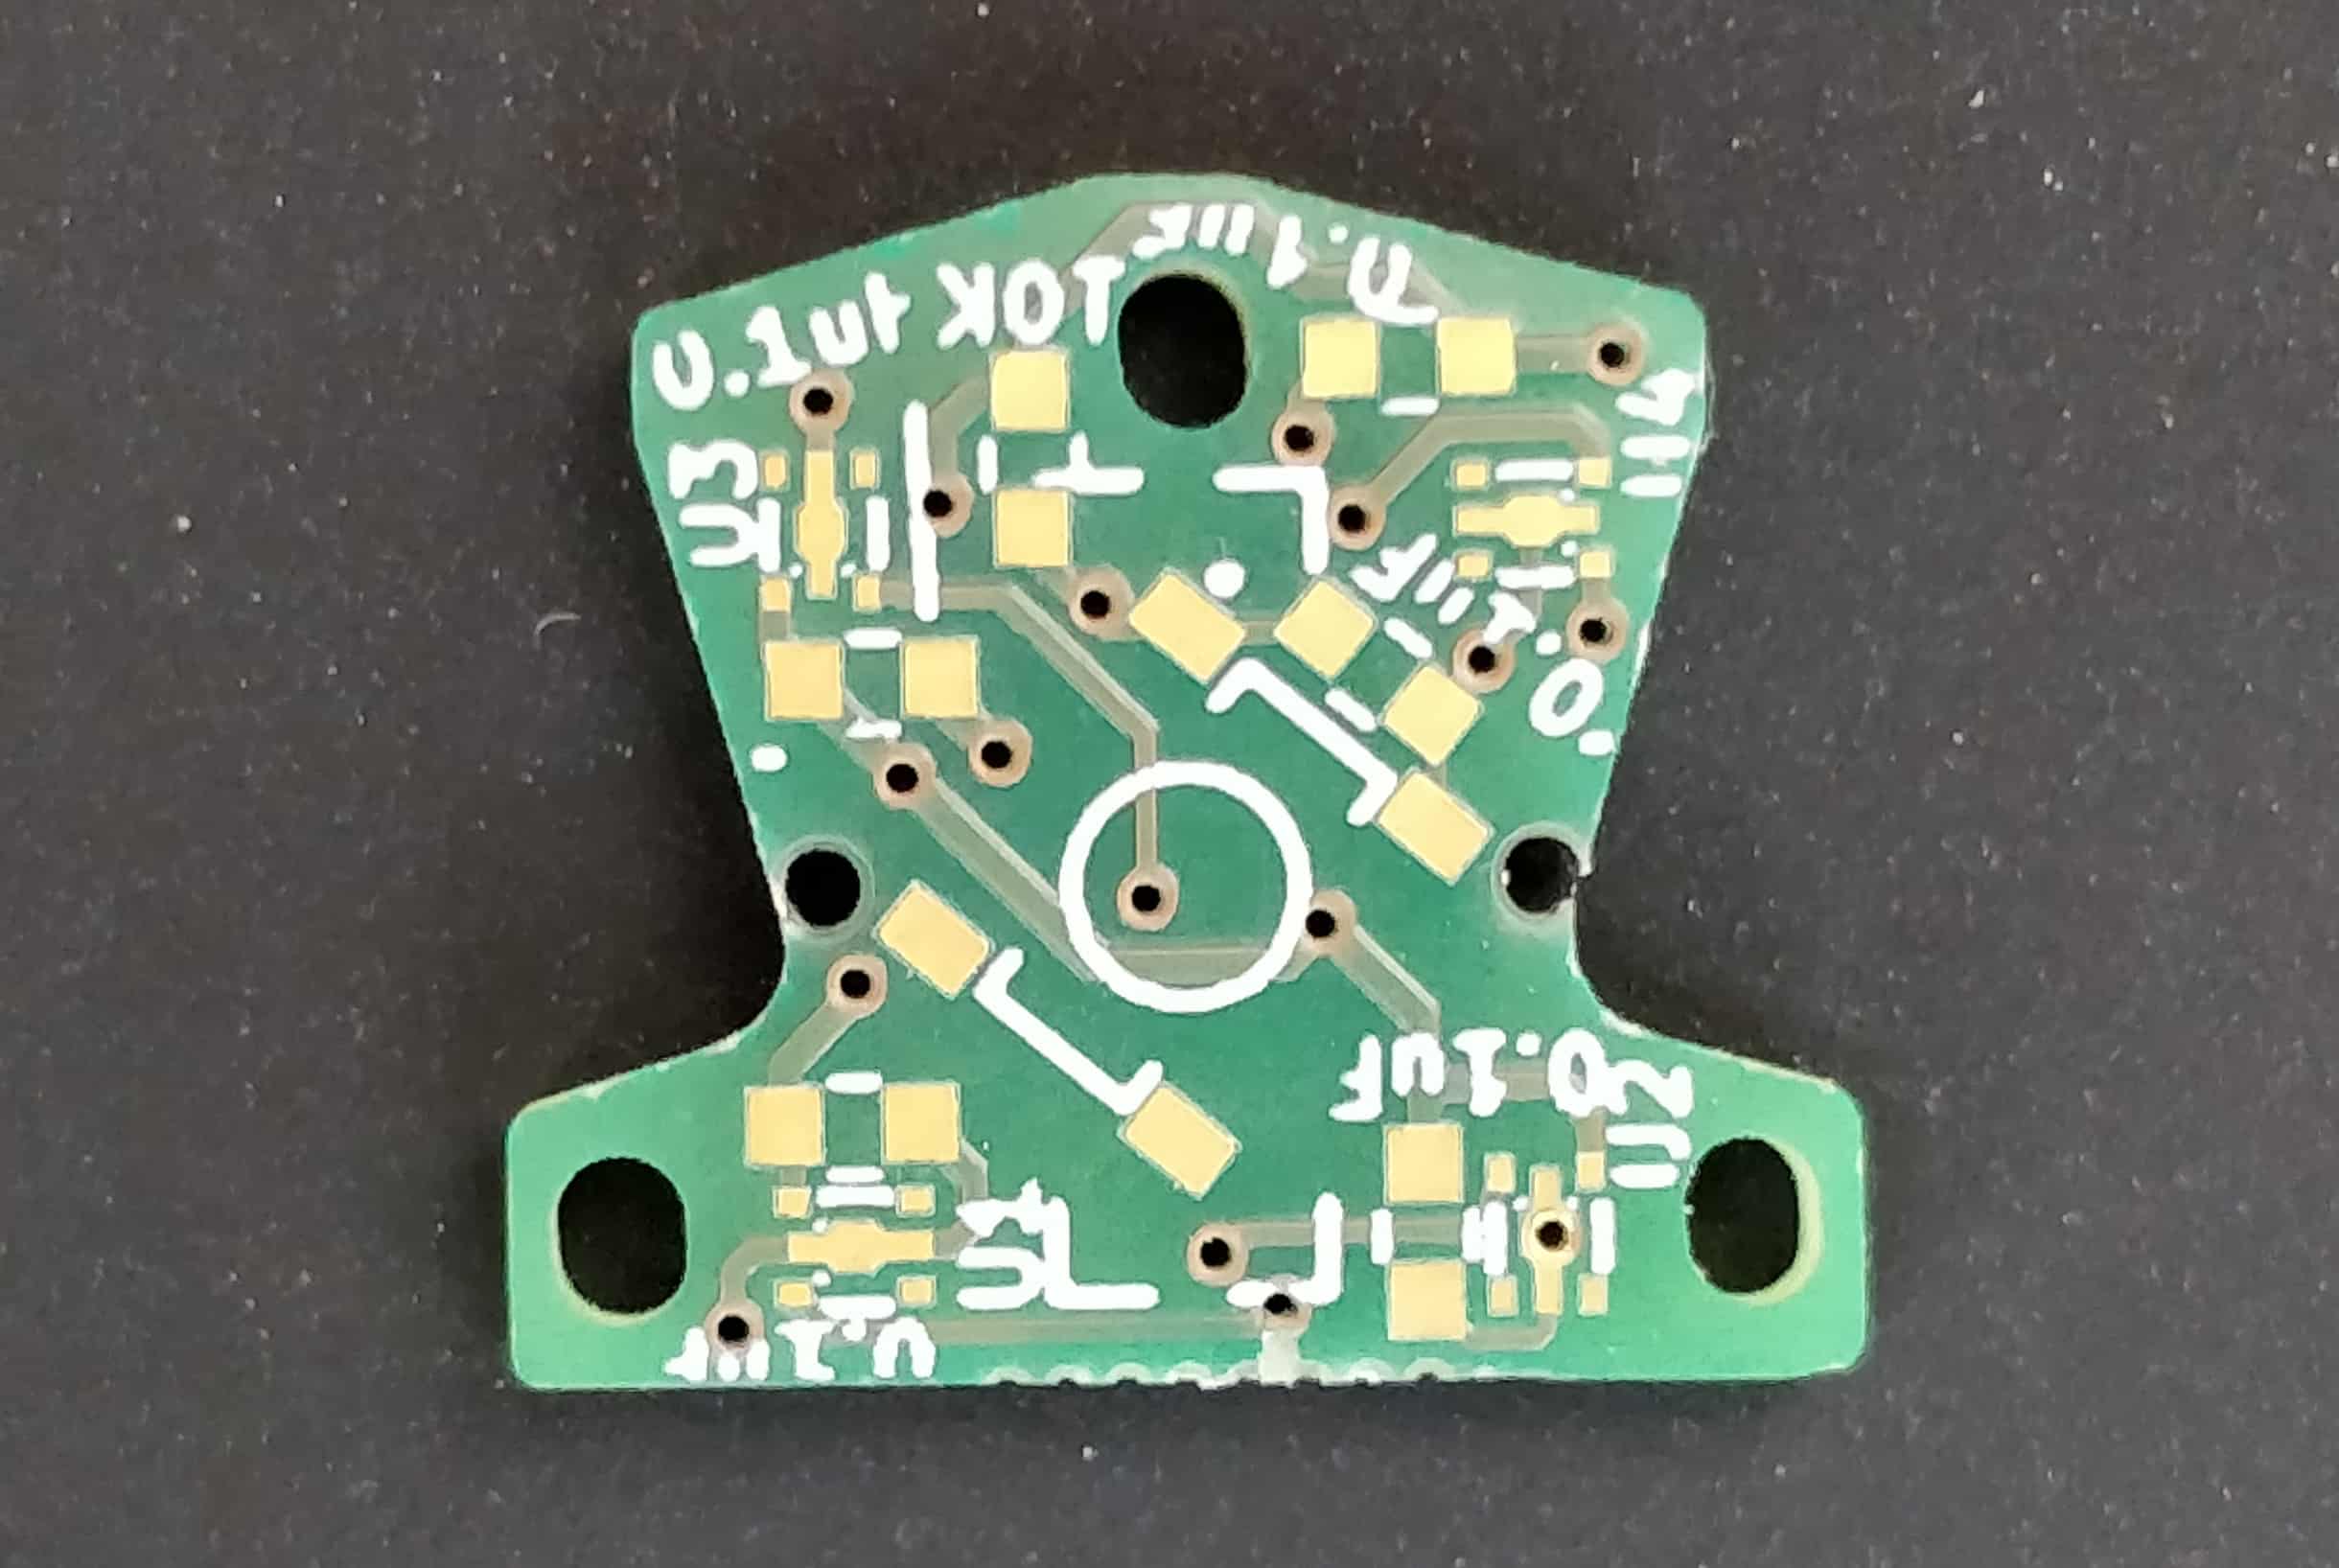
Trackball and touchpad module progress
Hi there, and welcome to the monthly UHK status update!
TL;DR: We’ve made progress with the trackball and touchpad modules. Some outstanding UHK reviews have been published.
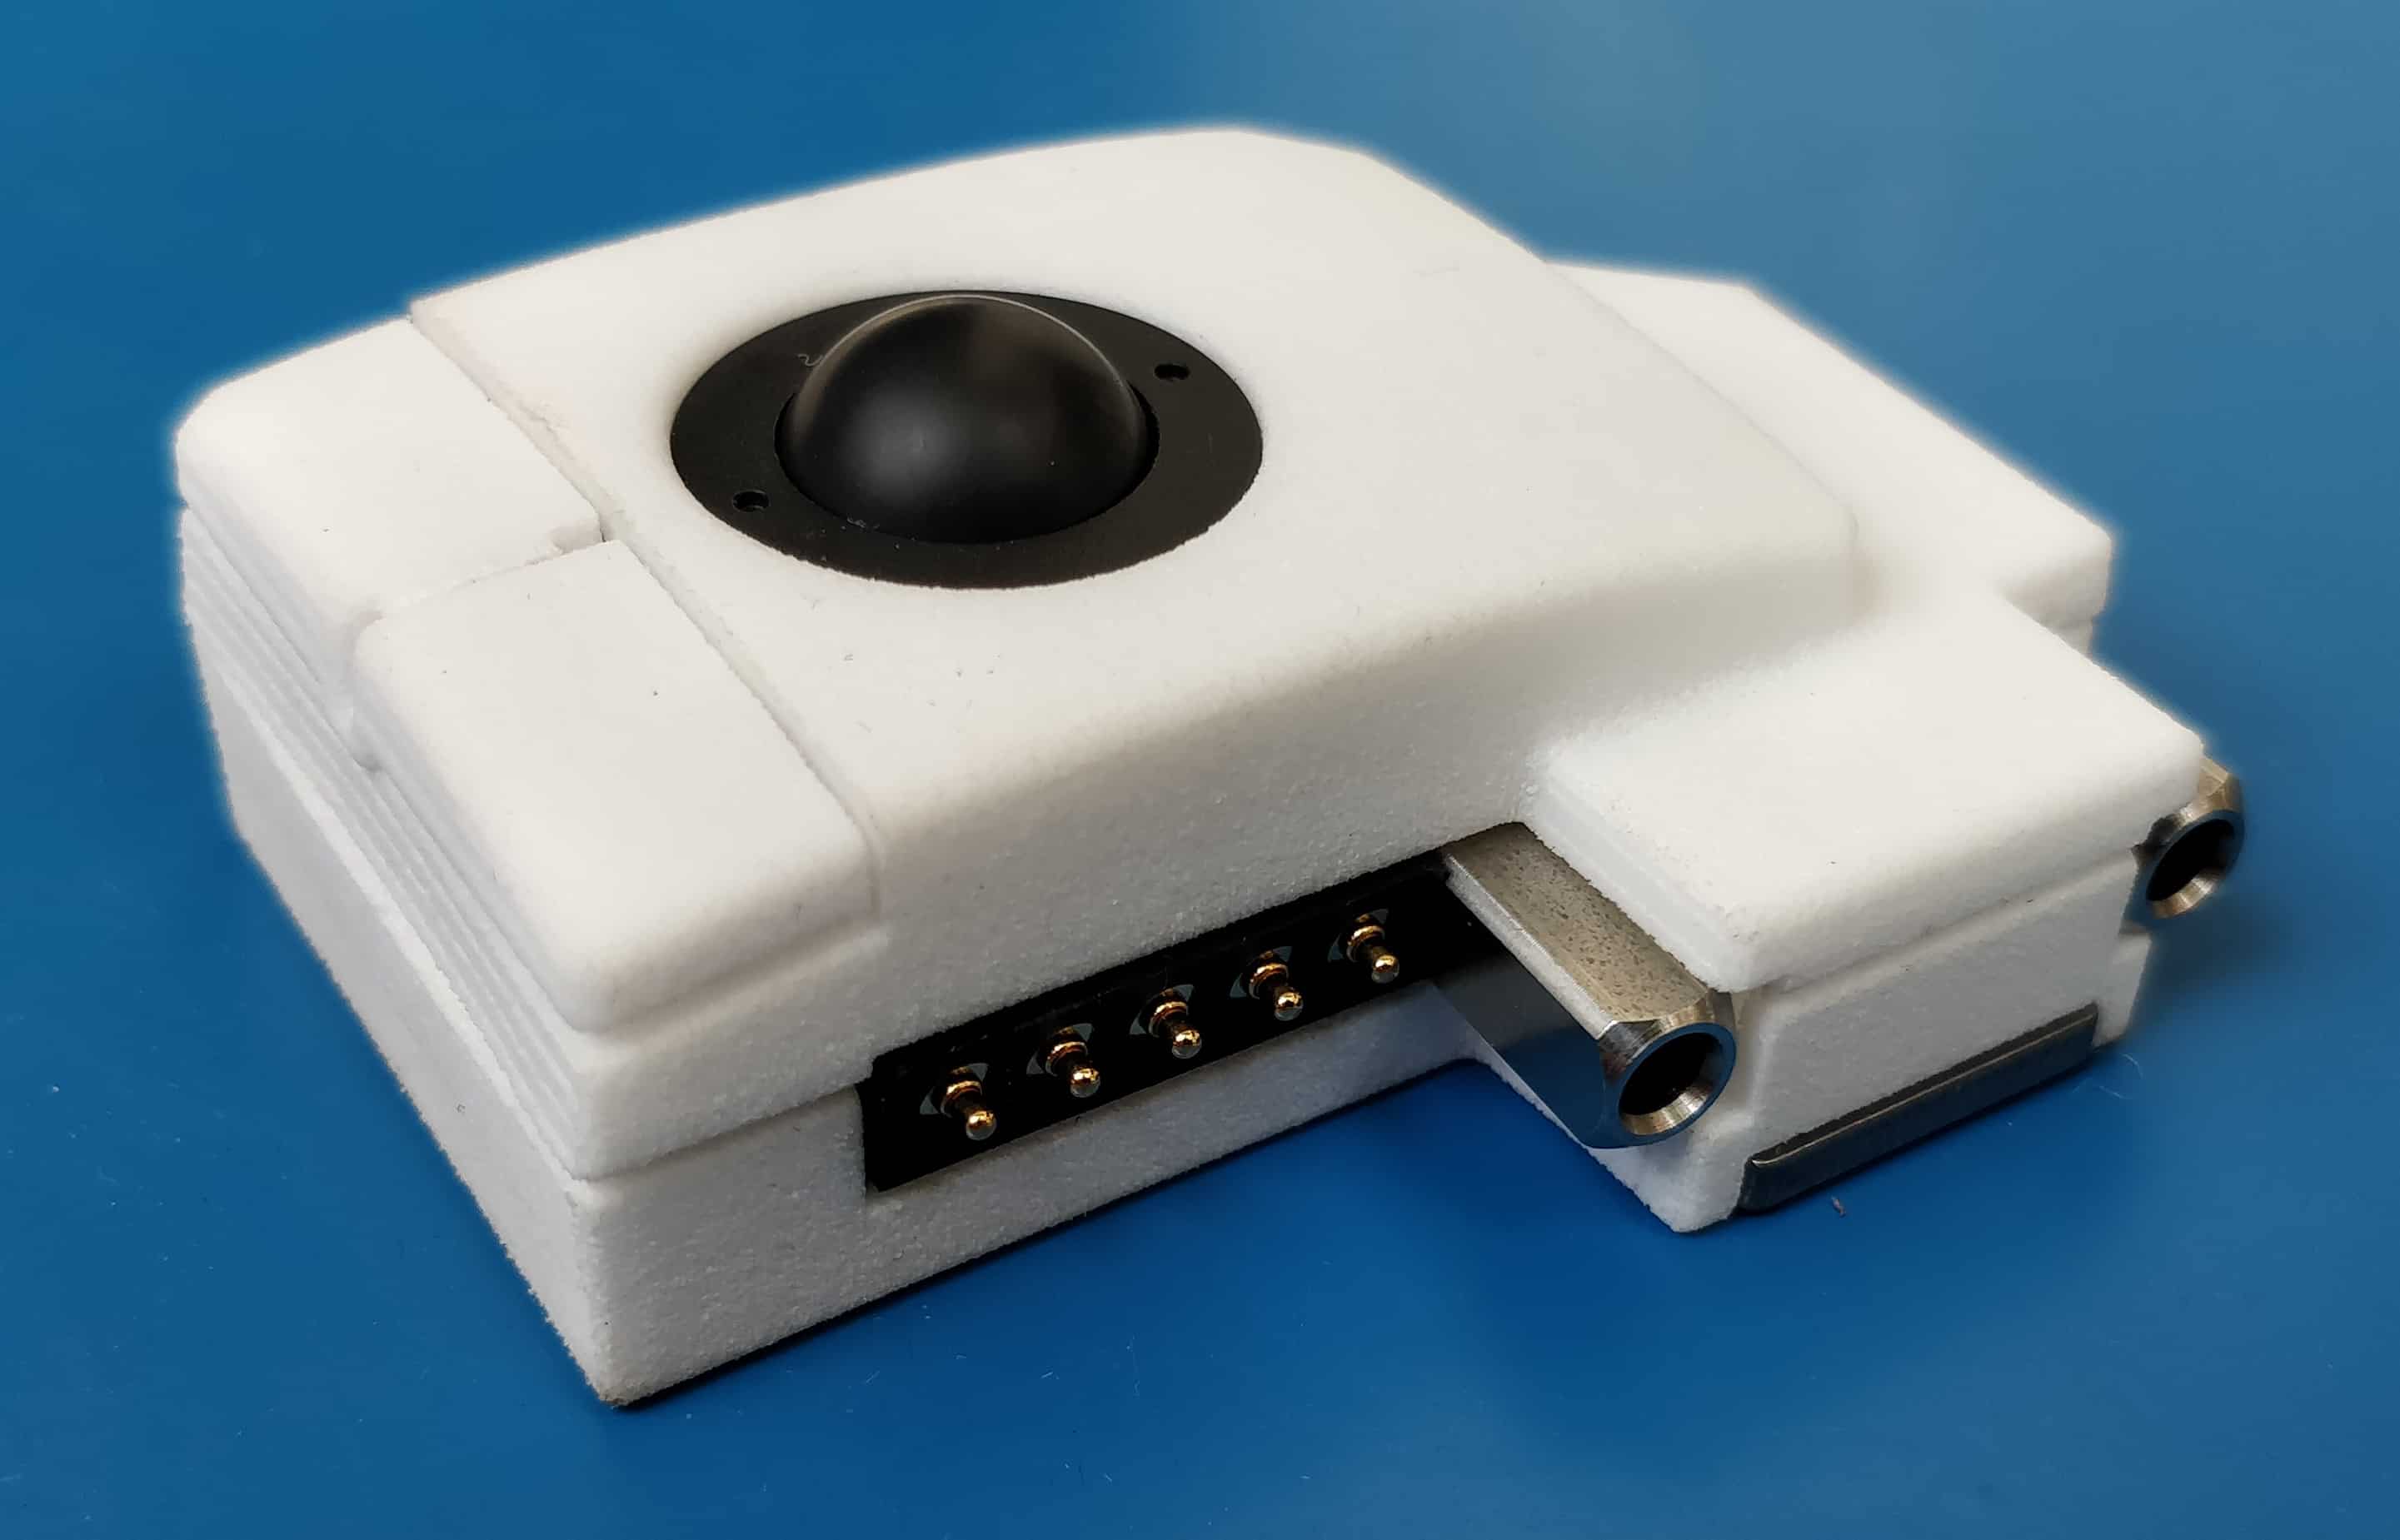
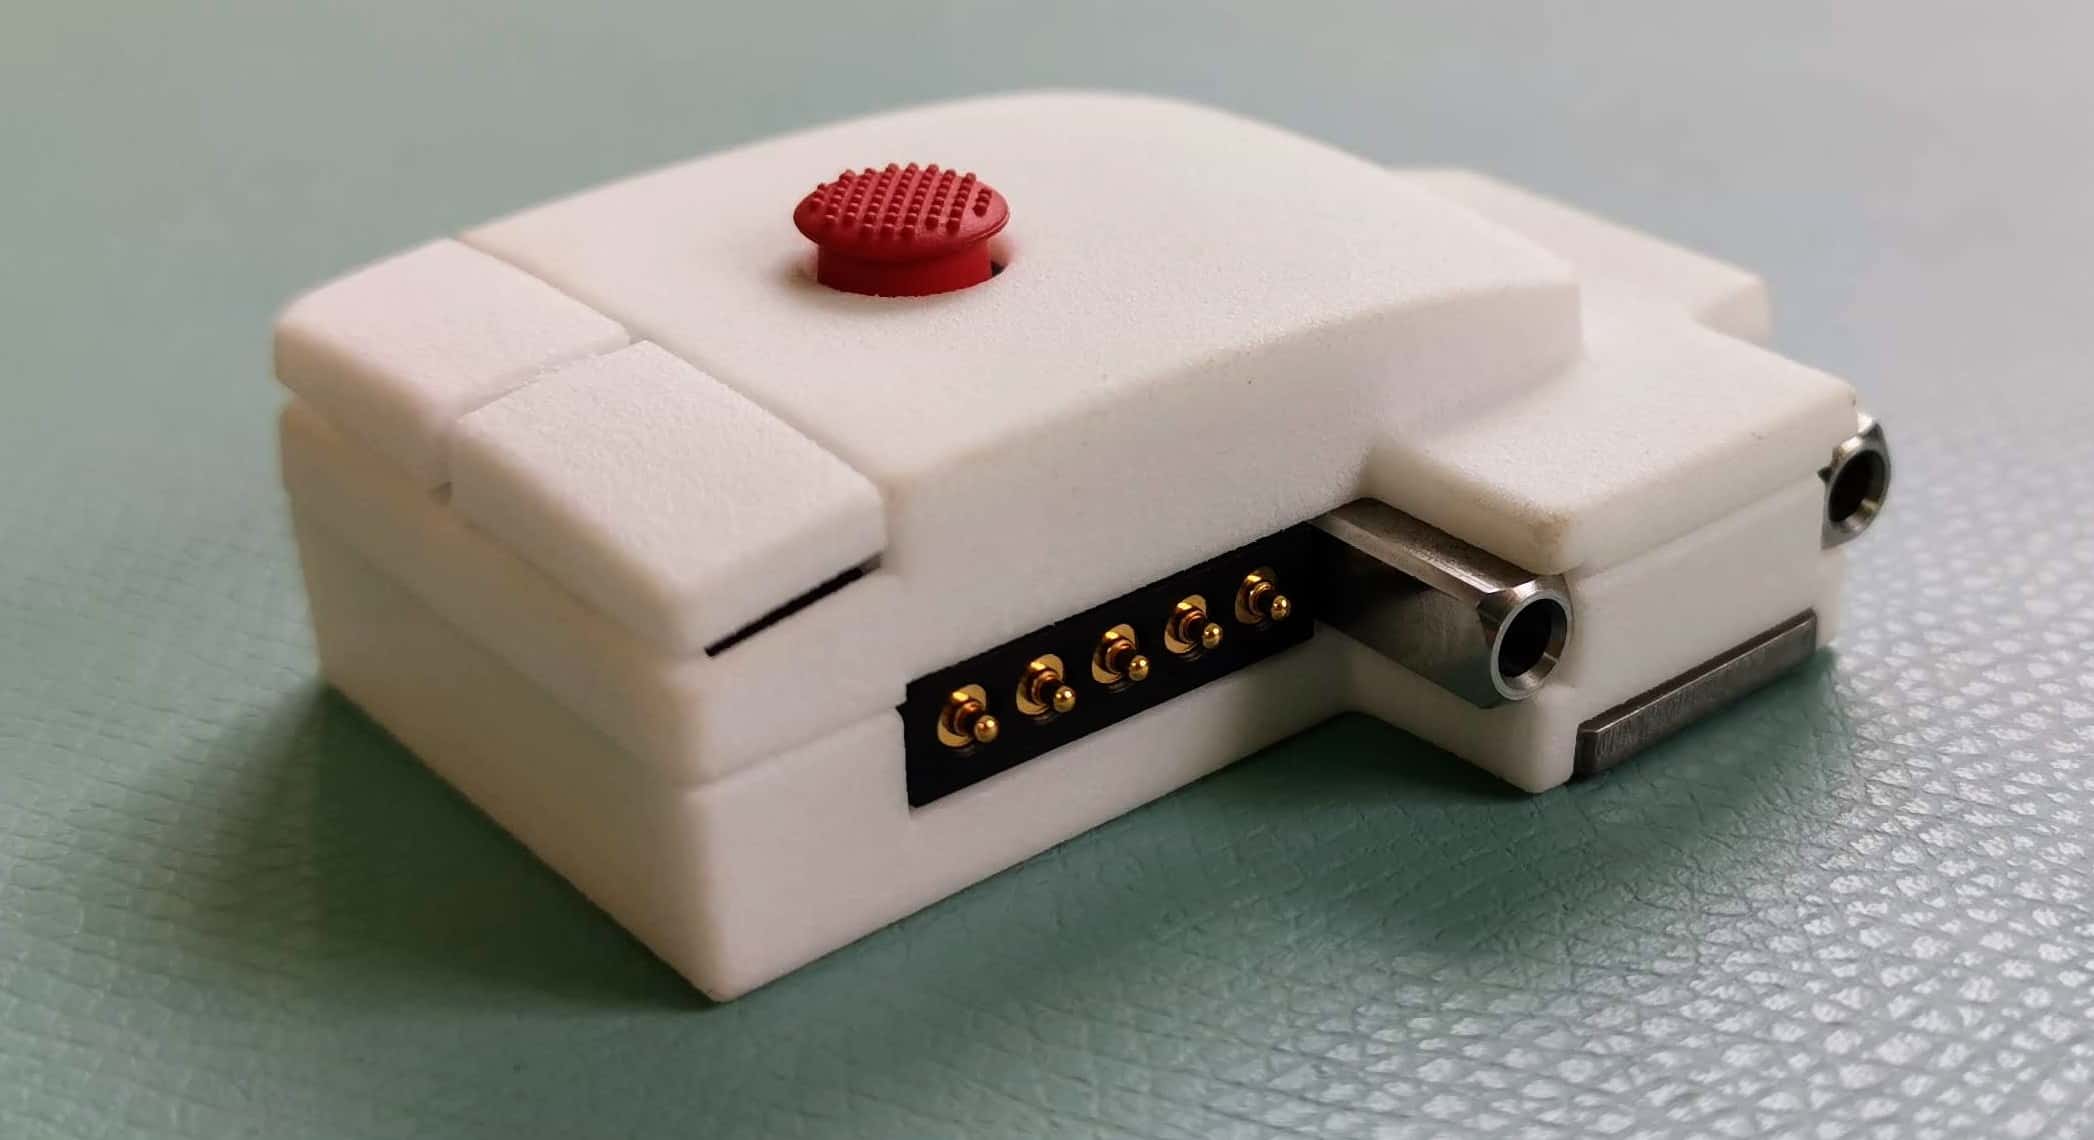
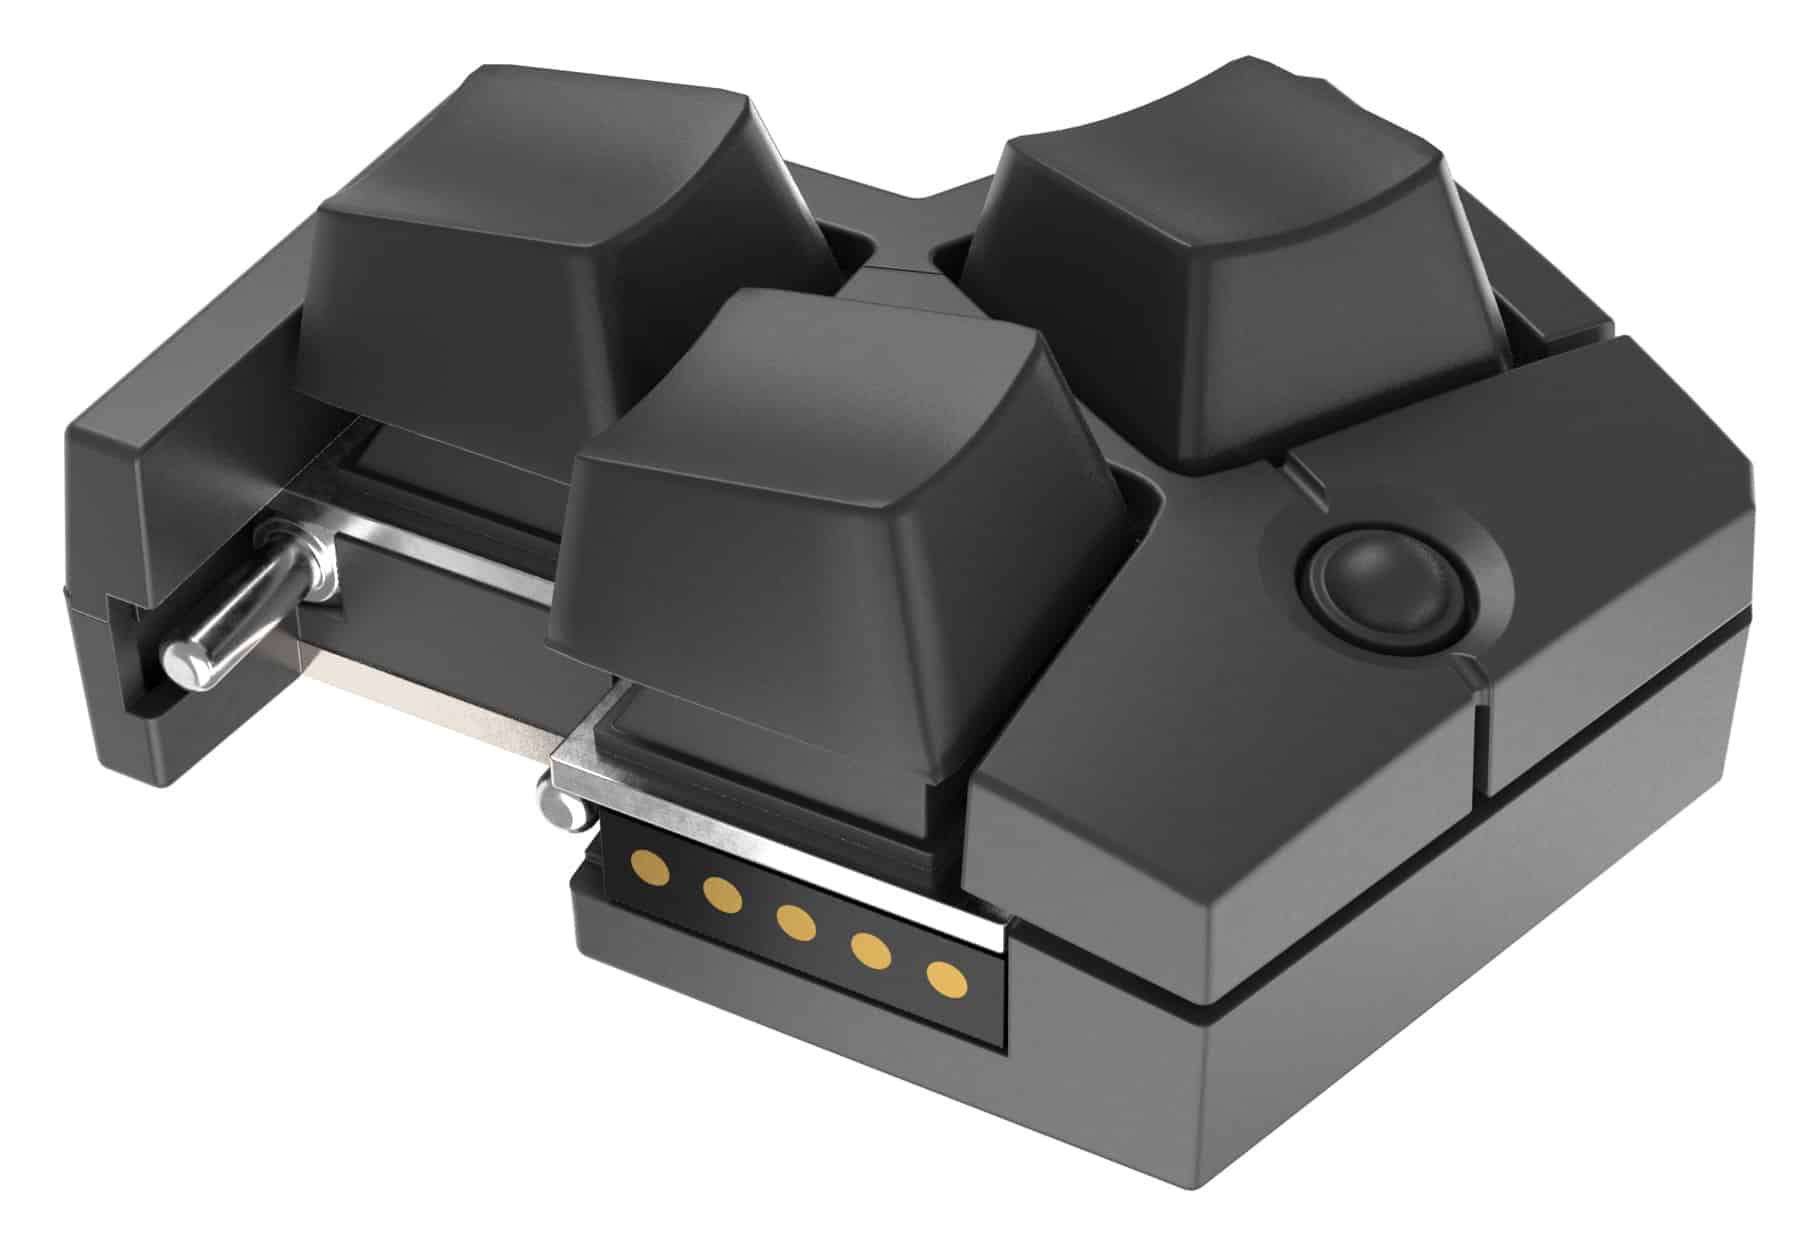
Trackball and touchpad module progress
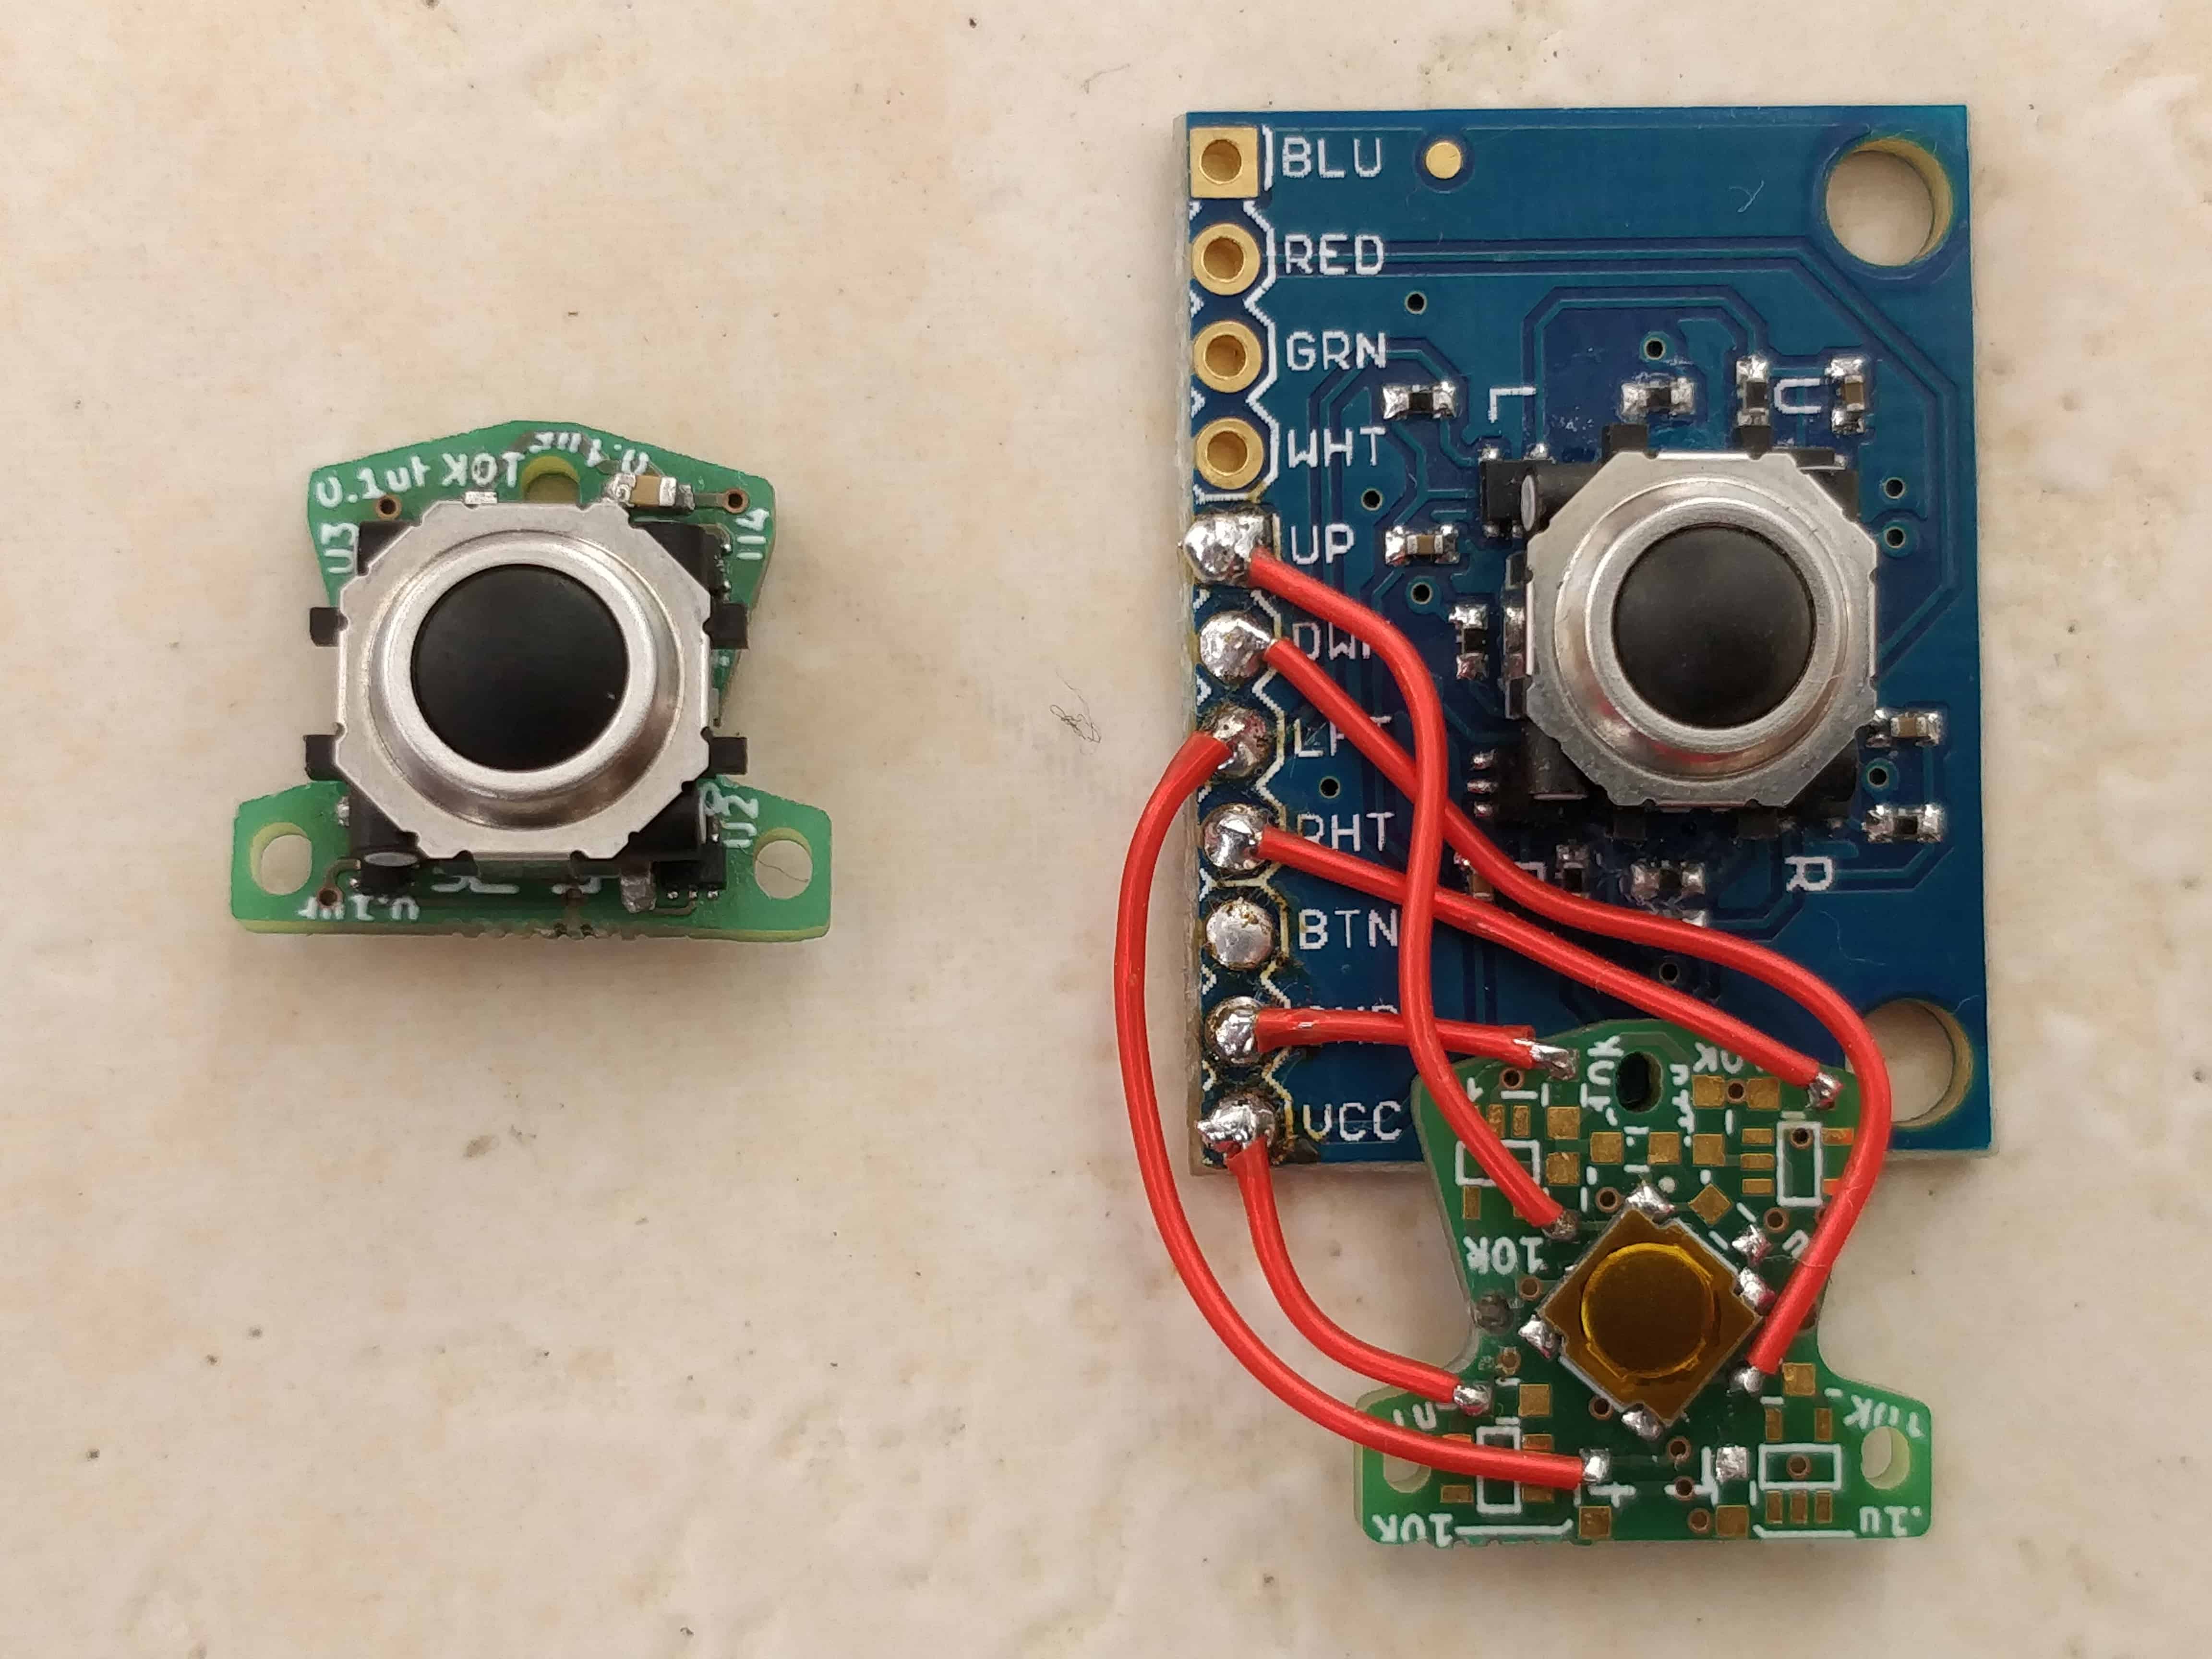
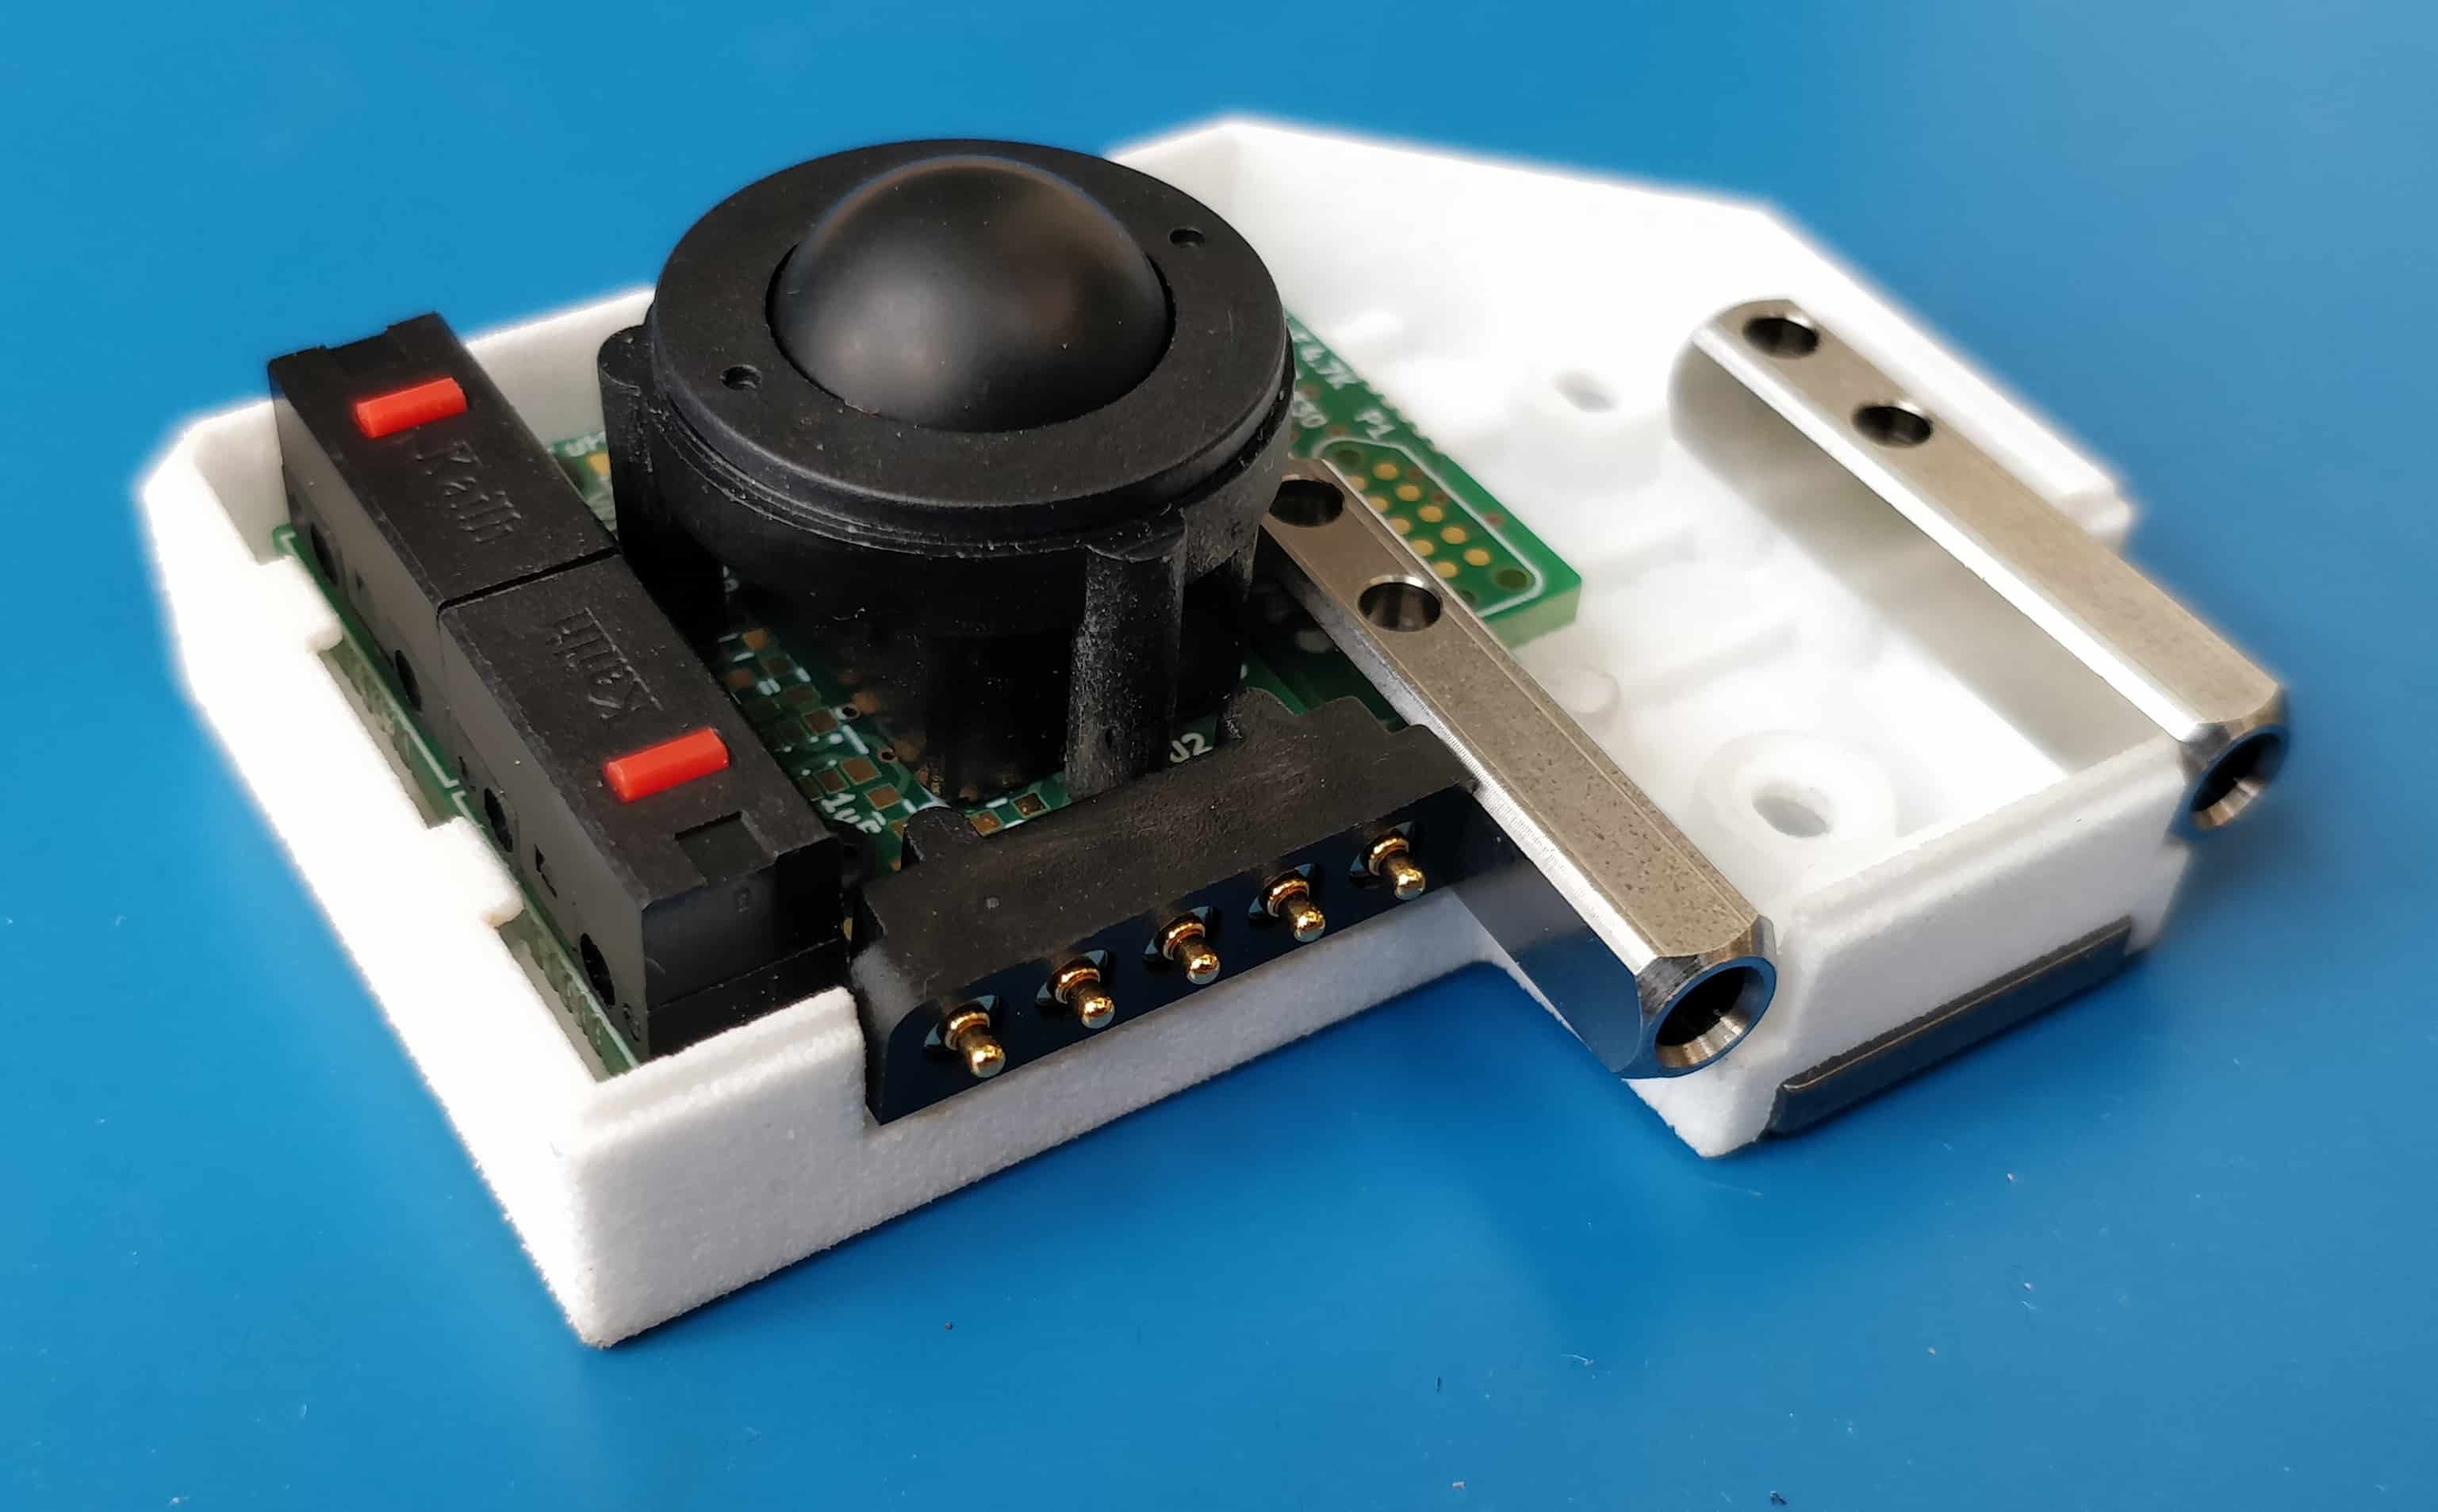
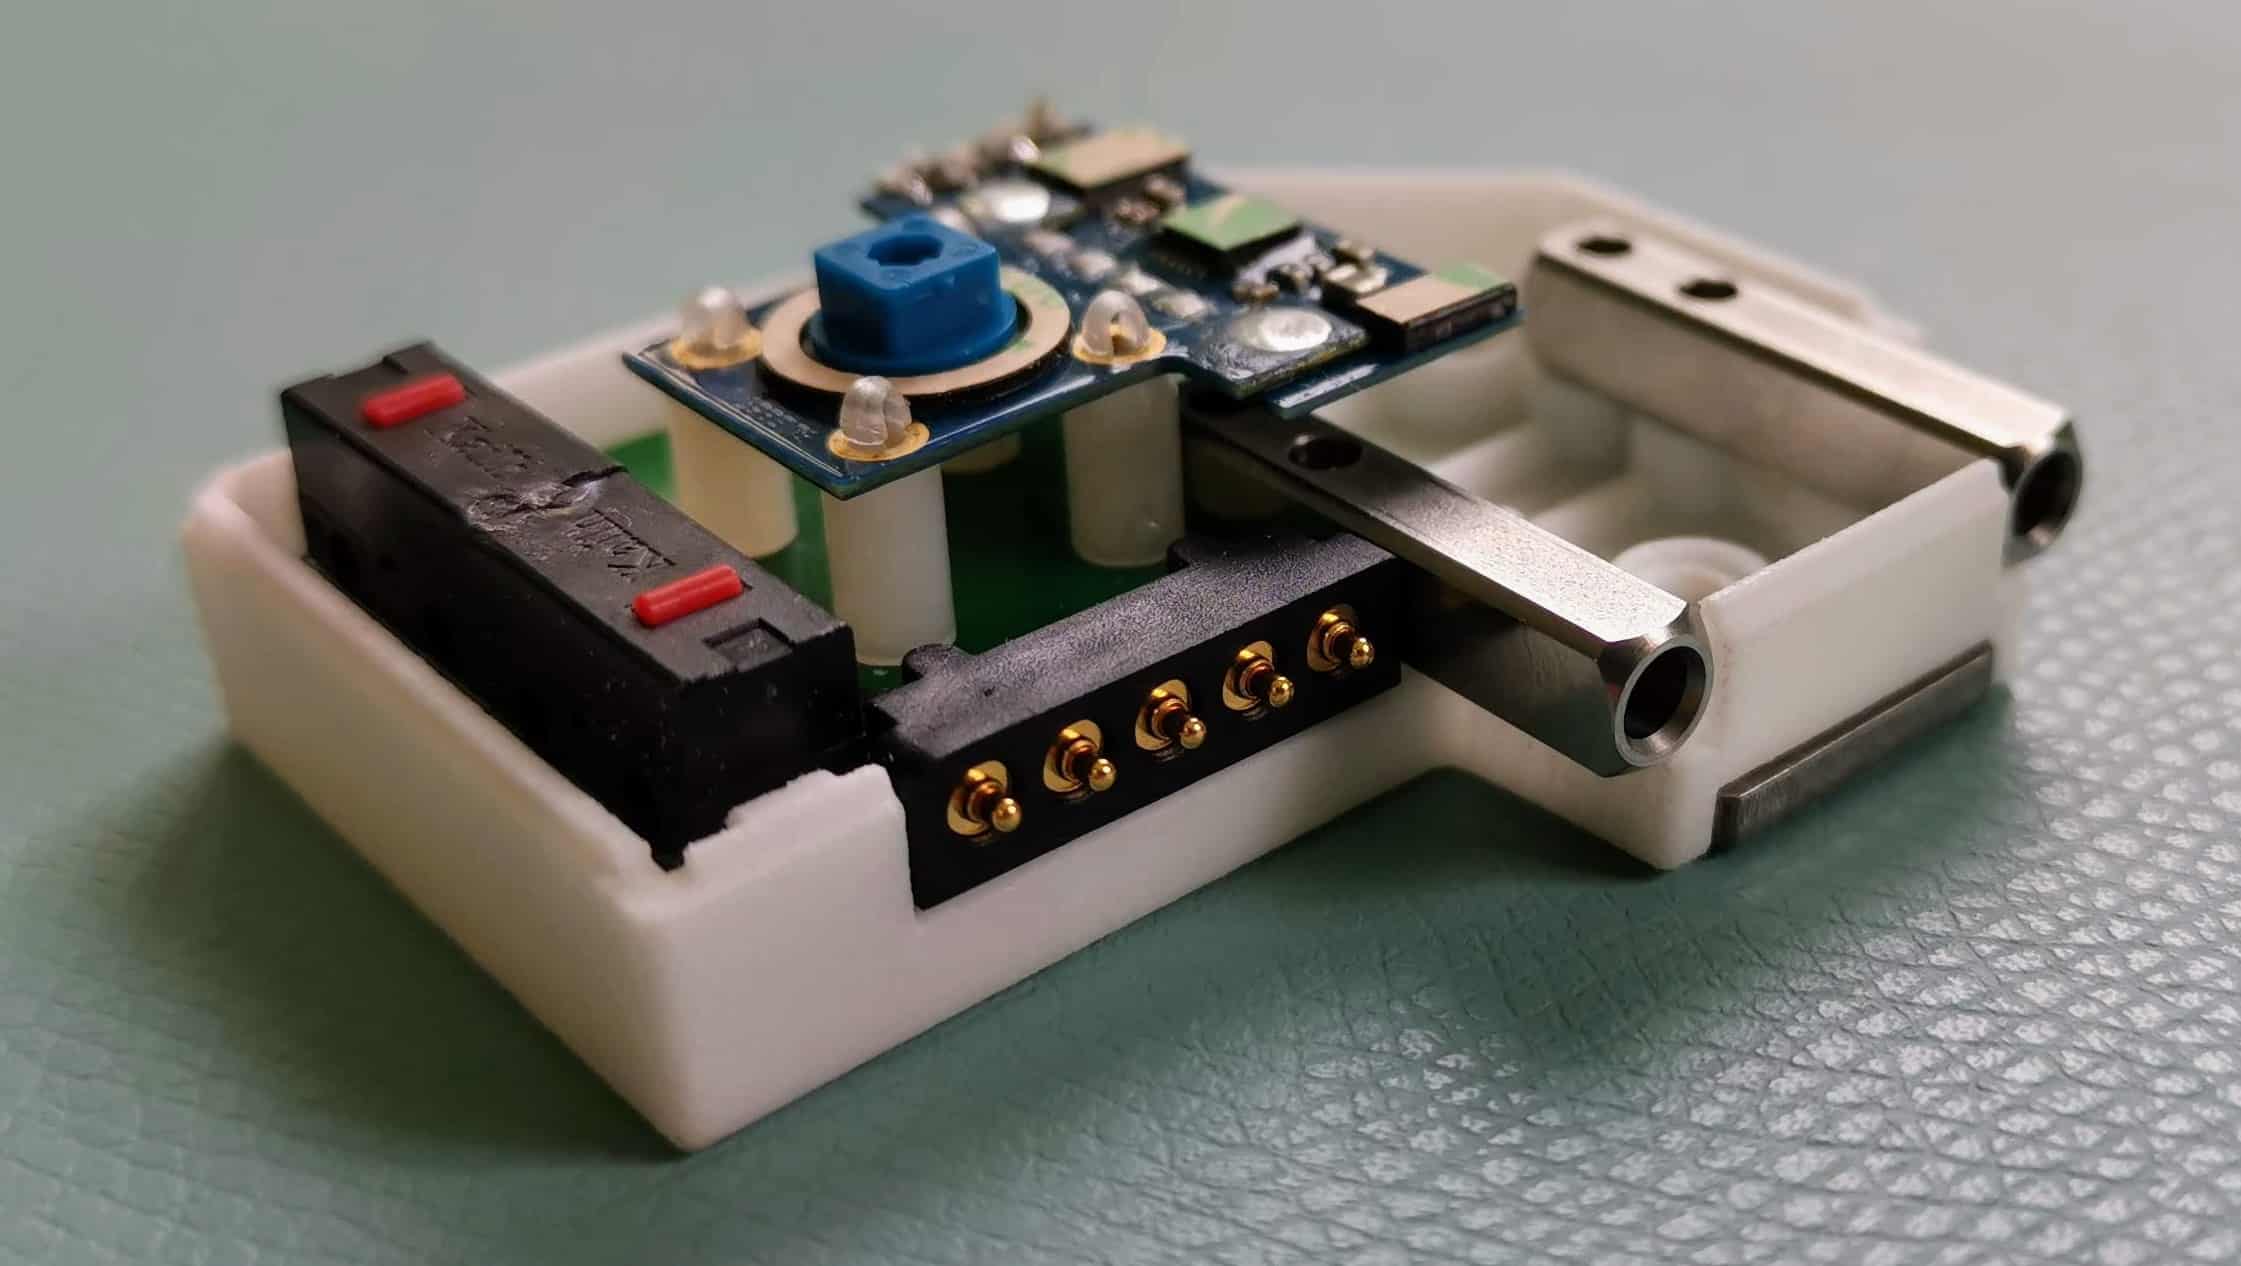
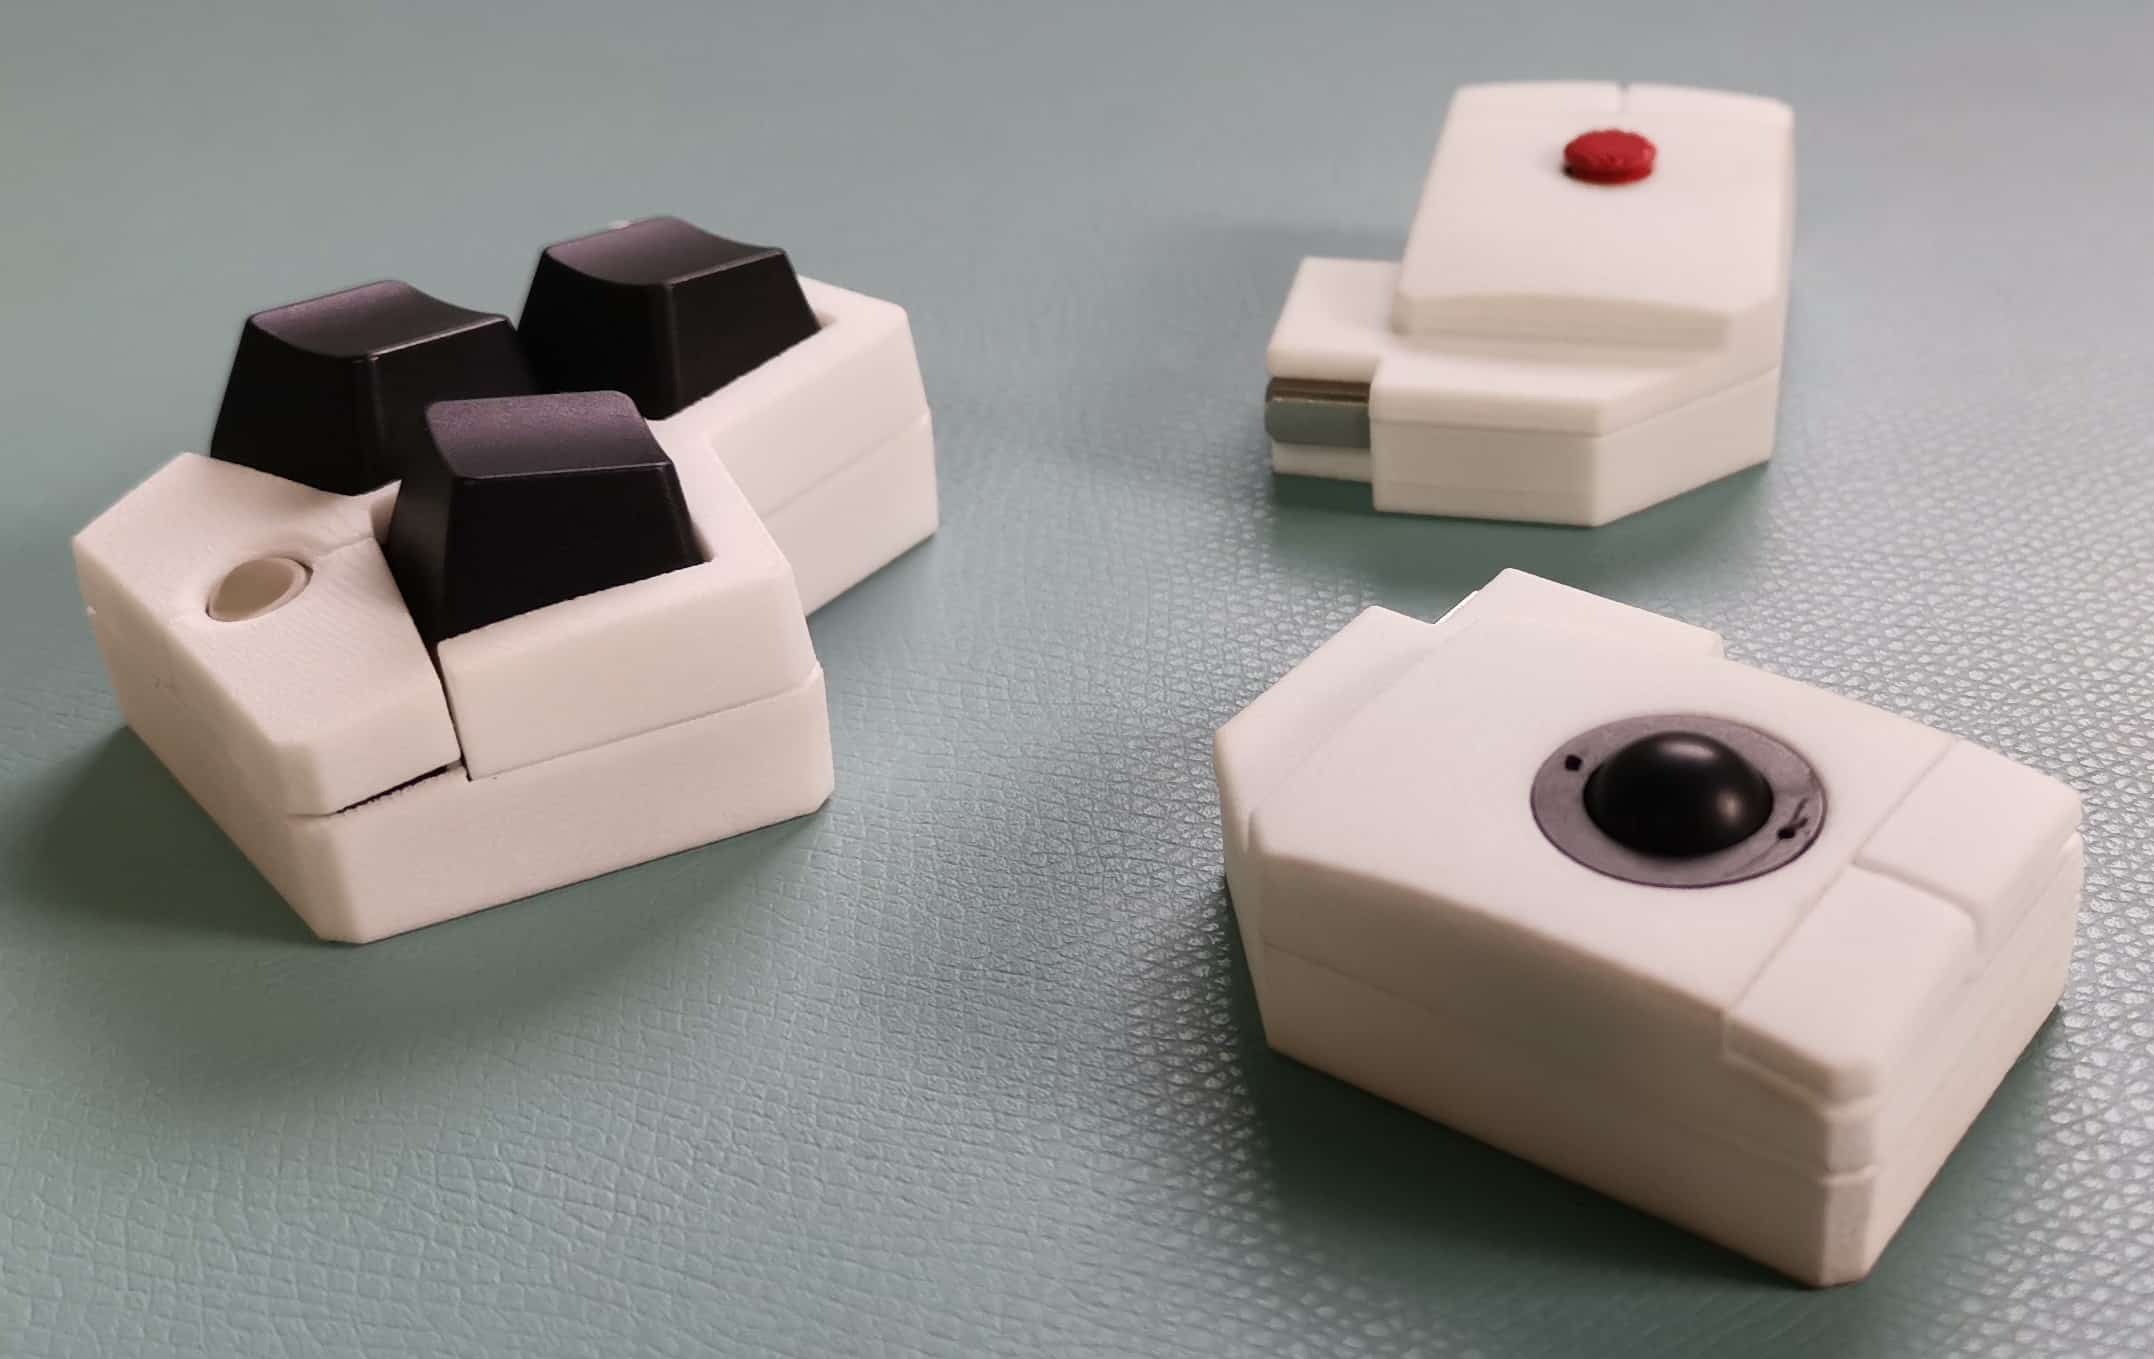
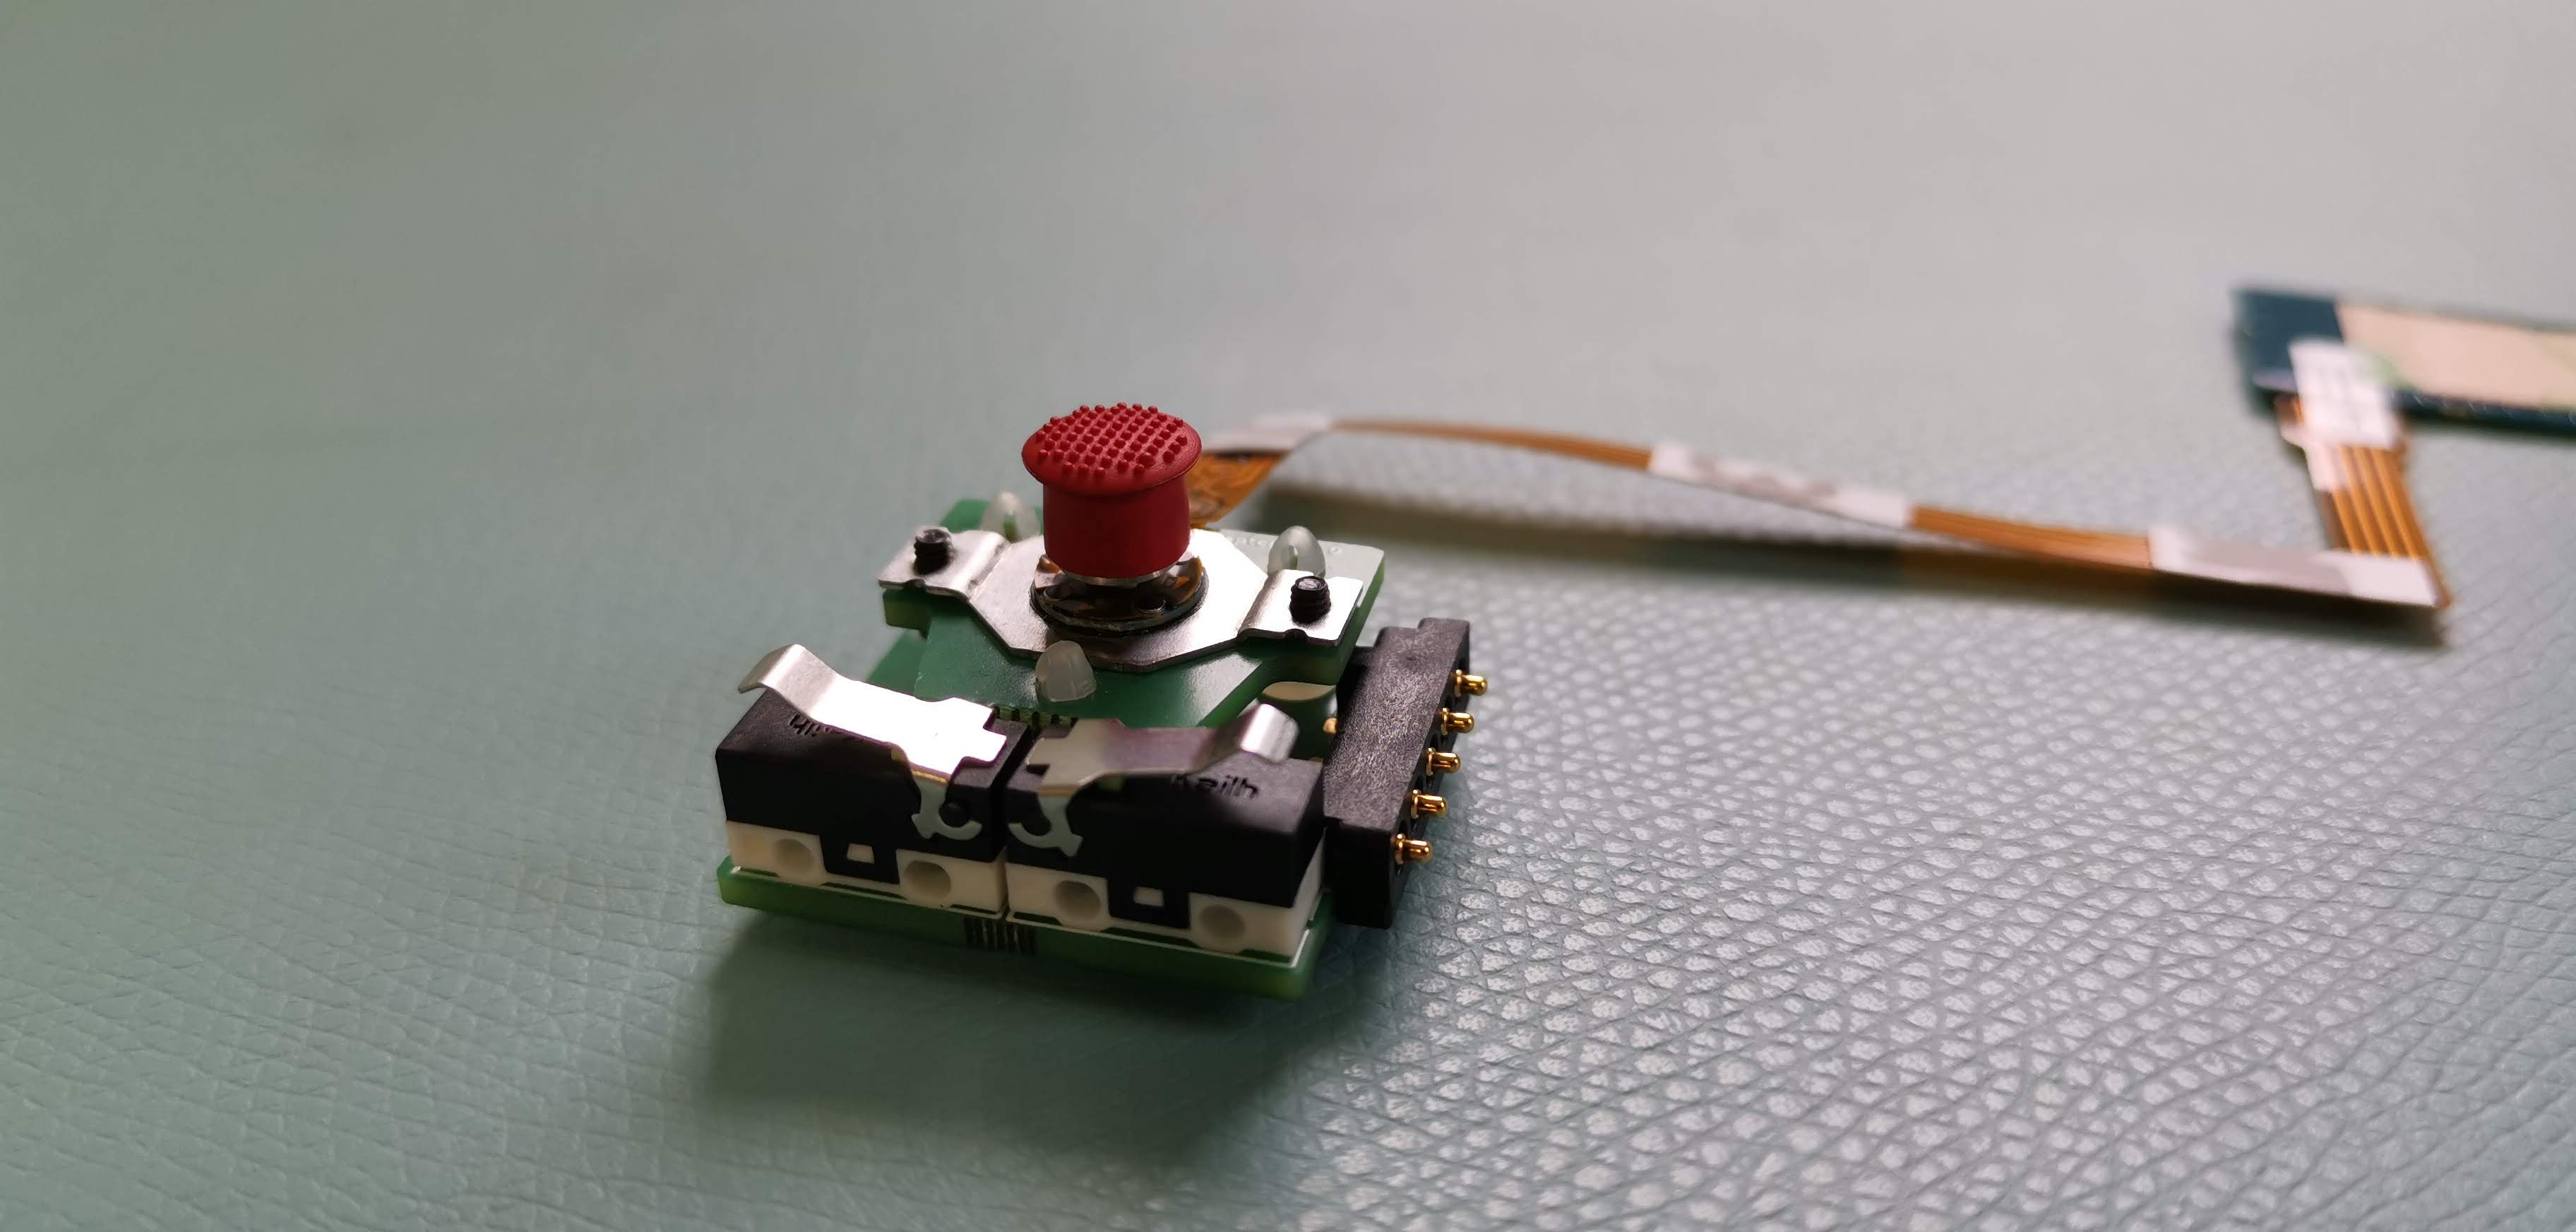
I recently thought I’d finished the firmware for the trackball module and it would be ready to demonstrate for all of you. I can give you a demonstration, but it’s not what I was hoping for.
As you can see, the pointer moves in highly erratic fashion, and it heavily drifts toward the top right corner. I can affect the pointer by moving the trackball toward the bottom left corner, but the erratic movement usually overpowers my movements. I believe that this is a side-effect of insufficient filtering on the PCB, but it’s really just a wild guess on my part, and I’ve contacted PixArt, the manufacturer of the optical sensor who will help.
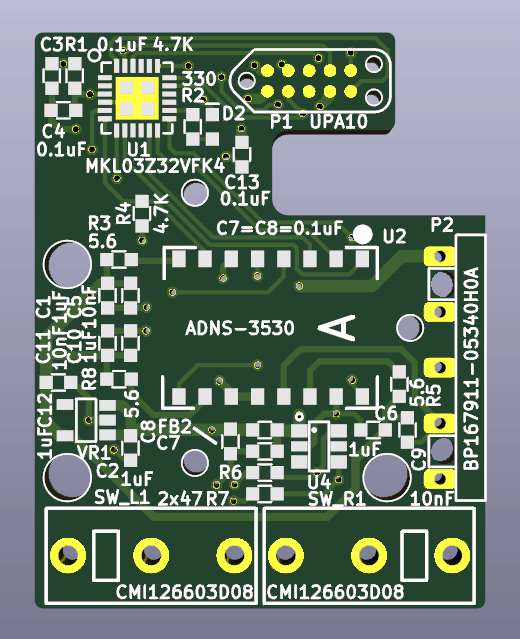
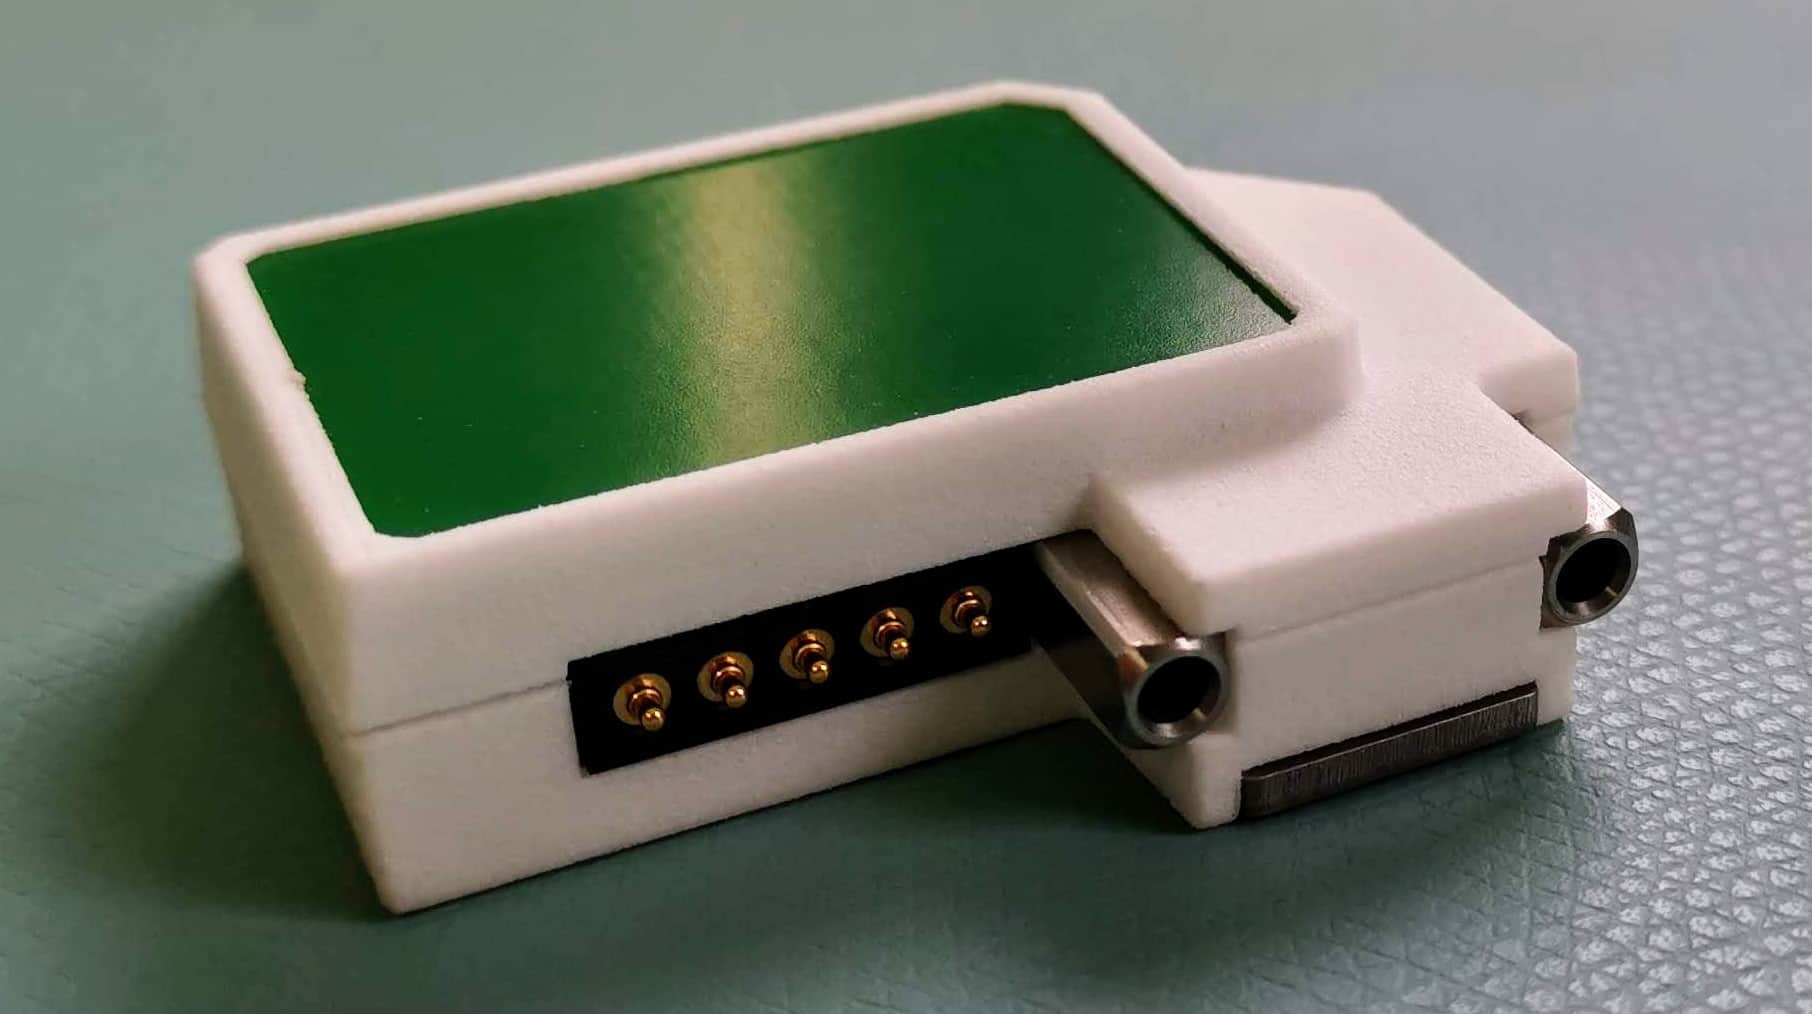
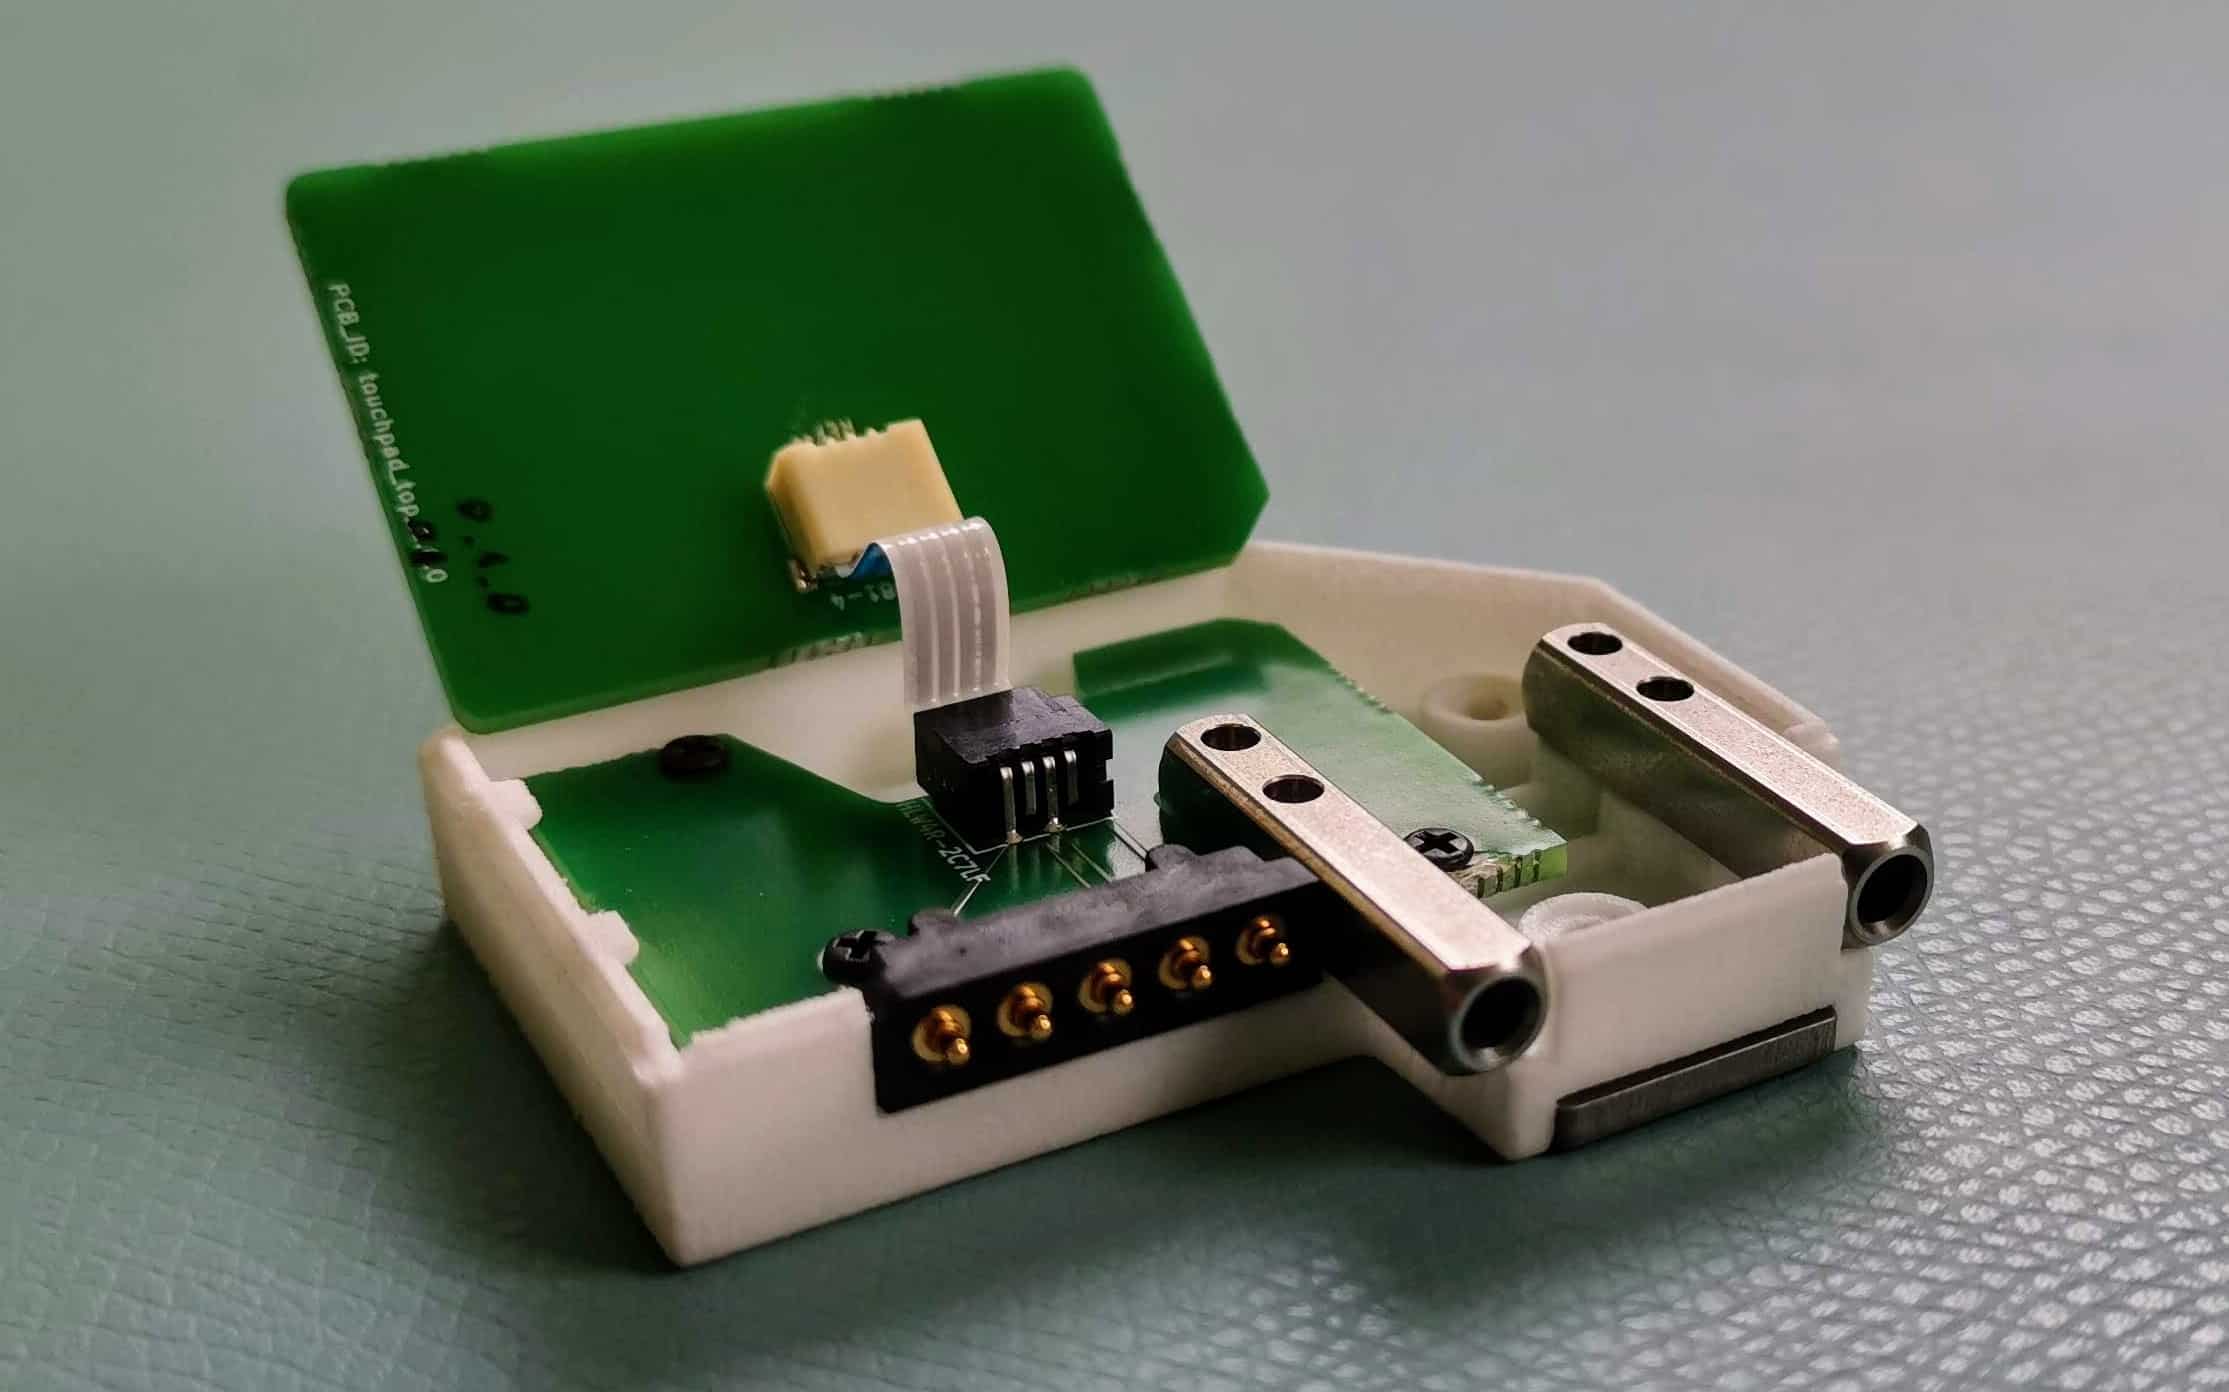
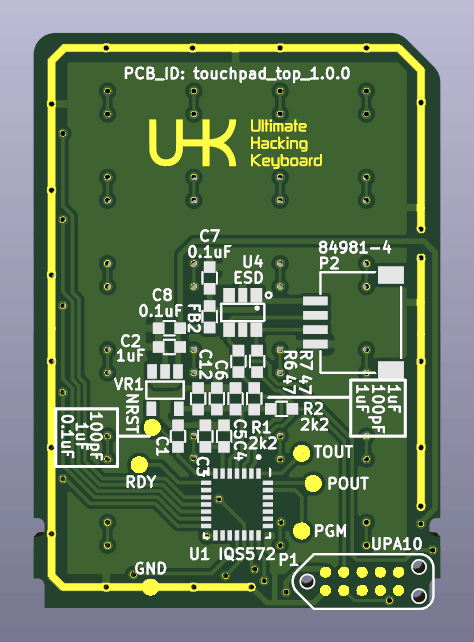
As for the touchpad, we’ve increased its resolution and sensing area.
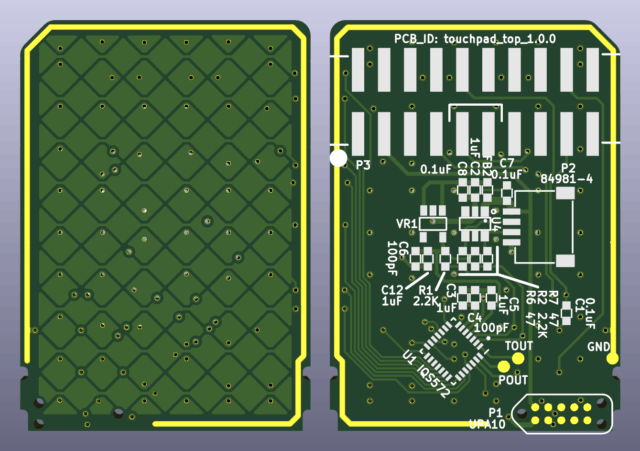
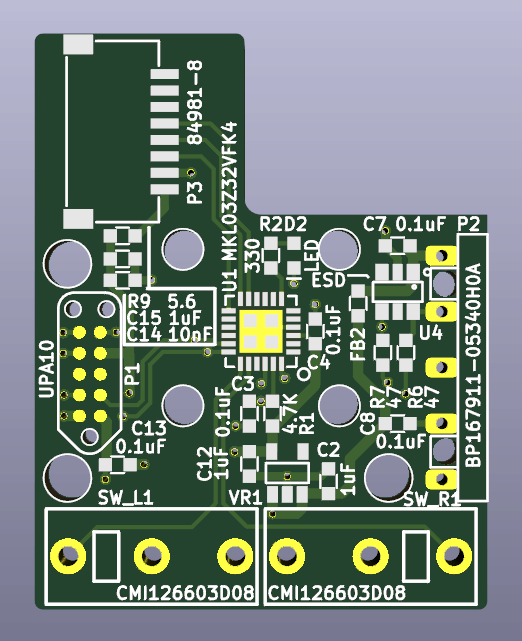
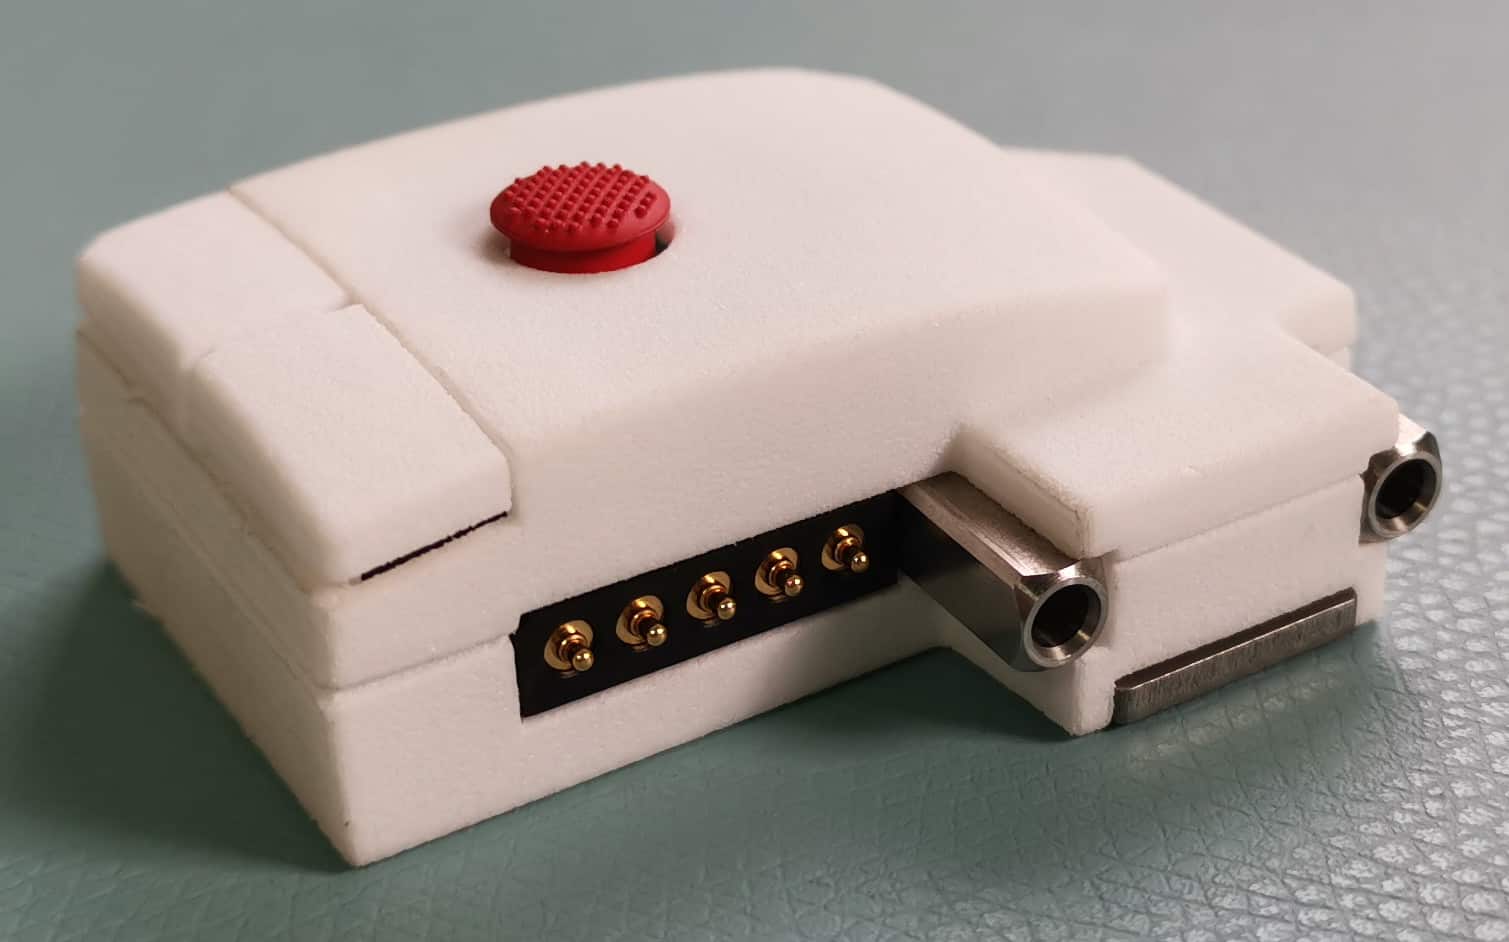
The big footprint is for an optionally solderable 2x20 pin 0.1" connector that directly mates with the Azoteq CT210A-S dongle for configuration and diagnostics purposes.
The new design is a clear improvement over the old one, but we still have some work to do based Azoteq’s new feedback. The ground must be routed in a very specific way to maximize sensor performance. It’s not rocket science, just finicky. István is working on the next PCB version.
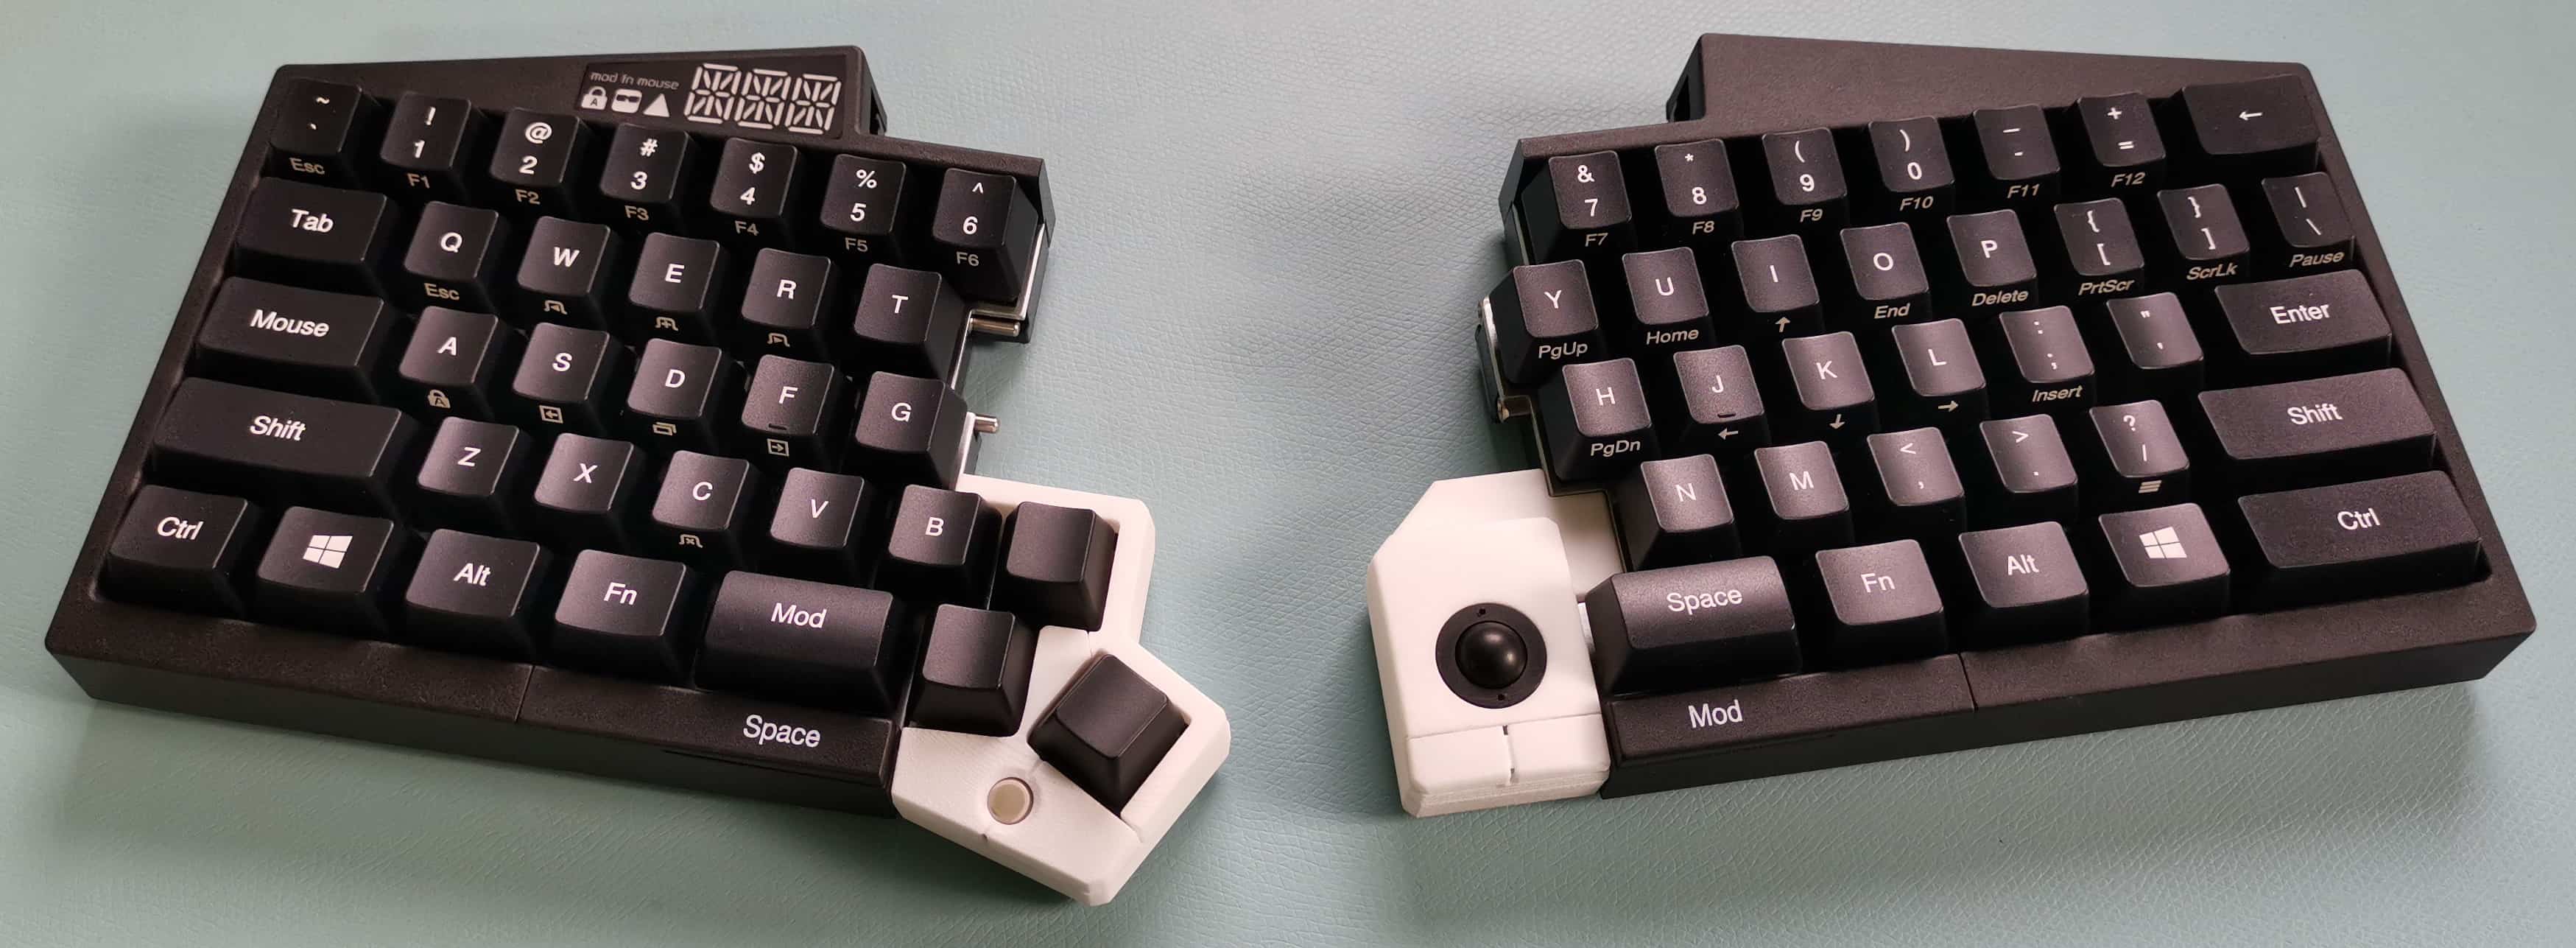
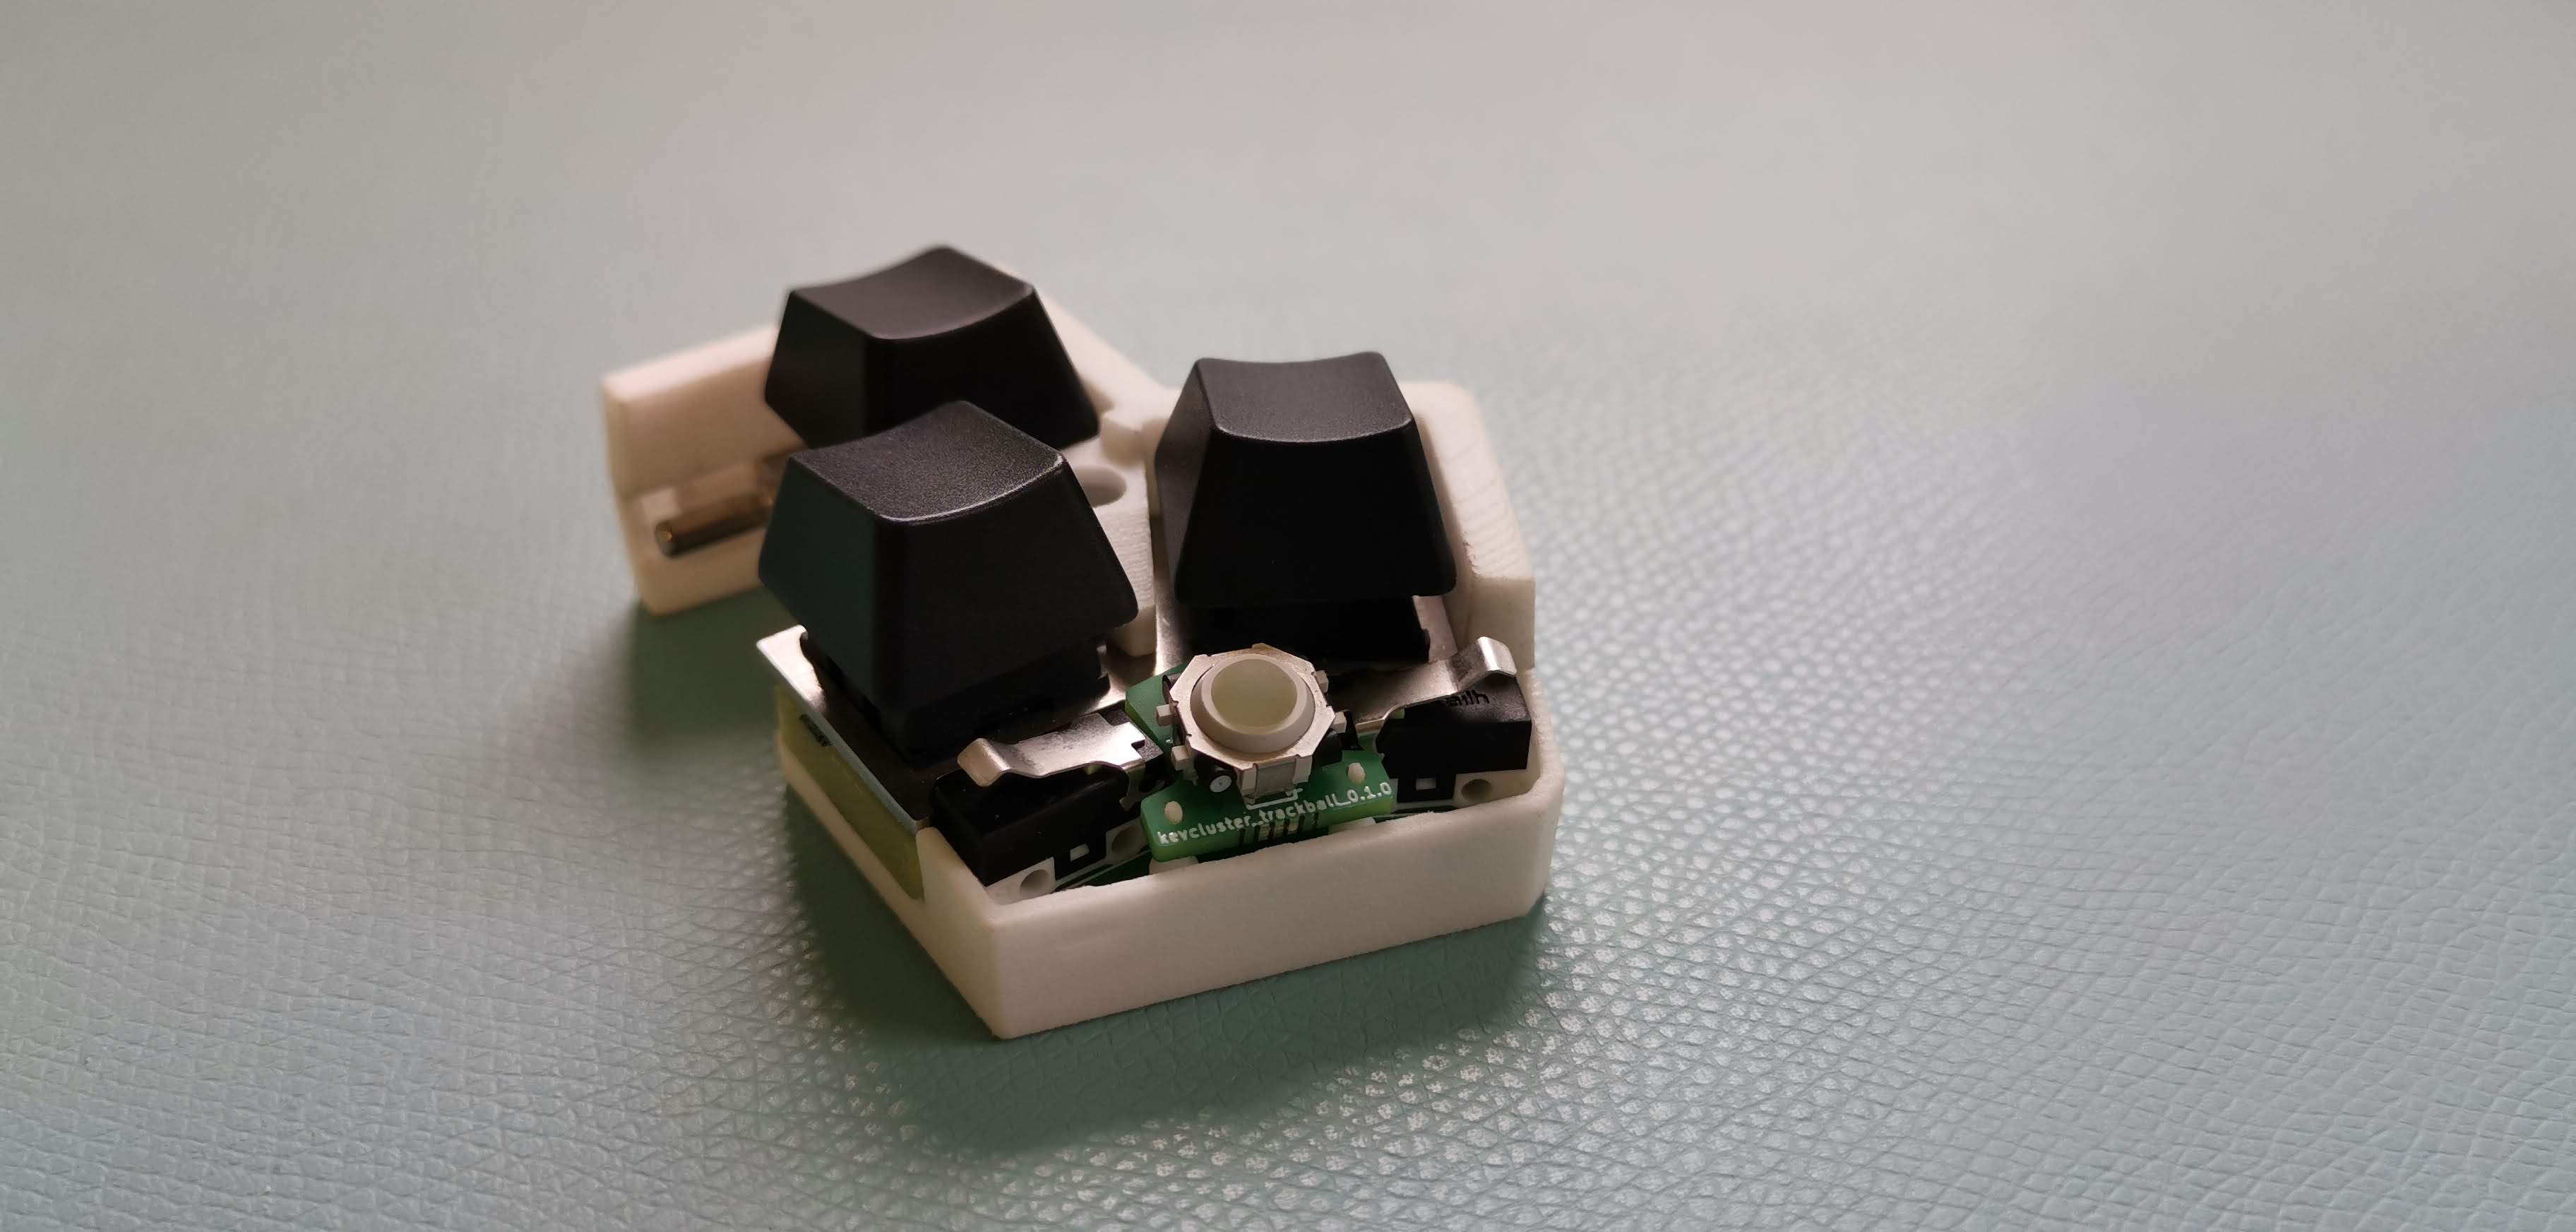
Next up, I’ll be working on the firmware for the trackpoint module, and will implement the suggestions of PixArt to make the trackball module work flawlessly. I hope that I’ll be able to showcase at least one, but hopefully both of these modules in our next monthly update. The key cluster module prototype is already fully functional, and the touchpad module will come last.
UHK reviews
Quite a few UHK reviews have been made recently. Let’s take a look at them!
ShopzadaPH has made an extremely thorough review featuring an unboxing, the keycaps, layout, switches, and configuration of the UHK. He really left no stone unturned, and the production quality is great. This one is highly recommended if you’re considering purchasing a UHK.
Thomas Ran is the king of the hill when it comes to mechanical keyboard reviews on YouTube, and he’s just reviewed the UHK. In his review, he emphasizes that he’s not an ergo guy, and yet, he’s done a great job of explaining the fundamentals of ergo boards and reviewing the UHK.
I met Christian Bäuerlein in 2018, as he's the organizer of Mechanicon, the meetup for mechanical keyboard enthusiasts in Germany. He recently offered to review the UHK, and given his formidable experience with mechanical keyboards, I gladly said yes. I think he’s done a great job of capturing the essence of the UHK in his review, including unboxing, assembly, layout, configuration, switches and keycaps.
Hardware.Info may well be the largest testing lab for computer hardware, peripherals and consumer electronics in the Benelux, which shows in their UHK review, as it’s so detailed, it’s almost like a mad science experiment. Thanks to the magic of Google Translate, English readers can read the translated English review, or read the original Dutch review.
Your tweets
You guys keep sending your awesome tweets, and we’re always eager to read and feature them! If you got your UHK, please share your love!
Okay, I've been using my @UltHackKeyboard full time for a few weeks now. My mind is blown on what I can do with it. The UHK Agent has truly changed how I navigate my machine and the tools I use. #VeryVeryHappy
— Mark Pearl (@MarkPearlCoZa) November 21, 2019
@UltHackKeyboard I've got to the point where I'm bringing my UHK back and forth between home and work, because I don't want to use anything else.
— Mikkel Munch Mortensen (@decibyte) December 6, 2019
Loving my @UltHackKeyboard
— Noam Tenne (@NoamTenne) December 6, 2019
Hands down the most:
-Beautiful unboxing
-Helpful onboarding process
-Comfortable keyboard
Bravo! pic.twitter.com/GSZZHVFLVb
Got my first artisan keycap for my @UltHackKeyboard #thelegendofzelda
— Manuel Iglesias (@menyao) November 22, 2019
Loving it! pic.twitter.com/931Tt7Zdh1
Hey @UltHackKeyboard #GotMyUHK today. Fantastic build, love the mod keys, looking forward to coding with it 😁 pic.twitter.com/rHoRu5Mmv8
— Ben Schmidt (@SurRobin) December 11, 2019
色々買い揃えてお仕事環境が整いました
— るしあん🥀過疎鯖メーカー (@Rusian0) December 9, 2019
自分への誕プレ pic.twitter.com/jonQiJRdTq
We’ll be keeping you updated on all things UHK, and are looking forward to talking to you on 2020-01-10.