The following is an official repair guide for the Ultimate Hacking Keyboard. Since repair extends product lifespan and saves natural resources, we're dedicated to providing product repair guides. We do respect the two-year warranty period of our products regardless. We even provide post-warranty repairs.
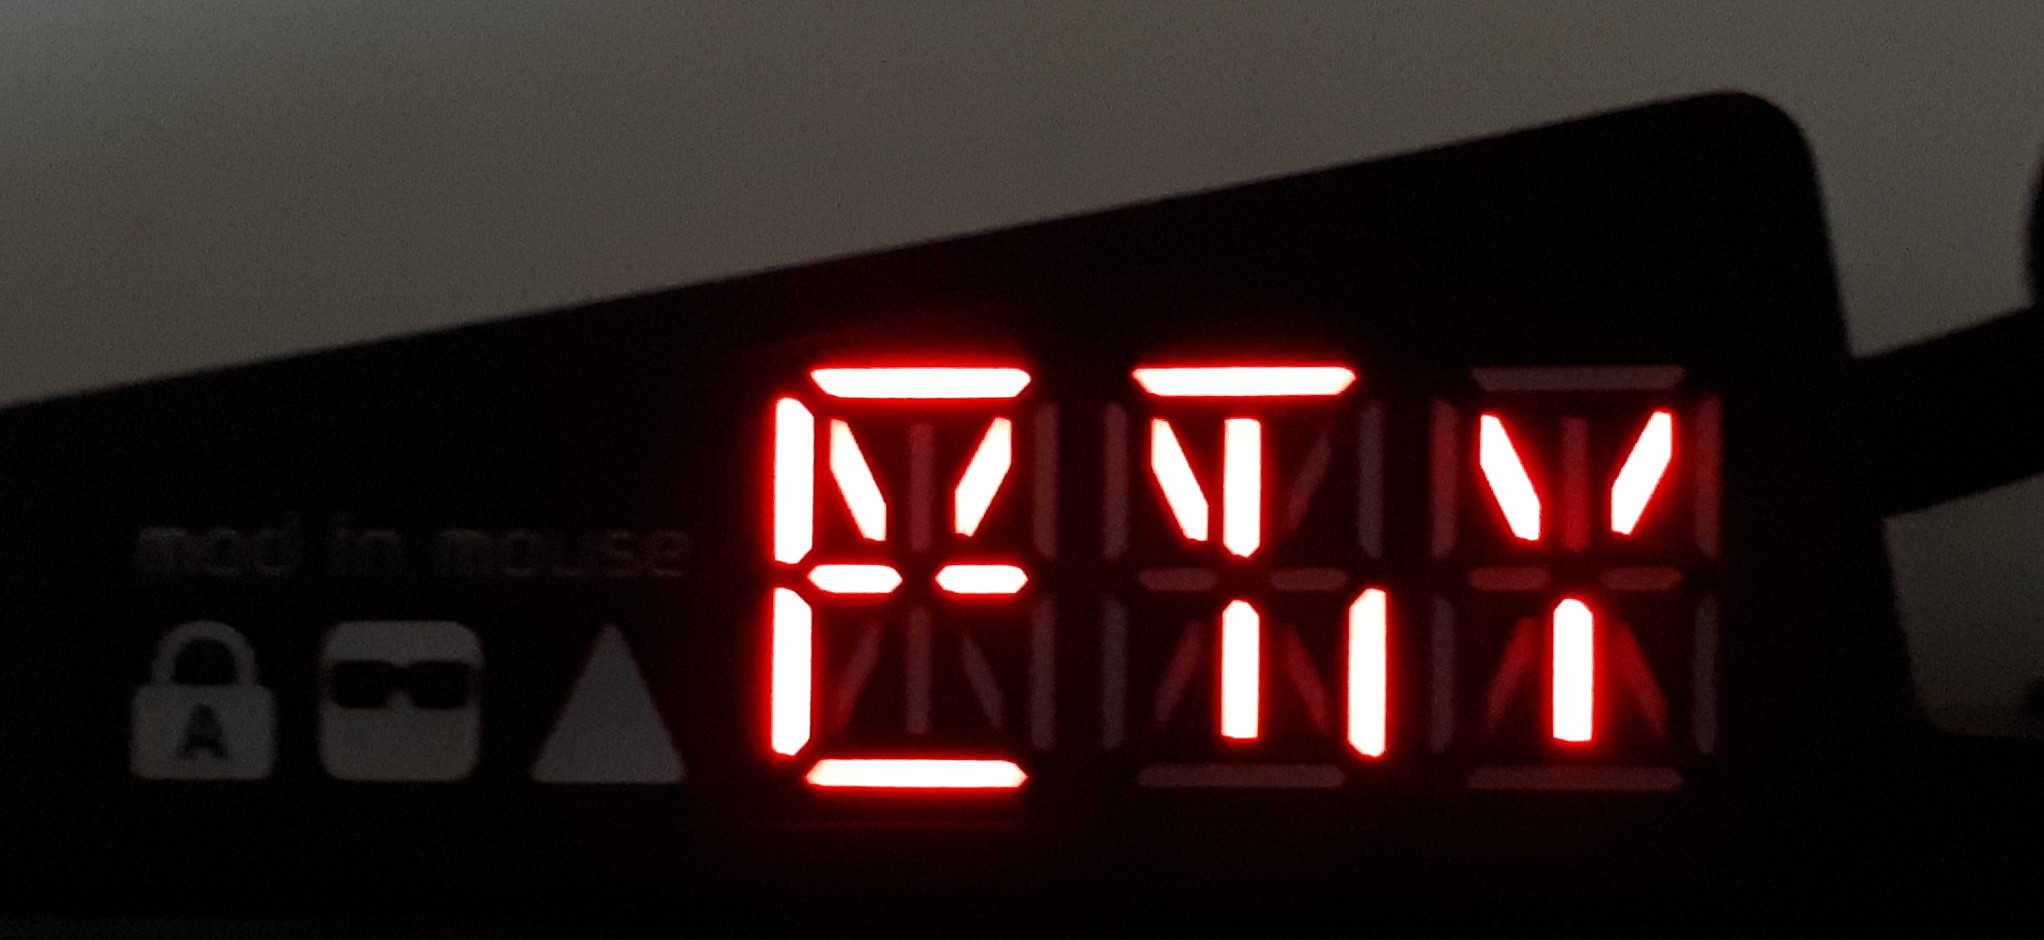
Can you see gibberish on your LED display, or does it eventually go dark? Chances are high the FFC cable of the LED display got loose. This is a rare issue prevalent for the first 50 UHKs we manufactured and delivered at the end of 2017. Luckily, this can be easily fixed. Let's do this!
First up, disconnect the left keyboard half, and remove the palm rest and feet if attached.
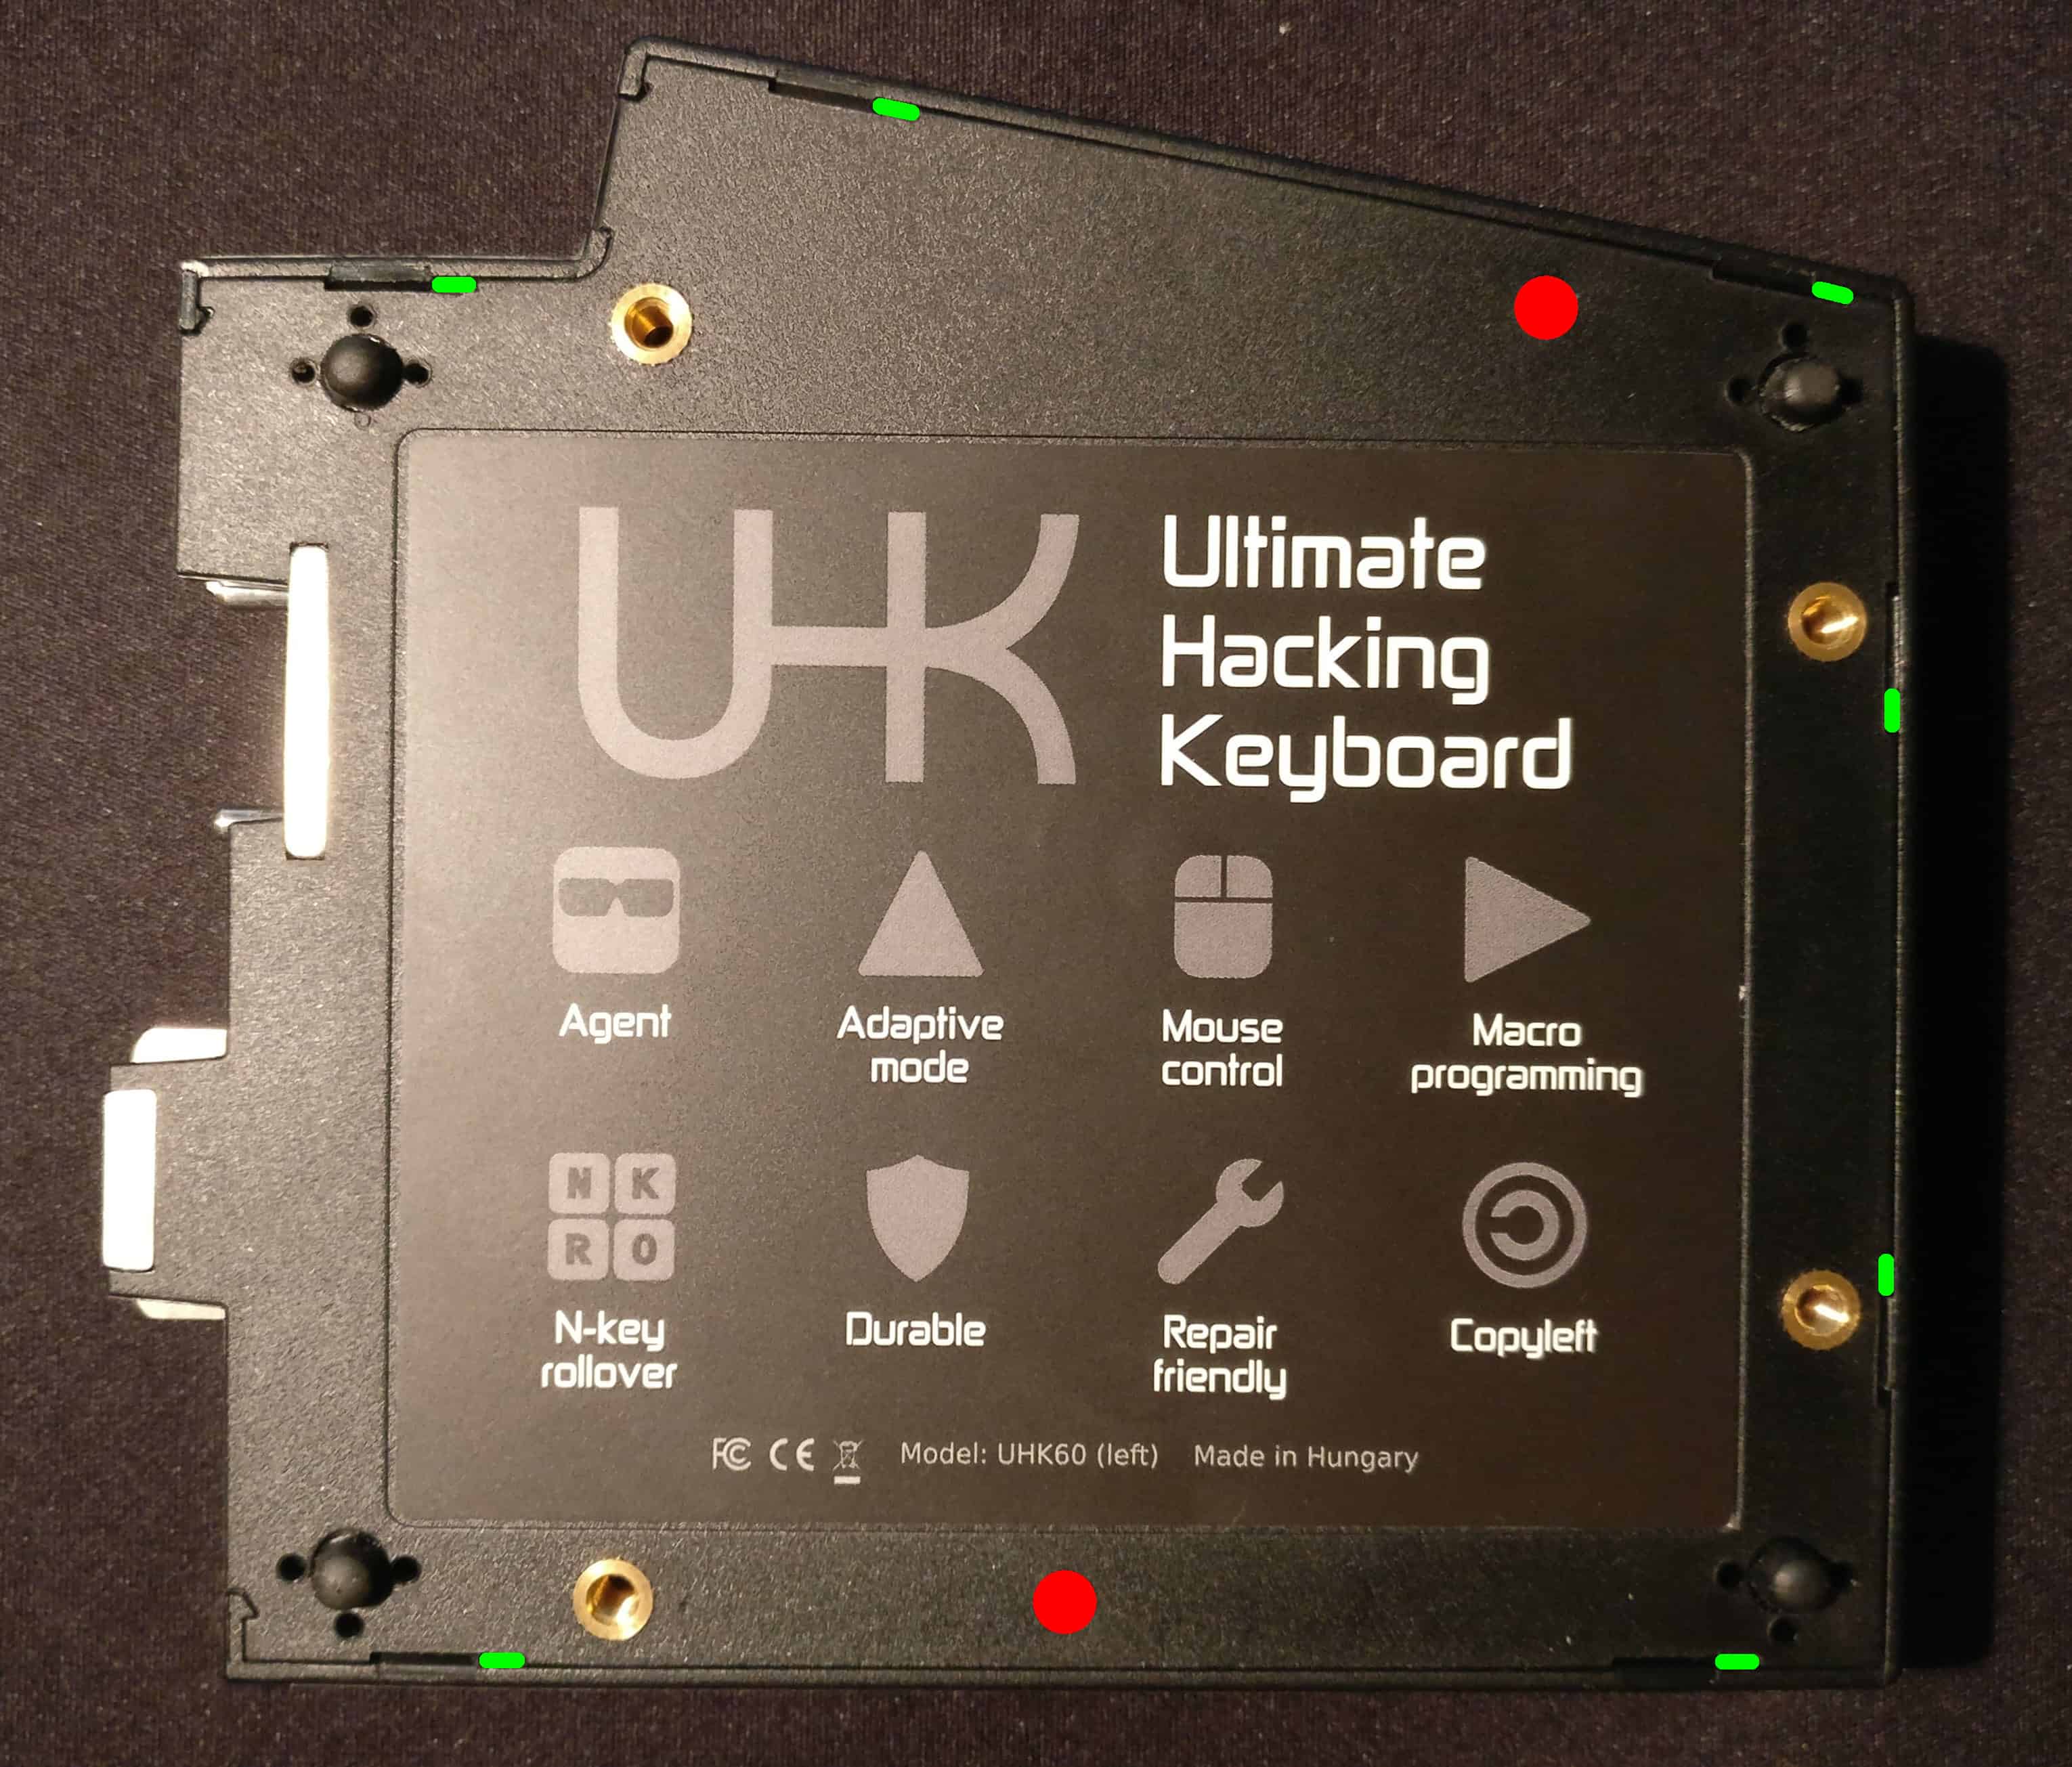
Next up, unscrew the two screws highlighted in red. Then loosen the snap-fits using a flat-headed screwdriver in the highlighted green recesses or with a prying tool. Proceed counter-clockwise starting from the left bottom snap fit on the picture.
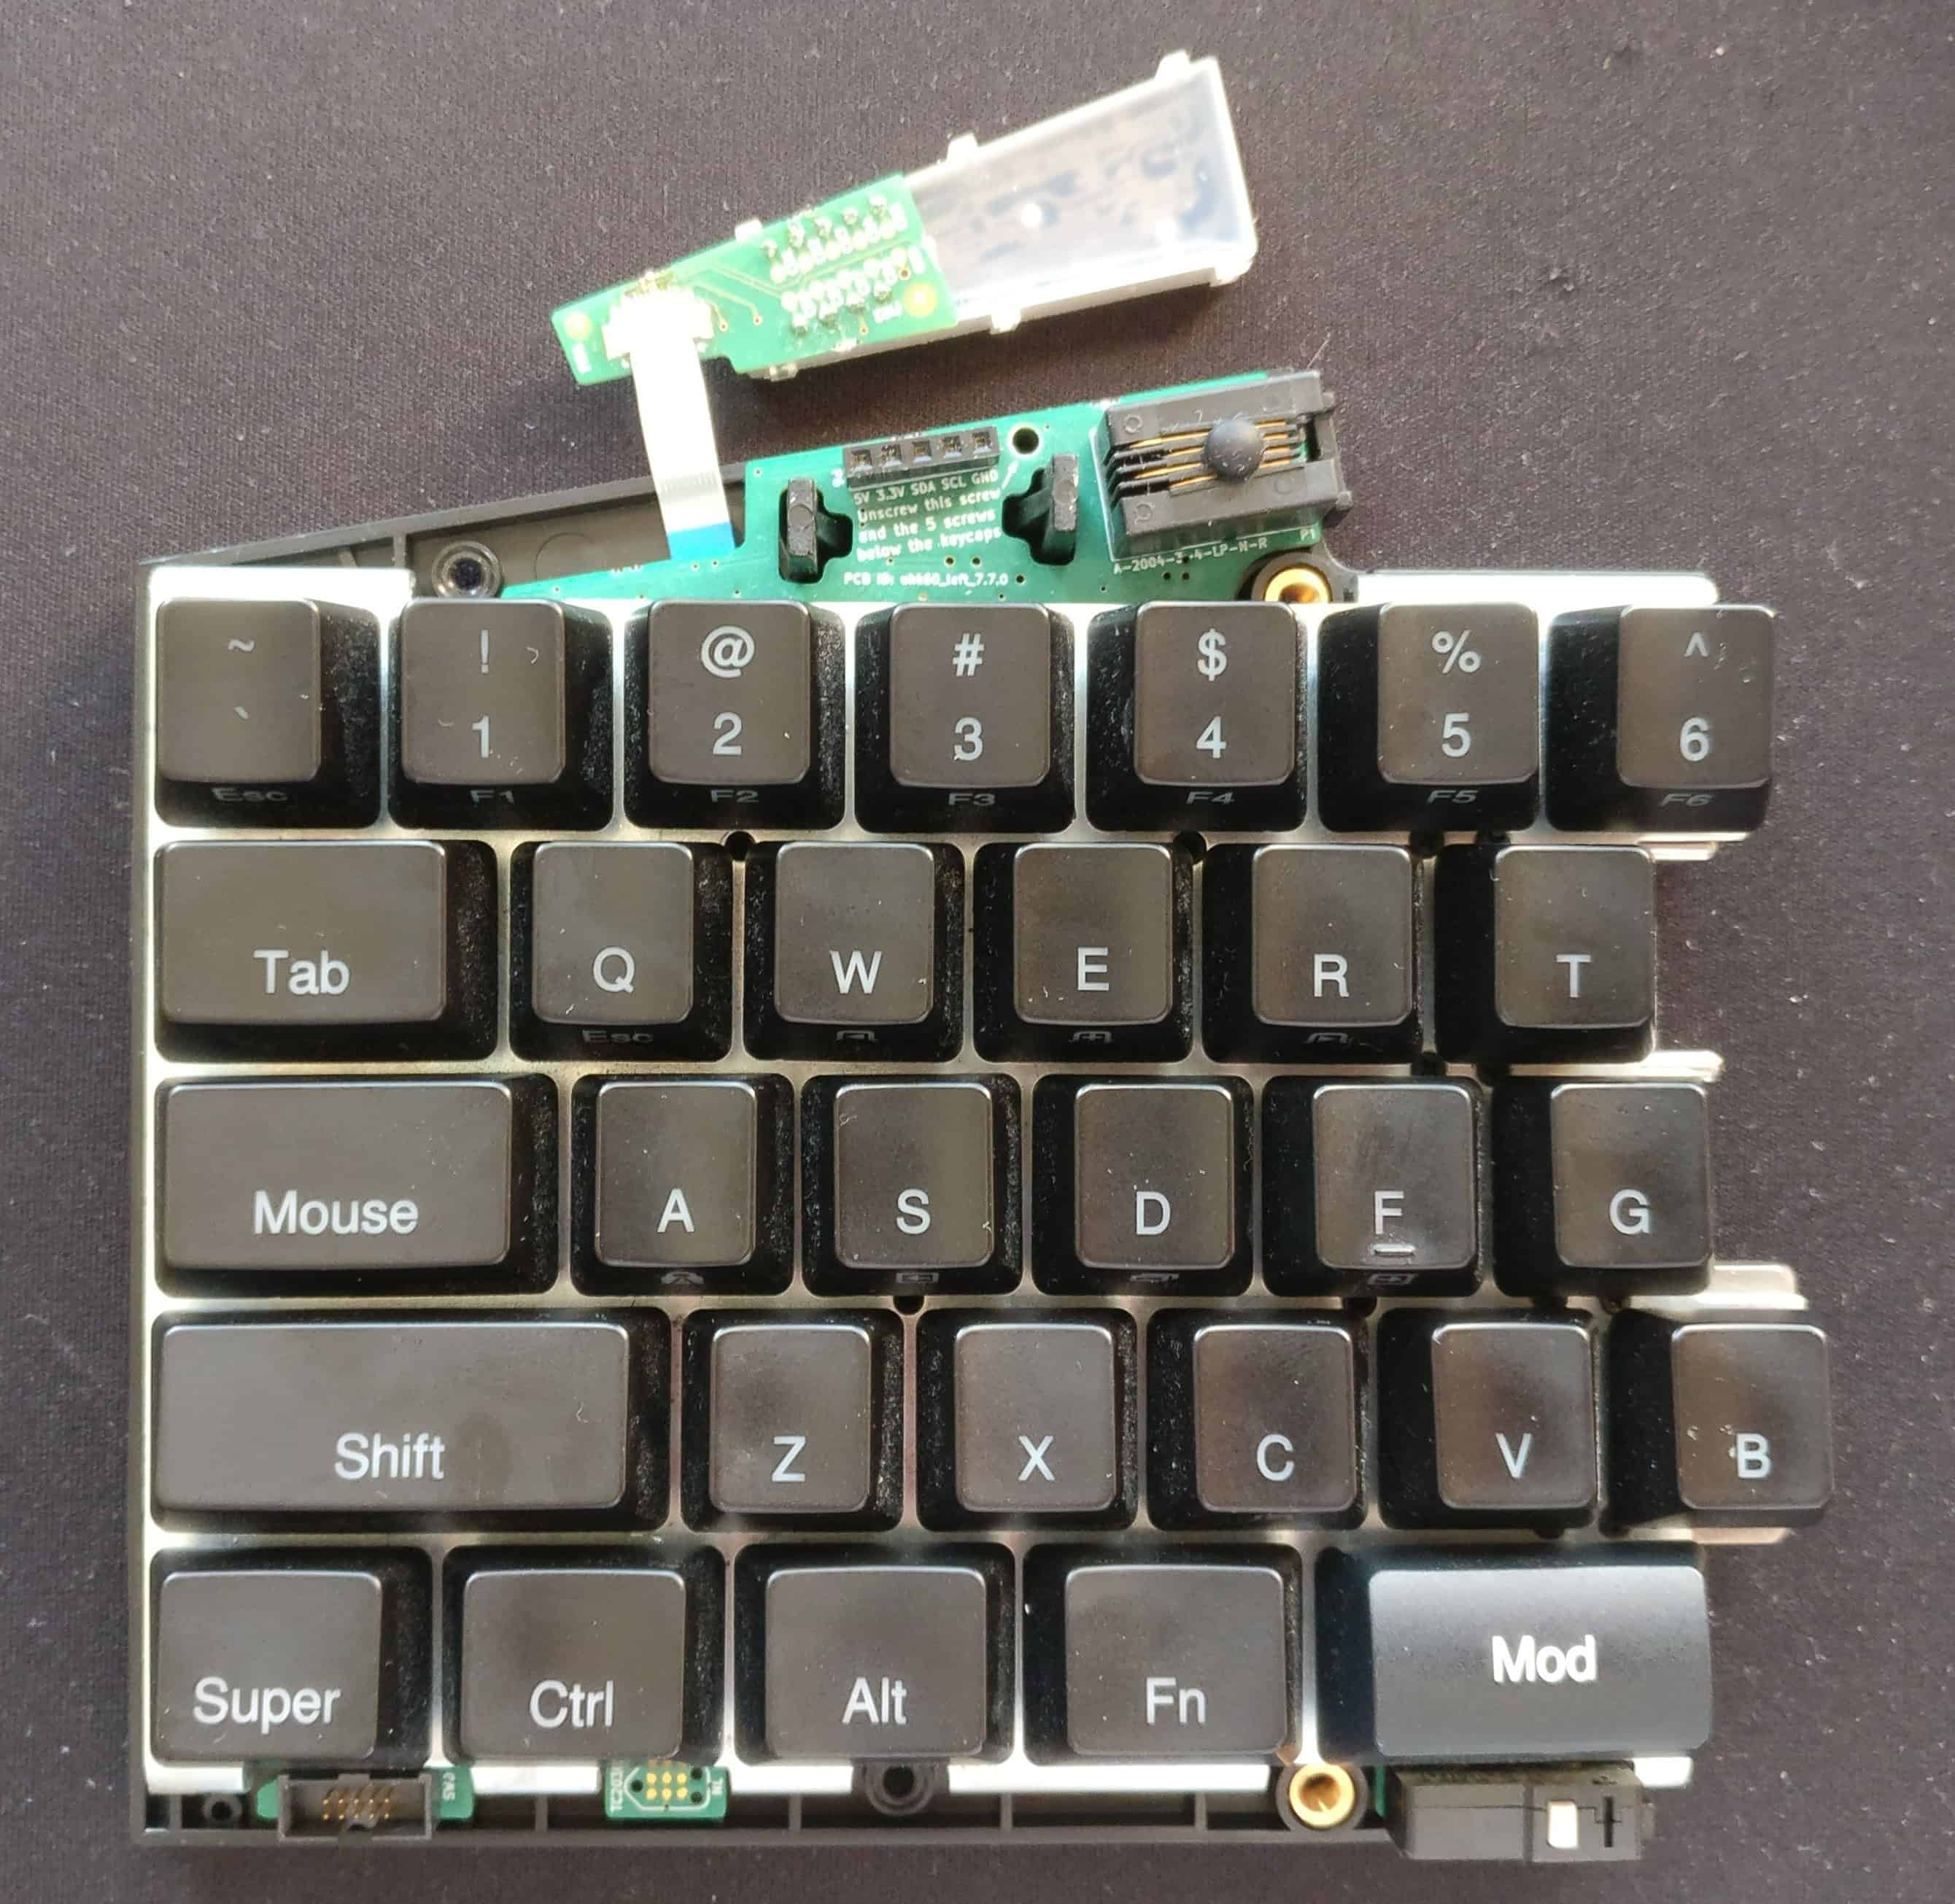
Now, you can access the FFC cable that interconnects the display and the main board.
If you need to disassemble your UHK further, check out the UHK disassembly guide.
The FFC cable has a blue plastic tag at either end that should be used to push the cable in.
Use a tweezer to grip the blue plastic tag and gently push the cable into the FFC connector on the main board and the LED display.
The LED display will work as expected when the cable is properly seated.
You can test this before assembling the case by inserting the spiral cable and cycling through the keyboard layouts using Fn +1 through to Fn + 5. Double tapping the Mouse, Mod, and Fn keys should toggle the LED indicators for those keys. If the gentle movement of the FFC cable results in spurious LED segments lighting up, you must reseat the cable again.
The display may be fine before assembling the case, but after assembling the case, you get spurious LED segments lighting up. If this happens, remove the case and attempt to reseat the FFC cable again using tweezers to grip the blue tag and gently push the cable into the connectors on both ends.
If you cannot see the blue tag against the black plastic on the main board, shine a light on it; it's important to use that tag to do the reseating of the cable.

Please note that if you have a pilot-run UHK that has LED display issues, the above instructions may not be sufficient. We bent the FFC cable in an M shape to fully solve this problem. You might have to do the same. As for the orientation of the cable, the middle part of the M should point toward your UHK.

Finally, assemble your keyboard, and make sure that you snap all the snap fits of the top and back cases together everywhere, or else the top case may be permanently deformed, and the two keyboard halves may not meet accurately! Pay attention to screw properly.
You should be good to go! In case your display still shows gibberish, feel free to get in touch with us!