If the mini trackball of your key cluster module is working in all but one direction, it needs to be fixed.
There are three ways of fixing the mini trackball of your key cluster module.
Feel free to try the following repairs, as you won't lose your warranty.
Cleaning the mini trackball
The cheapest (free) but the hardest way is to disassemble and clean the mini trackball. You can access the mini trackball using the guide below. You can remove the top metal part that keeps the ball and spindles in place and then remove the dirt from the spindles. Putting the metal part back can be hard or impossible if you deform it during disassembly. Fortunately, the following solutions should work.
Replace the mini trackball
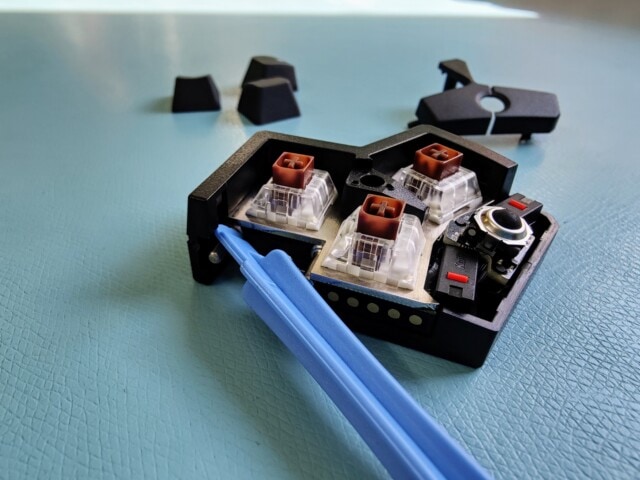
This is a cheap and relatively easy method. The mini trackball is a BlackBerry trackball that you can purchase from numerous merchants. It is super-glued to the circuit board and can be removed with a prying tool. (The mini trackball is not electrically connected to the circuit board because it uses magnets.) Then, you can glue the new BlackBerry trackball in place of the old one.
If your key cluster module is under warranty, we can reimburse you for the cost of the BlackBerry trackball you purchased.
If you haven't succeeded, the following method should always work.
Replacing the mini trackball subassembly
This guide shows you how to replace the mini trackball subassembly of your key cluster module. If your key cluster module is under warranty, we can ship this part to you. Let's get started!
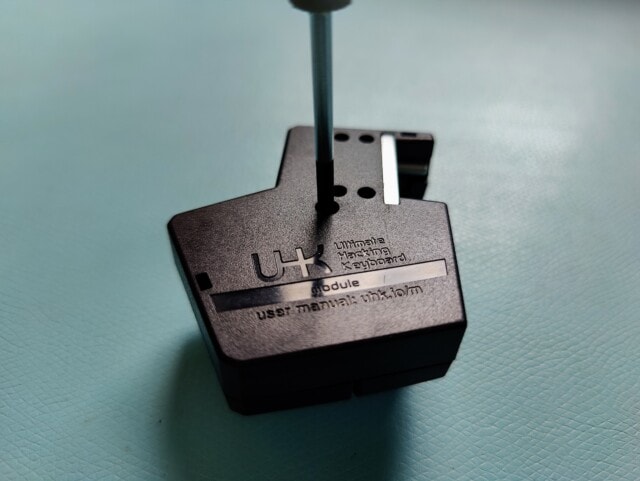
Unscrew the screw at the center of the back of the module:
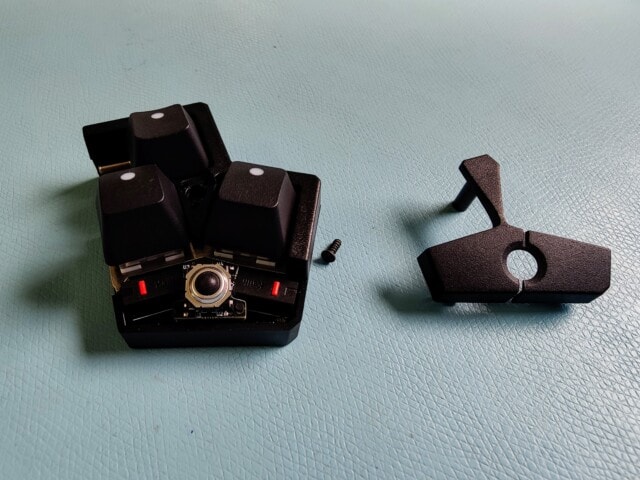
Remove the case buttons:
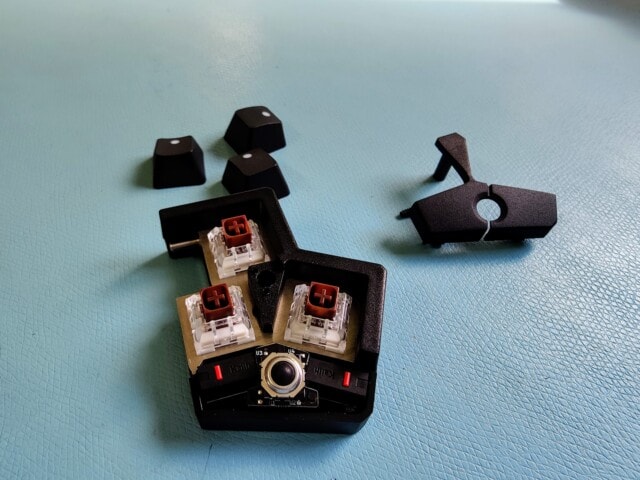
Remove the keycaps with a keycap puller, possibly a DIY keycap puller, or bare hands:
Remove the top part of the plastic case:
Unscrew the three screws that hold the metal plate in place:
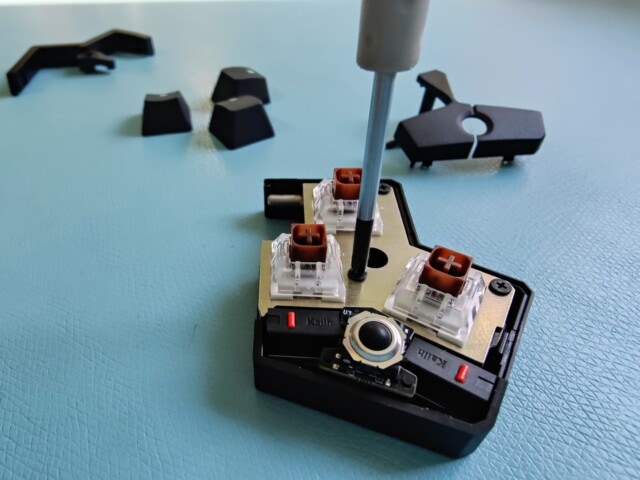
Lift the metal plate:
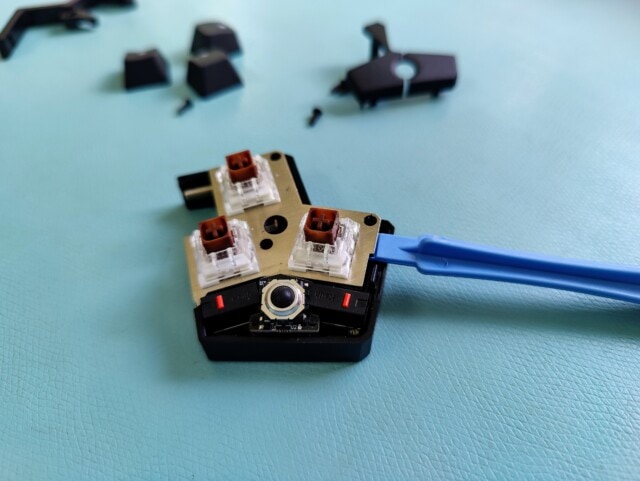
Lift the trackball subassembly:
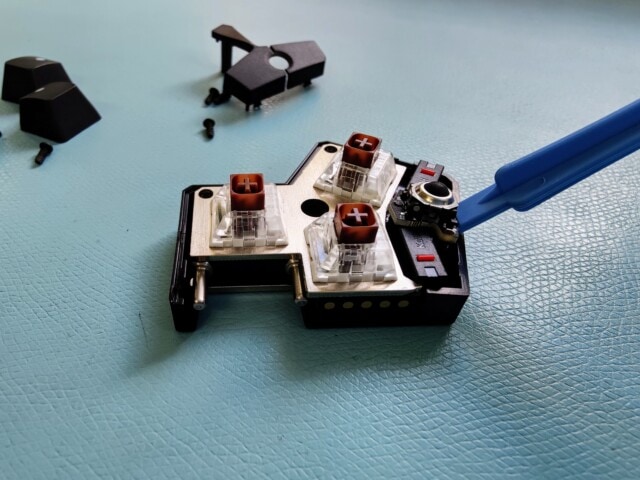
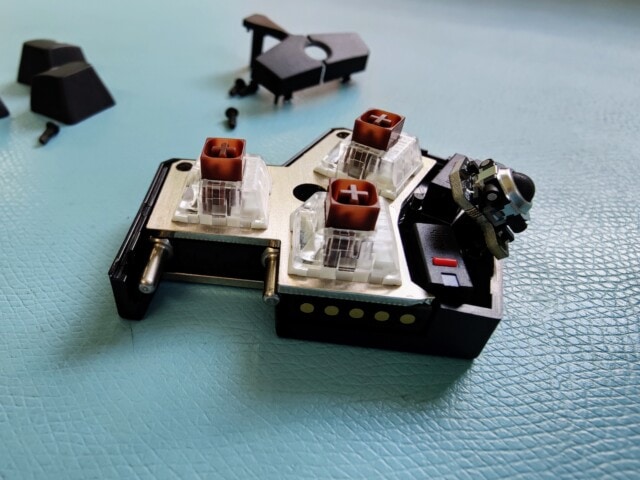
Lift the inner subassembly out of the bottom case, disconnect the trackball subassembly from the inner subassembly, and connect the replacement trackball subassembly:
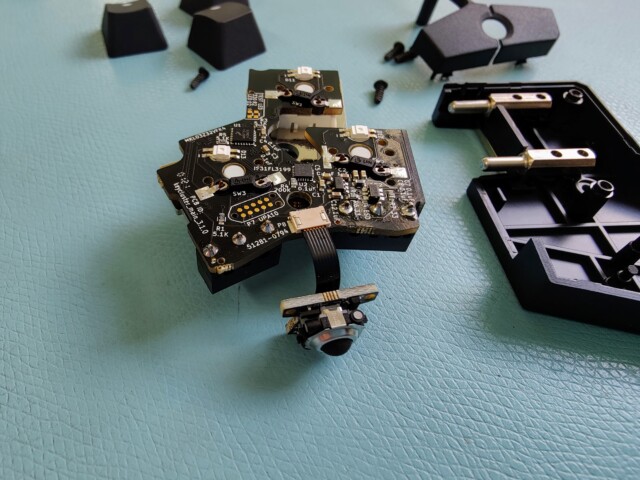
Put the inner subassembly back into the bottom case, put back the metal plate and the switches, then firmly push the trackball subassembly down to the three bosses that hold it:
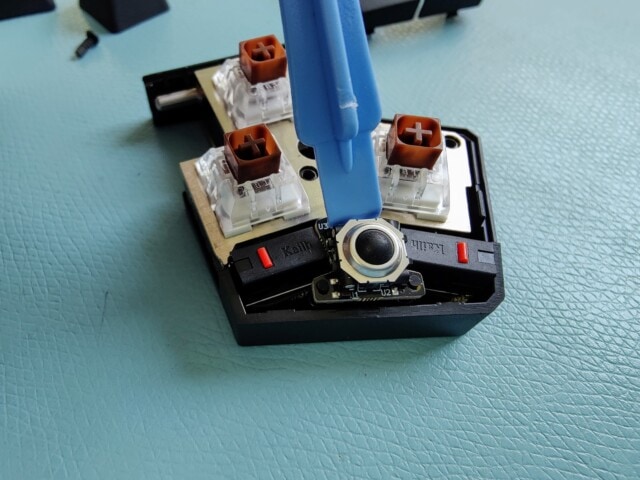
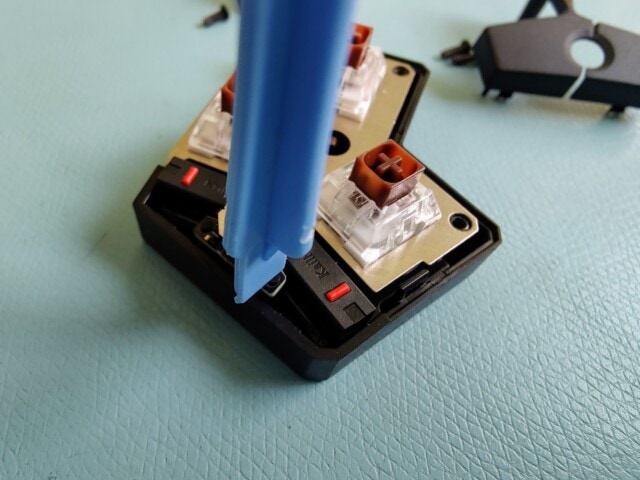
Screw the plate to the bottom case with the three screws:
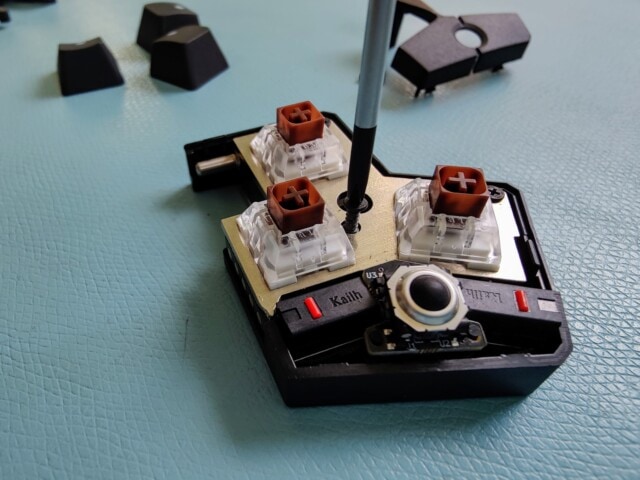
Put back the top case and the case buttons, and screw the screw at the center of the back of the module:
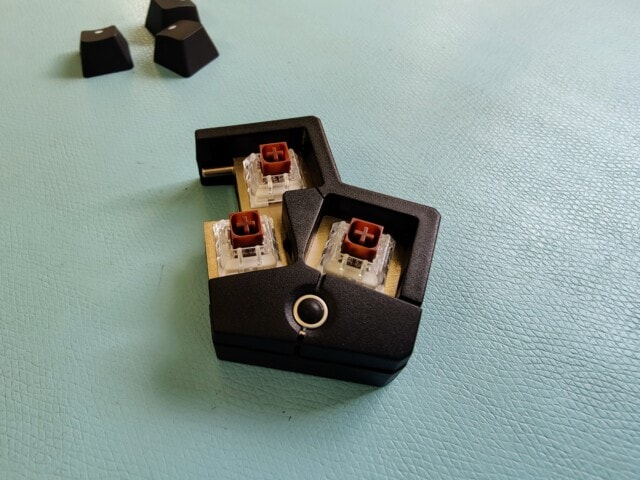
Finally, put back the keycaps, and you're done!