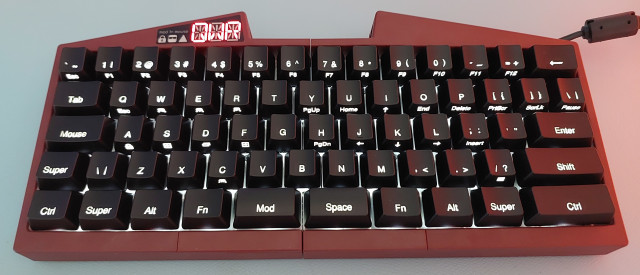
First up, disassemble your UHK 60 v1 according to the UHK disassembly guide.
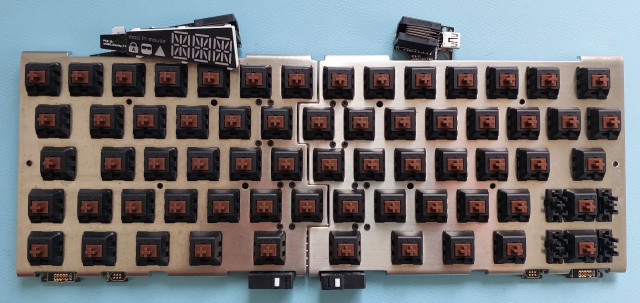
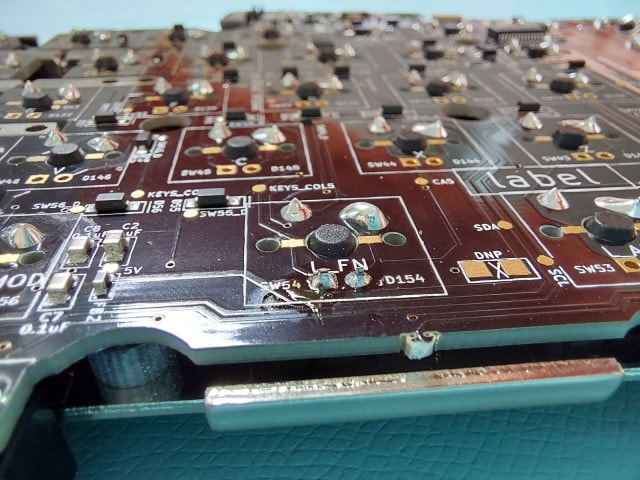
Now you need to solder the LEDs for every switch. Be very careful regarding the polarity of the LEDs! Due to the charlieplexed LED matrix utilized in the UHK 60 v1, the LEDs will light up even when installing them backward, but their brightness will be inconsistent.
You can see the correct orientation by checking the lens of the LED and its short and long leads.
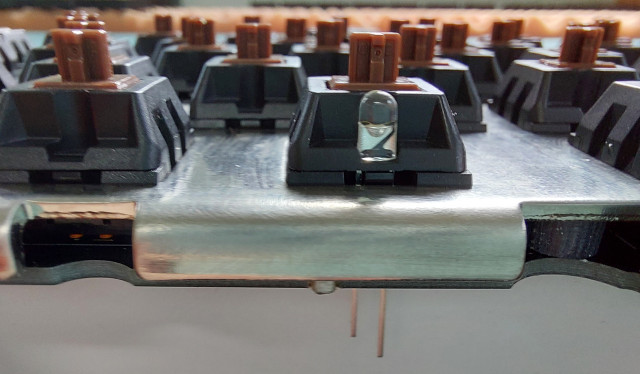
The long lead goes to the square pad; the short lead goes to the round pad. While soldering the LED, push it toward the switch on the other side; otherwise, the lens of the LED may protrude too much, preventing the keycap from being fully pressed.
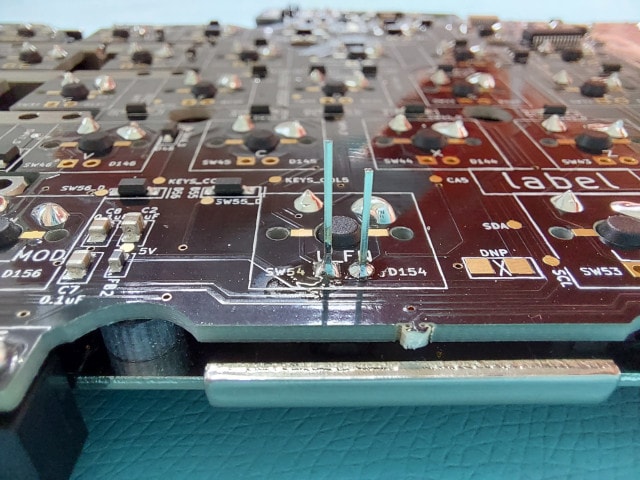
Trim the leads but not the solder joints. Trimming the joints may make them crack, damaging the PCB!
Install the keycaps, and enjoy your shiny UHK 60 v1!
