We expect the UHK to be mainly used by desktop users but given that it's not only a keyboard but a mouse too we thought that using it with a smartphone or a tablet would make sense. The vast majority of these devices support USB OTG and hence work with the UHK. Time to see some action!
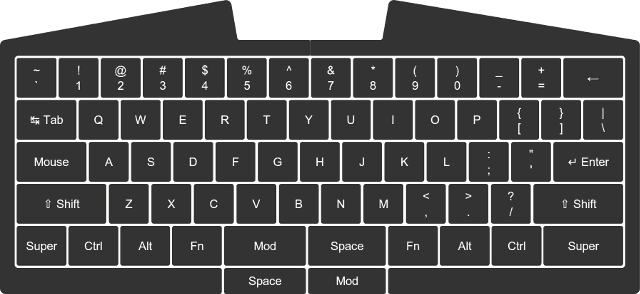
These are the 4 layers of the factory keymap.

Please note that numerous application-specific keymaps can be created and the default keymap can be overwritten by one of those. You want Dvorak, Colemak or Your'emak? We've got you covered!

LED display

Click to see the album

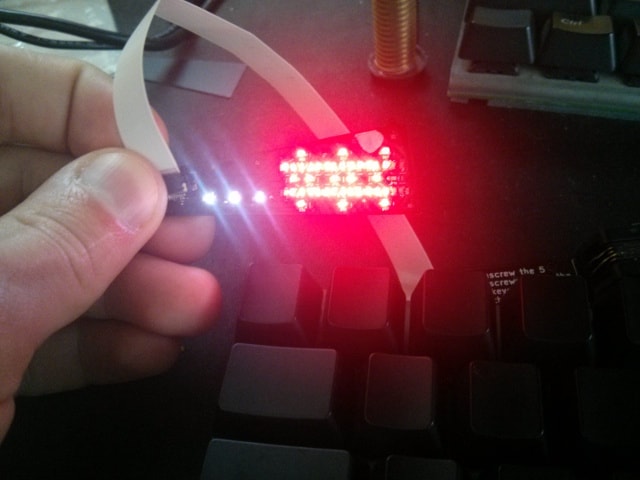
The LED display is coming along great! It's not only supposed to be the crown jewel of the keyboard but also highly functional displaying the 3 letters that identify the actual application-specific keymap along with 3 status indicator icons.

With its numerous layers this could be a project of its own. We've gone through a number of iterations to get everything right which sometimes was outright frustrating but it was worth all the trouble. The most challenging part of it is making everything fit together because there's not much space left between the inidividual LEDs.

Currently a LED matrix column that should drive 6 LEDs is miswired. The alignment of the LEDs will also be changed from diagonal to vertical to maximize space usage.

LED display

Click to see the album

During the design process we've been pondering about every alternative of every single detail. One could say that this is a waste of time but we're true believers that revolutionary products born when designers embrace this mindset.

Now we're about to decide the shape of the feet of the keyboard. The choices are circle, square and triangle. You're welcome to participate in the voting process by letting your voice heard in the comments especially if you happen to have a foot fetish. Vote for the best foot shape! Or simply vote for Pedro!

Circle shaped feet

Click to see the album

Mouse navigation is one of the uber features that we aim to implement. Lately we've managed to get it working and so here's the obligatory demo.

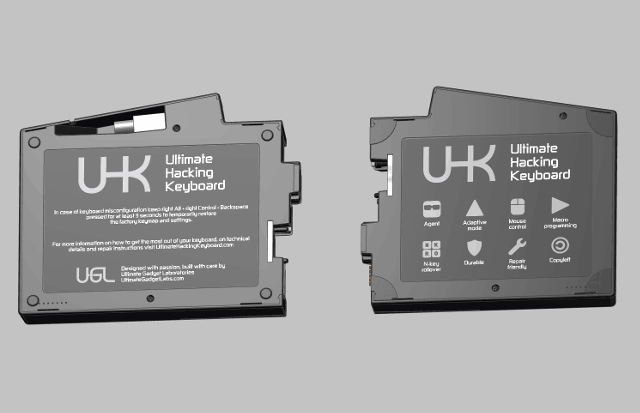
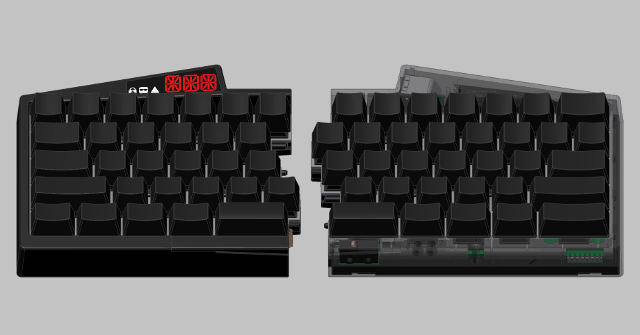
A lot of care goes into designing not only the outside but the inside of this keyboard. Everything has to fit together perfectly. Here are a couple of CAD photos to give you a peek into the keyboard case.

Semi-transparent CAD photo

Click to see the album

Hello to all the early visitors of this nascent blog!

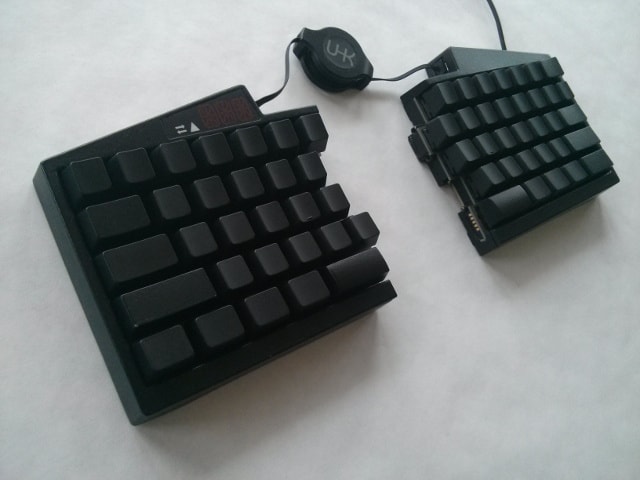
We've been working on the Ultimate Hacking Keyboard for quite some time, we're super excited about it and thought that it's time to share some photos of our latest and greatest third generation prototype. From this point on we want to keep you updated on a regular basis, especially given that our crowdfunding campaign is getting closer and closer day by day.

Please note that the final product will be of higher quality than the prototypes and we'll offer printed keycaps.

Prototype photos

Click to see the album