Summary: Custom UHK keycaps are available from Yuzu for reasonable prices.
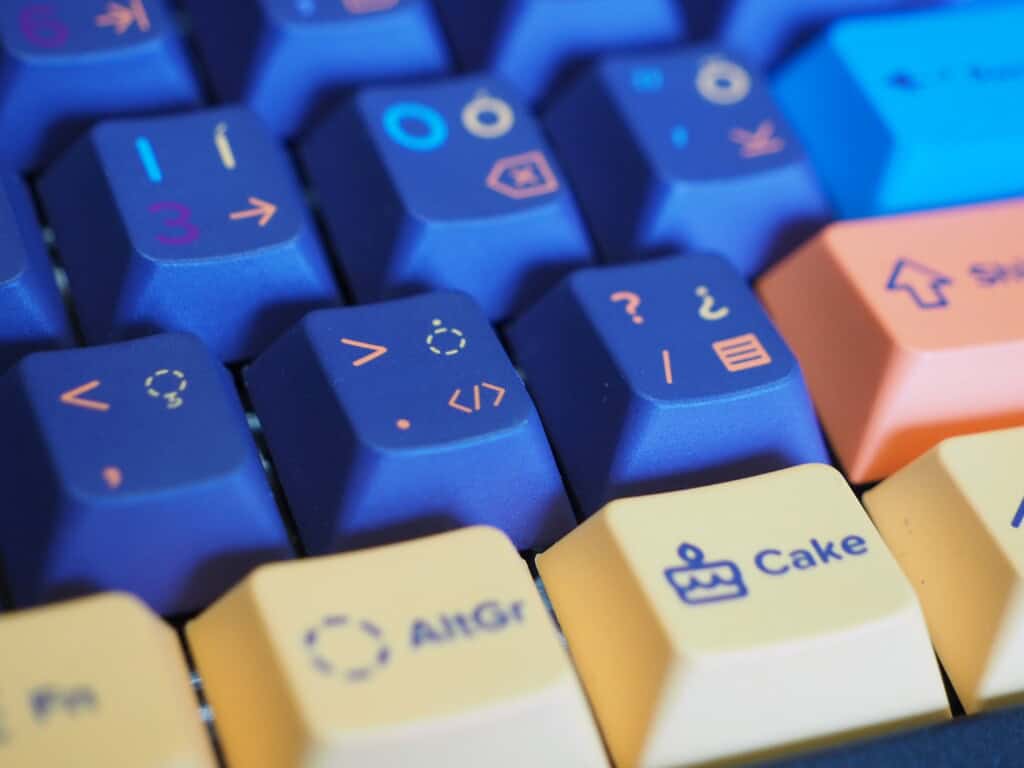
We wanted to offer custom UHK keycap sets a while ago but ultimately decided it was not our primary focus. Fortunately, though, Yuzu came to the rescue. With their web-based configurator, it's easy to create a custom UHK keycap set of different colored keys and custom legends of multiple colors. They offer a very versatile service for a reasonable price. Let me show you an appetizer:
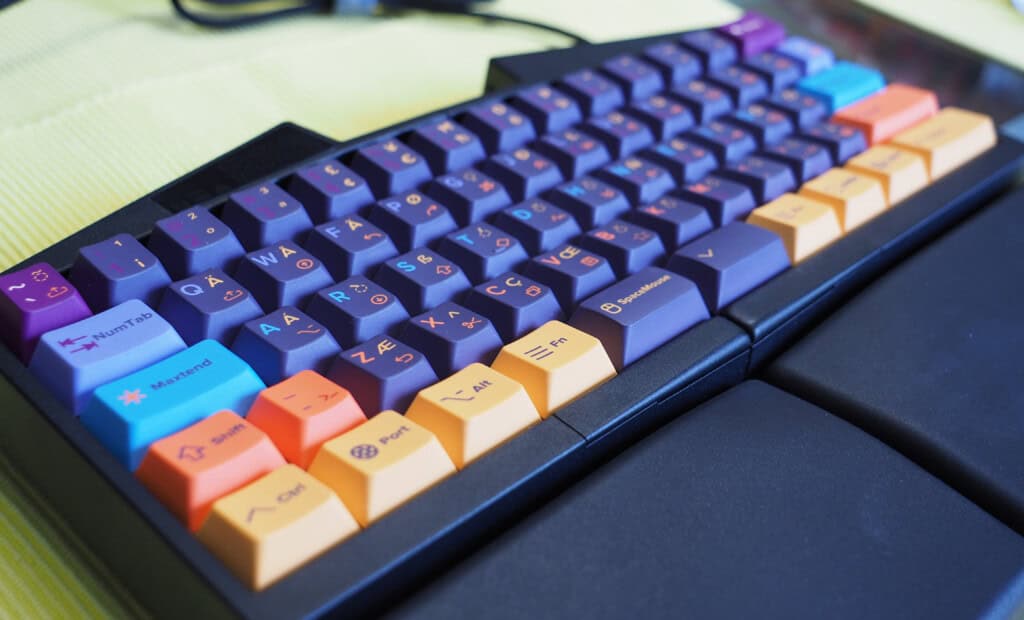
A friend of mine, Max, designed the above keycap set. He's truly a keycap aficionado. The following is his article describing his keyboard journey, the challenges of finding alternative UHK keycap sets, and the preferences that led him to create this keycap set. He'll also show the Yuzu configurator and many photos of his custom keycap set.
You can also find Max active on the UHK forum as maexxx.
Custom Keycaps – and how I learned to love Yuzu
by Maximilian Hantsch (maexxx)
I’ve always been a fan of keyboards, of good keyboards. With good I mean: pleasing to type on. I want proper feedback for my fingers. I want switches that click, or deliver a tactile bump, and I want keycaps that guide my fingers to the correct spot on the key to facilitate true touch-typing.
As a kid, I had learned touch-typing on actual mechanical typewriters, but my real journey started in my teenage years with an IBM Model M keyboard with its buckle-spring clickety-click switches. Boy, it was joy to type on this! First, it would require so much less force than the mechanical typewriters I had used before, and second, I would exactly know when each key triggered – by sound and by feel. This was where I spent all my time learning about computers and coding my first programs. I also used other home computers, but none of them had keyboards worth mentioning. 😉
But then the world changed, and the long, tedious span of rubber-dome keyboards swamped the market. This was the 1990s and 2000s, and the world was taken over by cheap 10$-a-piece keyboards. I missed proper typing!
Luckily, times have evolved. We now have a vast selection of proper mechanical keyboards again. We can choose our switches (clicky, tactile, linear, smooth, fast etc.), our keyboard layouts (full-size, TKL, 60%, 40%, split, ...), and of course, we carefully select the keycaps that we put on those switches (Cherry, OEM, SA, DCS, XDA, MDA, MT3, you-name-it...).
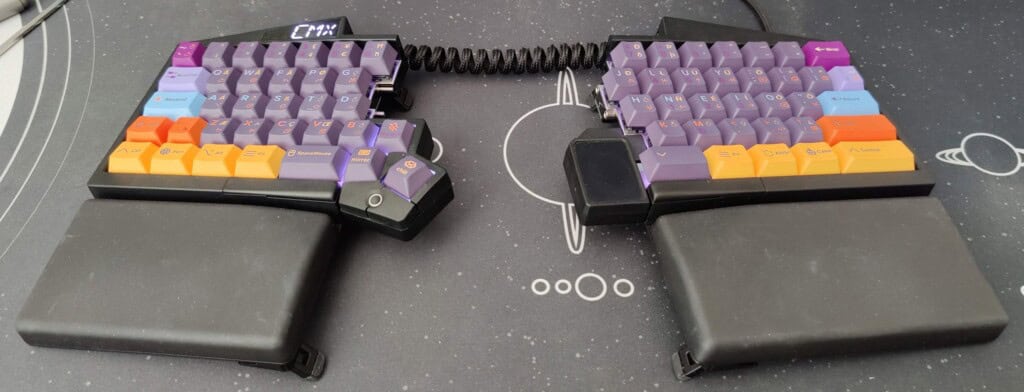
I embarked on my own journey of trying to find what I like most. I transitioned from full-size over TKL to 60% boards, and eventually ended up at the UHK v1 (original crowdfunding). Today, I also use a UHK60 v2 with some extra modules.
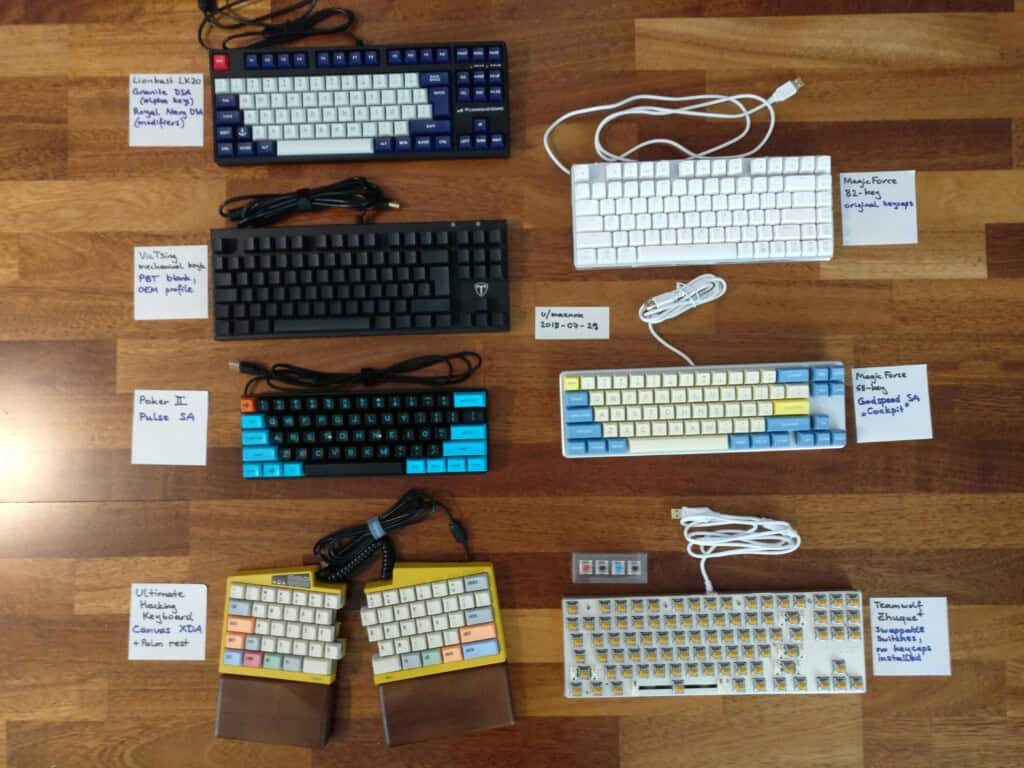
I have always pimped my keyboards for style. Here are some of my designs in different colourways (incl. all-black), and different keycap profiles (there are OEM, Cherry, XDA, DSA, SA and MT3 in my collection...).
In addition to style, my keyboard journey also involved two more changes, both of which started long before the UHK, and both aim towards more effortless typing:
1) I switched my keymap from QWERTY to Colemak; a debatable change: it requires a serious effort for relearning your touch-typing. I was a solid 80-or-so wpm QWERTY typist, and only several months of practice got me back to that speed on Colemak. I believe it was worth it (it feels just so much more comfortable), but your mileage may vary.
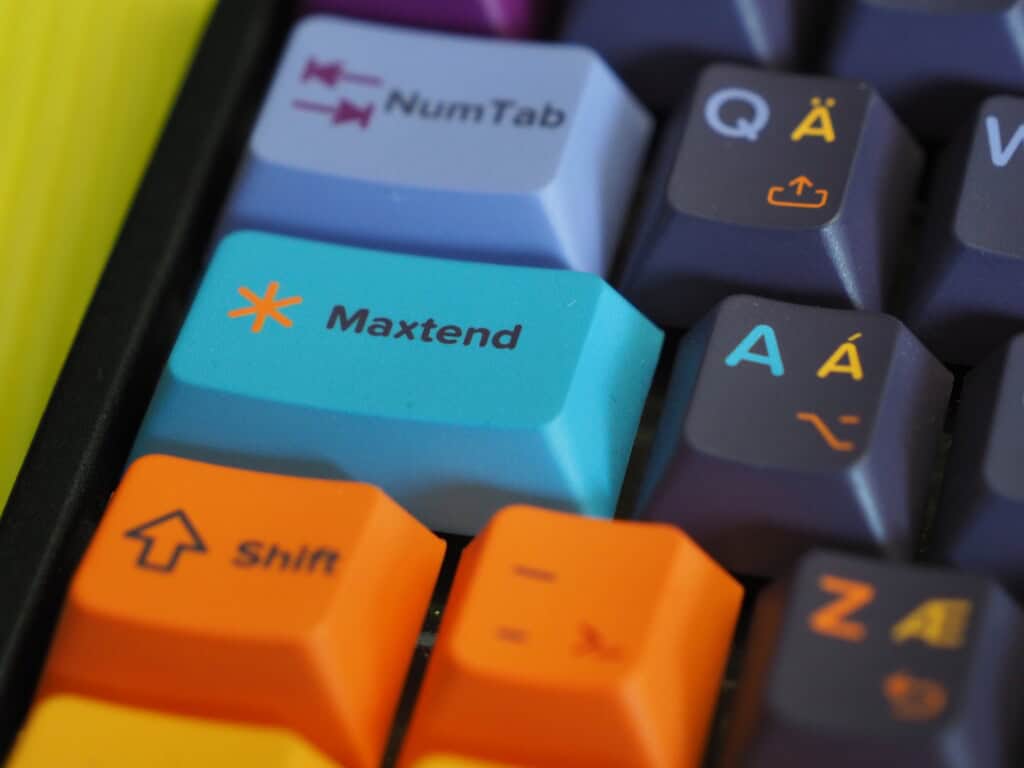
2) I started using additional layers. The Colemak keymap already changed CapsLock to Backspace, and I added a secondary function to use it as a mod layer switch when held down. This idea originated from the “extend” layer which DreymaR from the Colemak forums had promoted (go check it out: https://dreymar.colemak.org/layers-extend.html).
I implemented these using a combination of Colemak as the host keymap, and adding layers using tools such as AutoHotKey, xkb, keyd, and kanata, and finally – once I got my UHK – through Agent and the UHK layers. Check out my github repository for full documentation (https://github.com/mhantsch/maxtend).
The UHK follows along the idea of being able to reach functionality (navigation, media control, mouse control, number entry, …) without moving your hands away from the home row resting position. Using layers, adding that “extend” key (CapsLock) layer was the single best improvement to my keyboard. Layers for the win!
I have always wanted to express my style and functionality (Colemak, layers) directly on the keyboard. Until recently, my choices were limited:
- Most 3rd party keysets are offered for QWERTY layouts only. This limits me to the few ones that come with a “Colevrak” extension pack (extra $$$!) or flat profiles that use the same keycap shape for all rows of the keyboard (XDA, DSA). (With a flat profile, I can just swap keys between positions without destroying the row profiles.)
- The UHK has an unusual size of keys on the right side. This requires the purchase of additional extension packs (“Extras”, “40s”, “Exotic” etc.) for keycaps in the correct size (more $$$). Even if you can find them, it’s almost impossible to get them with the correct labels and/or the correct row profile. Famously difficult are the top row Backspace, right side Control, Space bars, and convex keycaps for the key cluster.
- Forget about getting individual keycaps that show my extra layers.
But now, the world has changed. Enter yuzukeycaps.com.
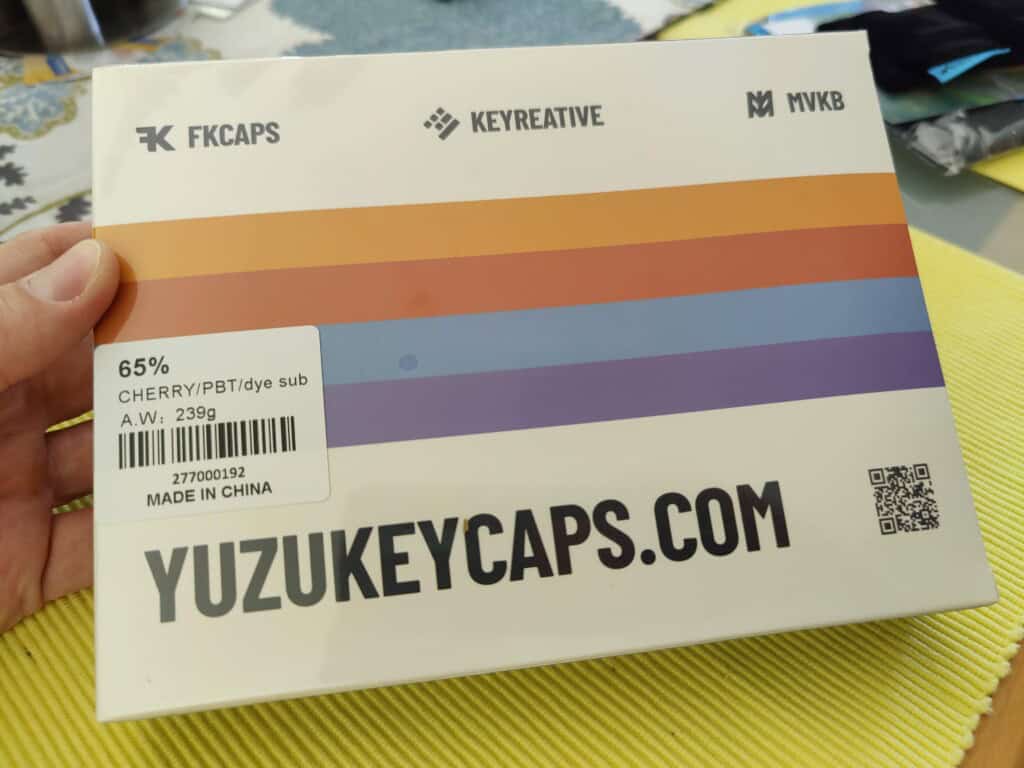
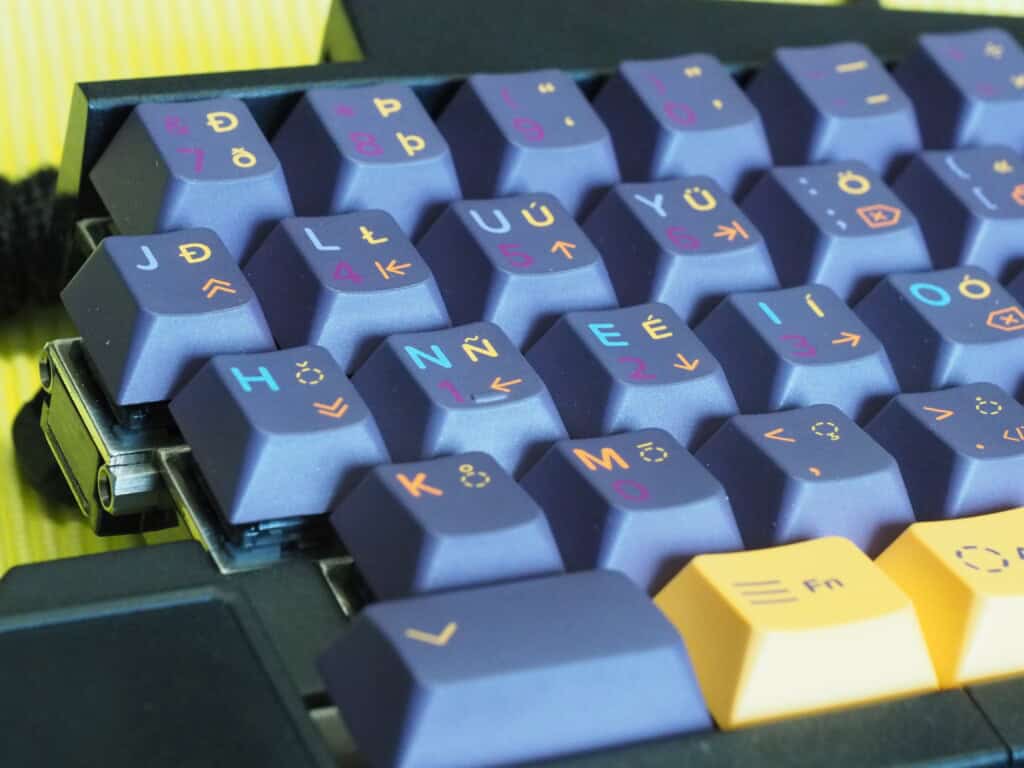
Yuzukeycaps offer an affordable solution to invididual keycaps: an online editor supporting (amongst others) the UHK layout (including properly shaped caps for the key cluster module!), giving you lots of options to design your keycaps (colours, fonts, icons), and they deliver decent quality (PBT, Cherry profile, sub-dye) within a few weeks.
Finally I could design my own keycaps that show the layers of my keyboard, and fit the layout of the Ultimate Hacking Keyboard. I was excited!
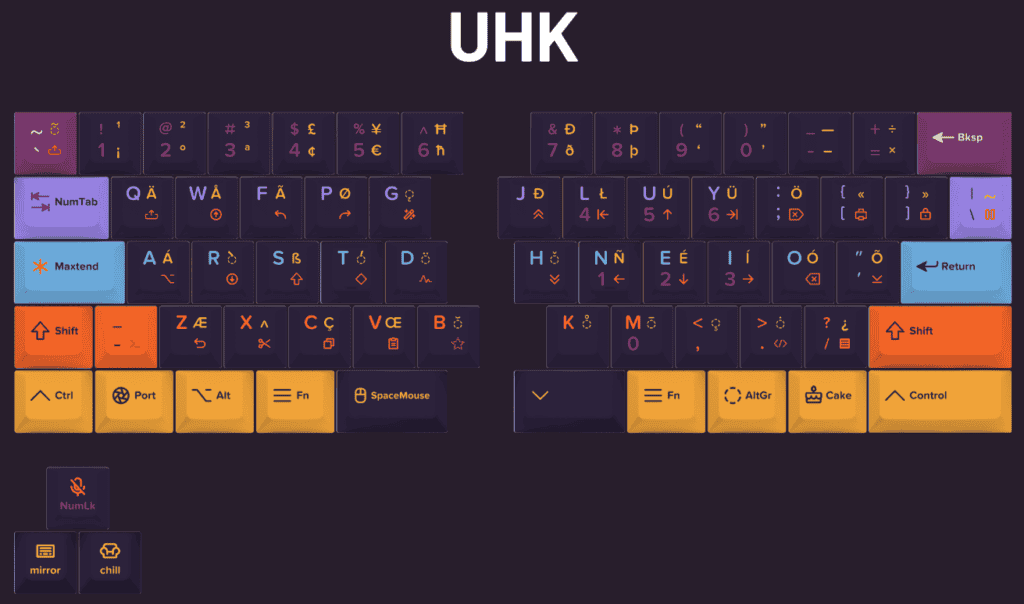
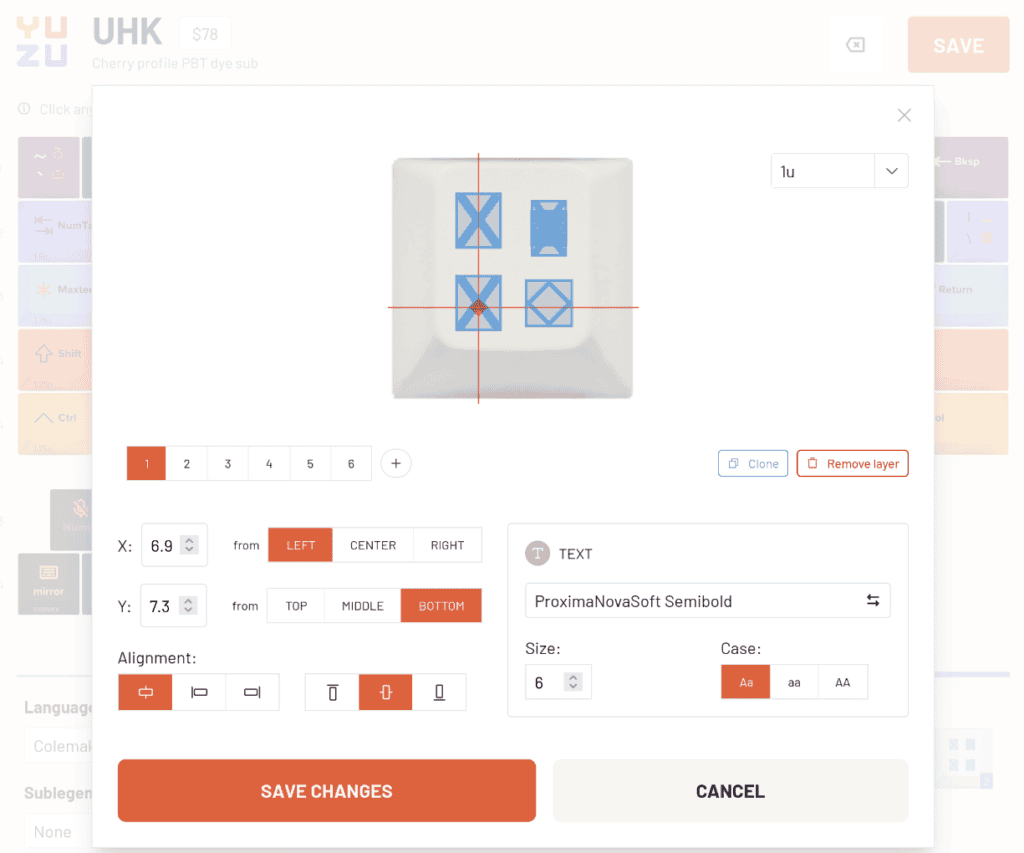
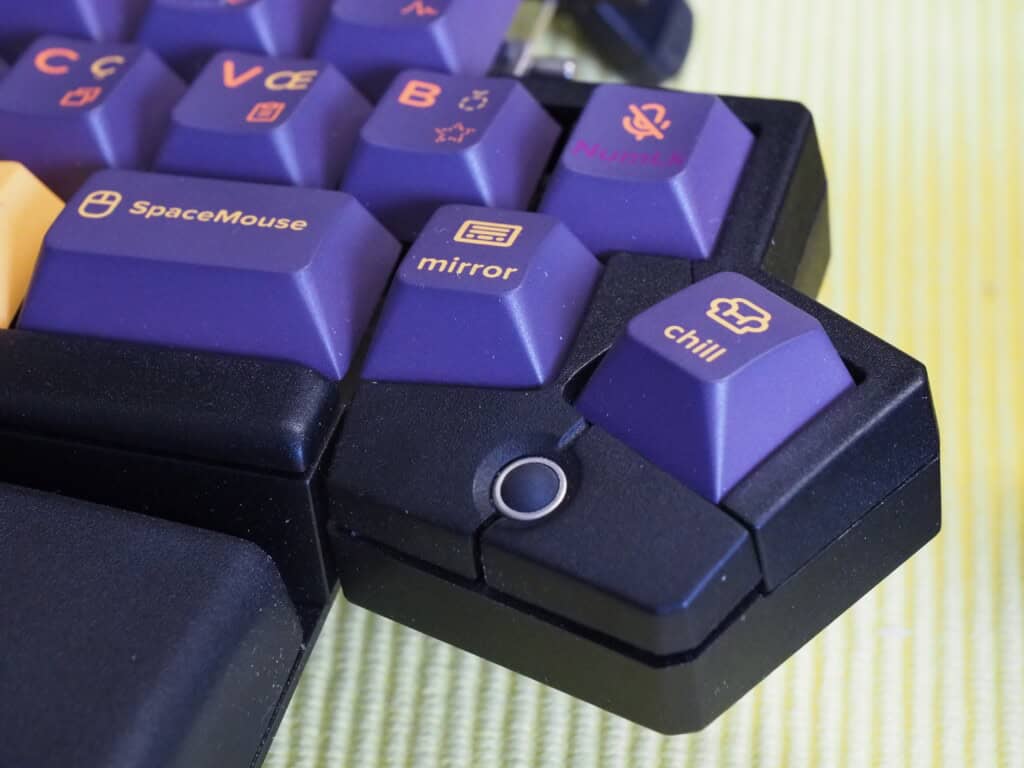
Their web-based designer app allows detailed positioning of legends and icons in multiple colours, offers template support for consistent and uniform labelling across keys, and even handled a complex keycap design such as my "Maxtend" layout.
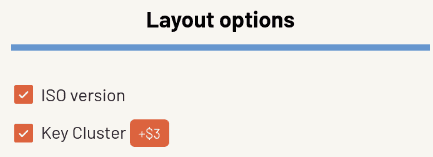
Of course, their editor works for ANSI and ISO versions of the UHK, and you can add the key cluster if you need it. The bottom keys of the key cluster as well as the space bars are convex just like the original UHK caps.
Templates allow you to place legends consistently across multiple keys. You can either use existing pre-defined templates, modify them, or create your own.
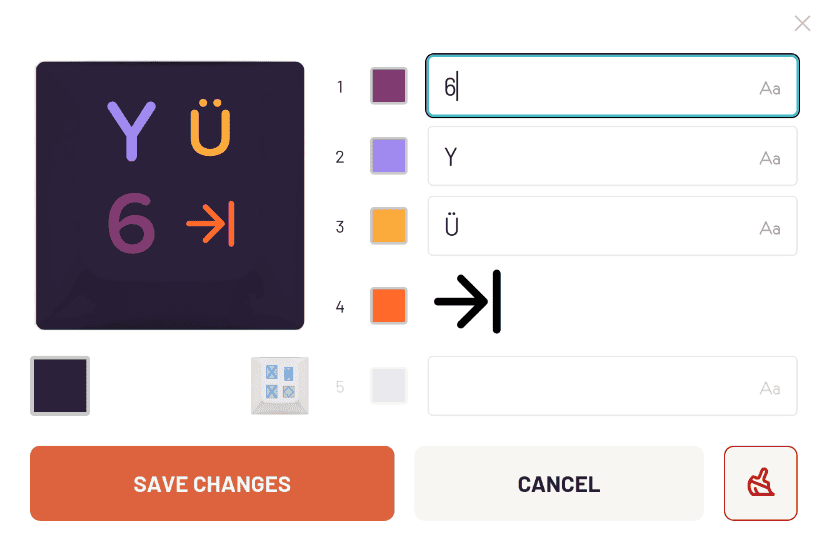
For each key, you can fill the text legends and select icons from multiple icon galleries as well as choose the colour for each item.
Once you are pleased with the preview of your design, you can send off your order. For the very affordable amount of US$ 93 (including international shipping) Yuzu was producing my own custom keycaps!
A few days after I had submitted my design, Yuzu surprised me again with photos of the freshly produced keycaps, allowing me to proof-check their production before releasing them for shipment. A week later or so, I had them in my hands, and I could finally see and touch what I had only visualised in dreams.
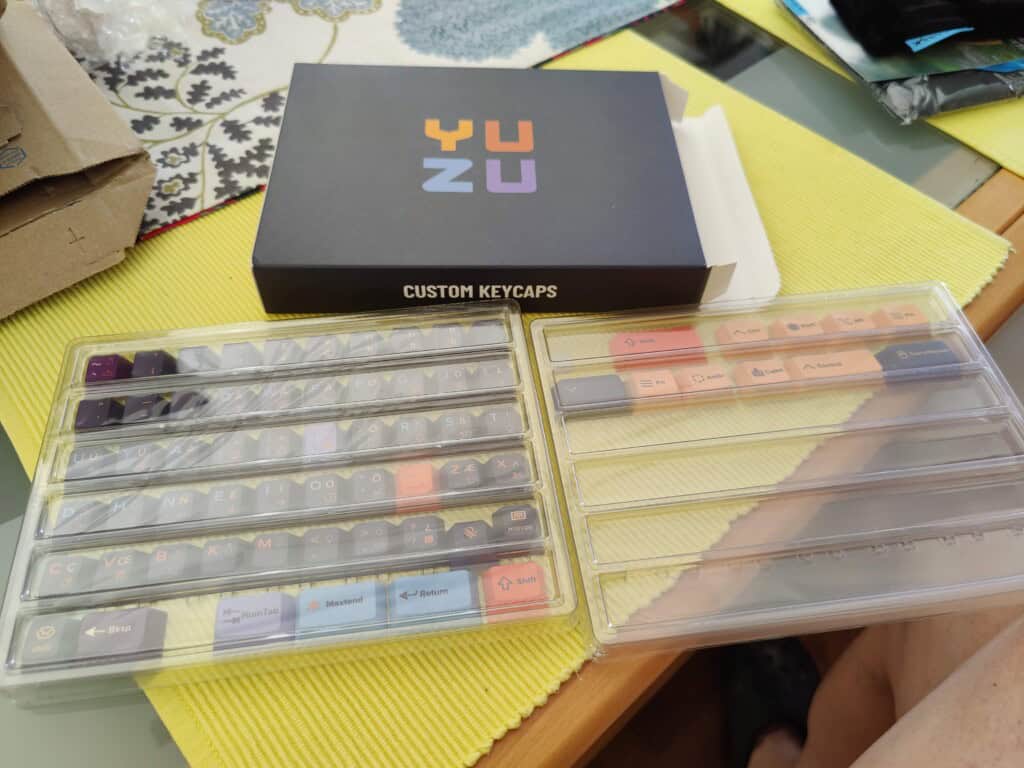
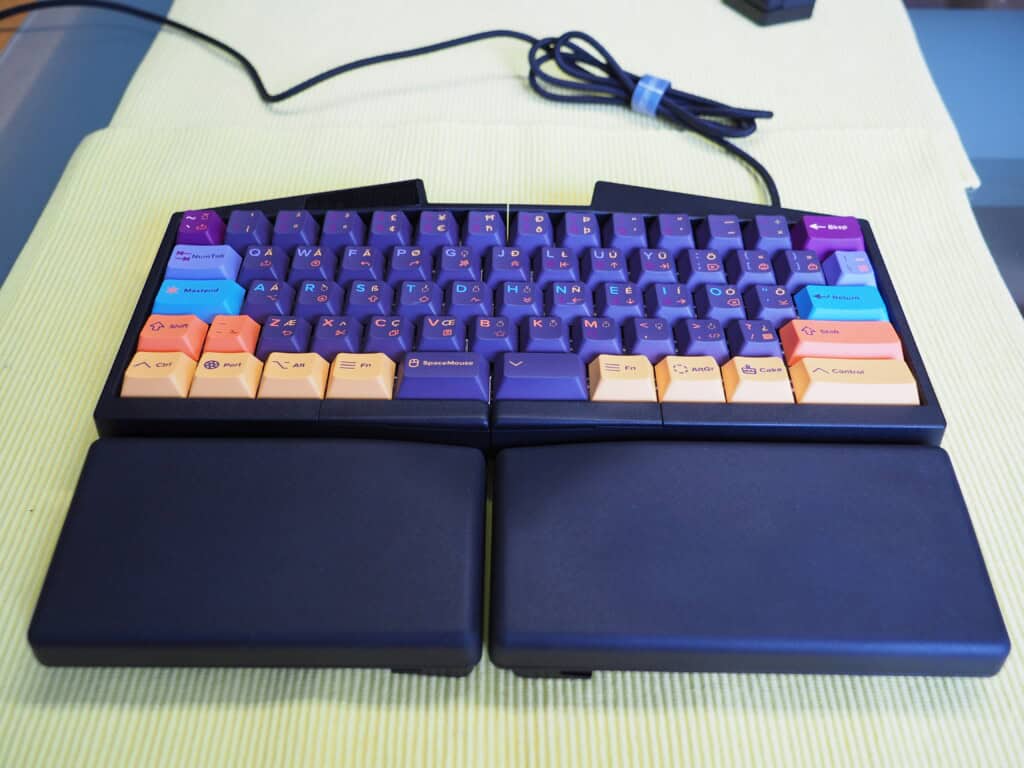
This Yuzu keyset really completed my “Maxtend” layout, and I am very happy with the results.
Disclosure: Ultimate Gadget Labs offered to reimburse me for the keycaps ordered from Yuzukeycaps in exchange for writing this review. This doesn’t change my opinion, though: If you want individual keycaps for your UHK, Yuzu is the way to go.